72% of professionals report lost focus after a single collaboration alert—this level of interruption cripples creative throughput.
Disable distracting signals to protect concentrated work. Follow a precise method to control notification flow across every design page and doc. set away status in miro. This ensures that your team is aware of your availability and minimizes interruptions. By communicating effectively, you can enhance collaboration while maintaining focus on your tasks. To further streamline your workflow, it can also be beneficial to set status to do not disturb when engaged in intensive projects. This additional measure reinforces your commitment to deep work and helps colleagues understand your unavailability. Ultimately, this practice fosters a more productive environment for everyone involved. Additionally, consider how to hide active status in Figma during collaborative sessions. This helps to prevent distractions from real-time feedback and allows for uninterrupted creative flow. By managing your online presence across various tools, you empower yourself and your team to focus on the task at hand more effectively.
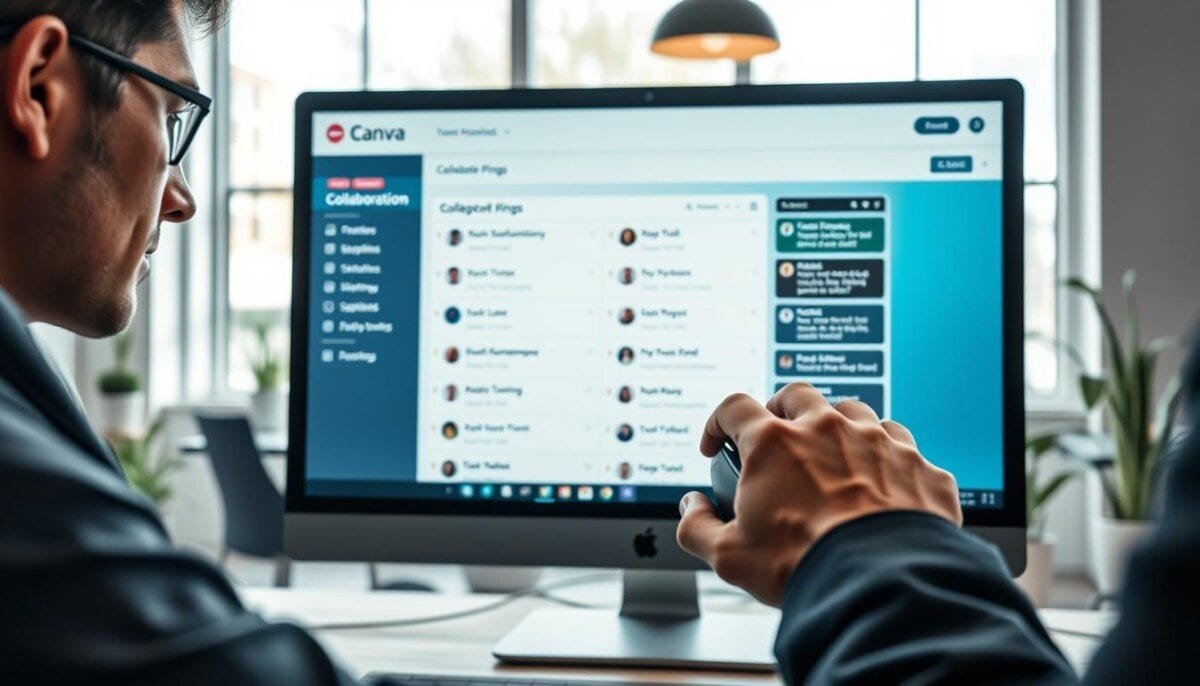
Start with the file menu. Select the collaboration option that governs live alerts. Apply the setting per page to stop real-time alerts on shared designs.
Use the integrated Trupeer AI tool to record the screen for 10 minutes while adding a voiceover. Manage video and voiceover settings in one interface. Advanced users may add custom code to tailor the environment.
Key Takeaways
- Execute file menu steps to mute collaboration alerts on each page.
- Configure doc-level options to preserve uninterrupted design sessions.
- Use the Trupeer AI tool to record the screen and add a voiceover for up to ten minutes.
- Adjust video and screen settings in one unified design interface.
- Apply custom code for advanced control over notifications and page behavior.
Understanding the Role of Snapping in Canva
Snapping dictates how objects lock to guides and nearby items during layout work.
Disable snapping to gain precise control over element placement in complex design systems.
The snapping feature assists by automatically aligning objects to the grid and to other elements. When disabled, a designer can freely move objects to exact coordinates without software correction.
Use cases: precise icon placement, layered illustrations, and bespoke layouts that require manual micro-adjustments.
- Maintain control over spacing when the grid auto-aligns too aggressively.
- Prevent automatic aligning when composing asymmetrical designs.
- Toggle snapping to switch between precision and free placement quickly.
| Mode | Behavior | Best for |
|---|---|---|
| Snapping enabled | Objects align to grid and guides | Fast, consistent layouts |
| Snapping disabled | Objects move freely; no automatic aligning | Micro-placement; custom designs |
| Hybrid | Enable guides only; ignore grid | Controlled creative work |
How to Canva Turn Off Pings and Snapping Features

Open the File menu. Use this central panel to control notification and alignment options for the current doc and page.
Accessing the File Menu
Access the file menu at the top bar. Locate the Options group. Find notification settings and snapping controls in the same area.
Make sure the active doc is selected before changing settings. Settings apply per page and across docs when saved to a template.
Toggling the Snapping Option
Enable or disable snapping with the listed option. Snapping aligns objects to the grid and nearby elements. Disable it to position an image or text item with absolute precision.
- Use the menu option to turn snapping canva off for the active page.
- Hold the ctrl key (or command on Mac) to temporarily bypass snapping when moving objects.
- Use the Trupeer AI tool to record the screen or video for ten minutes and add a voiceover to document changes.
Benefits of Manual Element Placement
Prioritize intent over automation. Use manual placement when detail matters. This approach prevents the interface from automatically aligning objects to a preset grid.
Achieving Creative Freedom
Disable automatic alignment to freely move elements across the page. Gain control of spacing and layering for custom designs.
- Precision: Turning snapping canva off permits micro-adjustments for complex doc layouts and video frames.
- Control: Work without snapping to place objects exactly where required—no automatic aligning interference.
- Flexibility: Apply manual placement per page or per doc when standard grids hinder creative structure.
- Documentation: Record the screen for 10 minutes while demonstrating element handling; include notes in the menu option logs.
| Benefit | When to use | Outcome |
|---|---|---|
| Micro-placement | Asymmetric layouts; unique element positioning | Exact spatial control; eliminates grid constraints |
| Video and doc frames | Complex timeline or mixed media pages | Accurate frame alignment; consistent visual hierarchy |
| Creative experiments | Prototype designs that ignore standard grids | Original layouts; bespoke element relationships |
For workflow optimization and related process guidance consult the project management guide. Implement these methods to keep designs high-quality while preserving full creative control.
Managing Design Elements on Different Operating Systems

Manage system-specific controls to align elements precisely across Mac and Windows.
Mac workflow: Use the menu bar to access file and alignment options. Use the command key as the modifier when moving objects. Use Trupeer AI to record the screen; add a voiceover and AI avatar; translate videos in minutes.
Windows workflow: Open the file menu or press Windows + G to launch Game Bar. Use the ctrl key to bypass snapping while moving text or image items. Record screens natively or use Trupeer AI for advanced options.
- Match menu options per doc and per page to keep element placement consistent.
- Use the built-in bar for quick captures; use Trupeer AI for enhanced video features and translations.
- Apply platform-specific keys and menu options to maintain control over objects and layout.
| Platform | Primary capture method | Key modifier | Notable features |
|---|---|---|---|
| Mac | Trupeer AI or system recorder | Command key | Voiceover; AI avatar; translate videos; record minutes |
| Windows | Game Bar (Windows + G) or Trupeer AI | Ctrl key | Quick capture; manage docs and page elements; advanced AI features |
| Cross-platform | Trupeer AI | Command / Ctrl keys | Unified video tools; translation; voiceover; export for designs |
Troubleshooting Common Alignment Issues
Begin troubleshooting by verifying grid visibility and the active alignment option for the current page.
Handling Text Boxes
Isolate the text box. Deselect all other items. Use the menu option to inspect alignment settings for the selected text box.
Make sure text formatting does not force wrap or resize. Hold the ctrl key or command key to nudge the box without snapping.
Working with Shapes
Check the shape layer order. Disable guides that mask precise placement. For stubborn shapes, use manual pixel nudges.
When necessary, test turning snapping on then off to reset alignment behavior. Use the grid bar to verify balance.
Aligning Multiple Objects
Group objects only after individual alignment is perfect. Use the file menu options to align to page or selection.
- Record a short screen video—up to ten minutes—to document fixes.
- Use the Trupeer AI tool to produce training videos for the doc and team.
- Adjust each element manually if the snapping feature remains universal.
| Issue | Quick fix | When to use |
|---|---|---|
| Text box jumps | Hold ctrl key / command key; nudge 1px | Single-line or wrapped text |
| Shape misaligns | Toggle grid; manual pixel move | Asymmetric layouts; layered shapes |
| Group offset | Align items individually; then group | Multiple objects; complex designs |
Mastering Your Creative Workflow for Better Designs
Standardize page-level settings to enforce consistent element placement across docs. Apply the specified steps and make sure alignment choices persist between sessions.
Follow the procedure to turn snapping canva and to turn snapping when precision is required. Work without snapping to position every text and code element exactly.
Use Trupeer AI to record screens and add a voiceover. Save time and document methodical changes for the team. To enhance accessibility and ensure everyone can follow along, enable captions during Google Meet. This feature allows participants to comprehend discussions better, especially in noisy environments or for those who are hard of hearing. Furthermore, it fosters a more inclusive atmosphere, making virtual meetings more productive for all attendees.
Master the ctrl / command key behavior on Windows and mac. Practice these steps; measure time per task; optimize the workflow this article defines.