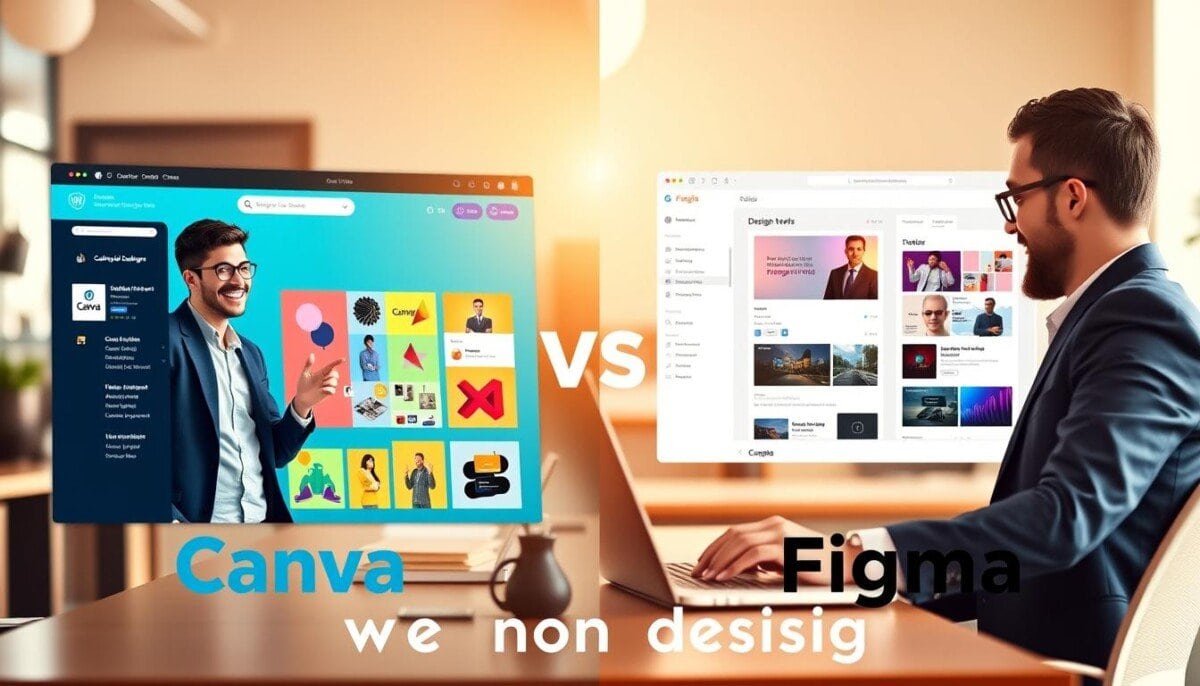
Deciding between two leading design tools matters more than you think. You need a clear match between your project goals and the tool’s strengths. One platform is built around templates and speed; the other focuses on precise interface design and vector editing.
If you mostly create social posts, presentations, or quick marketing content, a vast template library and easy editing can cut your time in half. If you plan product interfaces or high-fidelity prototypes, expect a steeper learning curve but greater control and advanced features.
Both apps offer cloud access, collaboration, and stock assets. Pricing and component systems differ, so review plans against your brand needs and team projects. This guide helps you pick the right design tool for your work and skill level.
Key Takeaways
- Choose speed and templates for quick marketing content.
- Pick precision and vector editing for interface or product design.
- Expect a short learning curve for template-driven apps and a longer one for professional tools.
- Both platforms support cloud collaboration and shared assets.
- Compare features and pricing against your brand needs before you commit.
Understanding the Core Differences
These two design platforms target very different users and tasks, so your choice should match how you work.
Target Audiences
You will find one tool built for product teams and UI/UX professionals who need pixel control and advanced prototyping. That app scales with teams that require versioning, developer handoff, and detailed component systems.
The other app is aimed at marketers, small business owners, and non-designers who want fast results. It offers a shallow learning curve, ready templates, and a library of stock assets for social media and presentations.
Primary Use Cases
Use the professional tool when your projects demand complex interaction design, vector editing, and fine-grained interface control. Its plan options focus on team collaboration and developer workflows.
Choose the template-driven app when your priority is rapid content creation—social media posts, marketing graphics, or quick slide decks. It speeds editing and keeps fonts, elements, and media accessible in one place.
- Teams needing prototyping: professional tool with component control.
- Solo marketers: template library and quick template use.
- Both: cloud access and collaboration, but different interfaces.
| Focus | Best Use | Key Benefit |
|---|---|---|
| Product design | UI/UX prototypes, developer handoff | Pixel control and advanced prototyping |
| Marketing graphics | Social media, presentations, quick content | Speed, templates, stock assets |
| Team scale | Large teams vs small teams | Collaboration features vs gentle learning curve |
Why Canva vs Figma for Non Designers Matters
Picking the right design tool changes how fast you turn ideas into finished marketing pieces. You save hours on social media and presentations when the app matches your goals.
For quick graphics and content, templates and a large library beat deep vector controls every time. That speed matters when you juggle text, media, and tight deadlines.
- Save time: a template-driven app reduces editing steps and lowers the need for external help.
- Know the limits: professional tools excel at interface and vector work but add learning and cost.
- Brand consistency: easy Brand Kit features keep fonts, colors, and assets aligned across projects.
Choose the tool that fits your team’s daily tasks and project types. The right selection improves collaboration, trims pricing waste, and raises the quality of your designs and marketing graphics.
Evaluating the Learning Curve
Some tools get you producing graphics in minutes; others demand longer study.
Getting Started Quickly
Expect a fast ramp-up with template-driven apps. Most beginners can start creating usable designs within about 30 minutes. The drag-and-drop editing and large template library make early wins easy.
Professional suites require more time. Learning prototyping, vector editing, and advanced features often takes a week or two of focused practice. That steep learning curve suits teams that need pixel control and developer handoff.
Both platforms offer free plans, but your training plan and project timelines should guide the choice. If you need rapid output for social posts or presentations, pick the tool with quick onboarding.
- Speed: start fast with templates and shared assets.
- Depth: invest time to master advanced interface and prototyping workflows.
- Plan: match training time to expected projects and pricing limits.
Template Libraries and Asset Access
Access to ready-made templates and stock assets changes how fast you ship marketing graphics. A large library gives you a layout to edit, not a blank page to build.
How libraries shape daily work
Canva Pro includes more than 1 million templates and over 100 million stock photos, videos, and graphics. That level of access helps non-designers create polished social media posts and presentations without external subscriptions.
- Extensive template library: ready categories for social media, presentations, and business cards speed up editing.
- Massive stock assets: built-in photos and video cuts sourcing time and cost.
- Community-driven options: the other tool relies on plugins and a smaller community library, which can slow teams.
| Area | Template Volume | Best Use |
|---|---|---|
| Template library | 1M+ (Pro plan) | Fast marketing and content creation |
| Community assets | Smaller, plugin-based | Custom design systems and team-built resources |
| Asset management | Integrated library and Brand Kit | Rapid editing and consistent designs |
Choose the app that matches your projects. If speed, stock access, and ready templates matter most, a large integrated library is the practical choice for busy teams.
Precision Design and Vector Editing
When you need surgical precision in icons and layouts, vector tools make the difference.
Vector networks let multiple paths meet at a single point. This enables complex shapes and icons without forced linear paths. You can build components that scale cleanly across screens and densities.
Vector Networks
Advanced vector systems let you create linked paths and shared nodes. That flexibility speeds intricate icon work and component reuse.
Pixel-Level Control
Pixel control and boolean operations are key when you work on interfaces and responsive layouts. Precise anchor edits and path math matter for clean handoff to developers.
- Professional vector editing supports detailed UI elements and icons.
- Basic shape tools suit static graphics and simple templates.
- Teams that need high visual quality will value advanced editing and control.
| Capability | Impact on design work | Best use |
|---|---|---|
| Vector networks | Create complex, reusable components | Icons, components, scalable assets |
| Pixel-level control | Exact alignment and crisp interfaces | Responsive web and app interface work |
| Boolean & path tools | Fine shape construction and clean exports | Production UI and developer handoff |
For teams deciding tool choice, review how much vector editing your projects need. If precision and control shape your priorities, choose the tool built around advanced vector features. Learn more about related graphic design applications at graphic design applications.
Prototyping and Interaction Capabilities

Interactive mockups let you prove a flow before a single line of code is written.
One tool supports advanced transitions, hover states, and scroll interactions that mimic real apps. That makes it possible to build clickable prototypes that show how elements behave across screens.
The other option offers a presentation mode suitable for slide-style content and simple demos. It handles static content and marketing presentations well but lacks deep interaction controls.
For teams building apps or sites, advanced prototyping features speed stakeholder reviews and developer handoff. You can connect frames, set transitions, and simulate hover or scroll behavior to test user flows.
- Clickable prototypes: simulate real product interactions for user testing.
- Presentation mode: works for slides and simple demos, not complex interactions.
- Workflow impact: choose the tool with prototyping if your projects need realistic interface tests.
| Capability | What it helps with | Best use |
|---|---|---|
| Transitions & hover states | Realistic element behavior | App flows and web interactions |
| Scrollable interactions | Native-like page tests | Long-form pages and feeds |
| Presentation mode | Simple linear demos | Marketing decks and static content |
If your projects include user testing, prototypes reduce rework and clarify specs. For a broader look at available options and related web design tools, see our web design tools guide.
Real Time Collaboration Features
Real-time editing turns a scattered review cycle into a single live session where decisions happen fast.
Teams that work on design projects need tools that match their pace. Live co-editing lets multiple people update the same file at once. That reduces duplicate work and keeps assets current.
Feedback and Commenting Systems
Clear, threaded comments keep feedback tied to specific designs. Use mentions to draw attention and reduce back-and-forth email chains.
- Co-editing: multiple team members edit the file simultaneously, which helps large projects move faster.
- Comment threads: support context, replies, and resolution so feedback stays organized.
- Developer handoff: Dev Mode lets engineers inspect spacing, copy CSS snippets, and export assets without interrupting designers.
Both platforms offer live collaboration and basic commenting, but the tool with integrated developer workflows gives product teams a clear edge. Teams see fewer errors and tighter alignment from design through code.
Practical result: faster reviews, fewer meetings, and cleaner handoffs that keep projects on schedule and on budget.
Managing Brand Consistency
A single source of truth for assets prevents mixed messages across channels.
Canva Pro offers a Brand Kit to store colors, fonts, and logos so marketing teams keep visuals aligned when they work fast. That Brand Kit shines when you produce many social posts and marketing templates.
By contrast, Figma uses shared libraries and component systems to enforce brand rules at the component level. That setup suits product teams who need precise interface and vector control across screens.
- Marketing focus: Brand Kit speeds template use and consistent editing.
- Product focus: Shared libraries let you update elements globally across designs.
- Both tools: require discipline, but provide the features and collaboration needed to manage assets at scale.
| Area | Marketing | Product |
|---|---|---|
| Asset storage | Brand Kit (colors, fonts, logos) | Shared libraries & components |
| Update scope | Template-level refresh | Global component updates |
| Best when | High-volume social posts and simple templates | Complex interfaces and developer handoff |
Pick the tool that matches whether you manage brand across marketing assets or complex product interfaces. Your plan, pricing, and team size will guide a practical choice.
AI Features and Generative Tools

AI now helps turn short text prompts into ready-to-use page layouts and image assets. These features speed routine work and free you to focus on brand and message.
Magic Design-style tools generate complete layouts from a brief description. That makes it simple to produce social media posts, presentations, or quick graphics without building a page from scratch.
How layout assistants work
- Prompt to layout: enter a short text and get multiple layout options to edit.
- In-frame AI: some tools suggest copy edits and layout tweaks inside your existing frames.
- Speed over precision: AI accelerates drafts, but human edits refine spacing, fonts, and brand details.
Generative imagery
Generative image tools produce illustrations and backgrounds without searching stock libraries. That reduces licensing steps and gives unique visuals for your content.
| Feature | Best use | Impact |
|---|---|---|
| Prompt layouts | Quick social media and slide drafts | Faster initial concepts |
| In-frame AI | Professional design workflows | Supports detailed editing |
| Generative imagery | Unique backgrounds & illustrations | Less stock dependency |
Bottom line: these AI features shorten the time from idea to polished asset. If you want a deeper look at web-focused tools that pair well with AI workflows, see our best no-code web design tools.
Pricing Models and Plan Value
Your budget should guide which design tool fits daily work. Look at cost per user and what each plan actually unlocks before you decide.
Canva Pro costs $144 per year and gives a generous set of templates, stock assets, and editing conveniences that suit solo creators and small teams.
Figma Professional is $16 per month per seat and targets teams that need advanced collaboration, shared libraries, and prototyping control.
- Affordable annual plans favor quick marketing designs and presentations.
- Seat-based pricing favors product teams that need interface and vector precision.
- Both platforms use subscriptions, so compare features vs. recurring pricing.
| Plan focus | Best for | Core value |
|---|---|---|
| Affordable Pro | Solo creators | Templates, stock, fast editing |
| Seat-based Professional | Product teams | Shared libraries, prototyping, team control |
| Free tiers | Trial and basic projects | Test features before commitment |
Bottom line: match plan value to your needs. If you want quick marketing designs and lower cost, an annual Pro plan can win. If you need team-level control, shared components, and deeper prototyping, the seat-based professional plan pays off.
Cross Platform Availability
Cross-platform access determines whether you can edit designs at your desk or on the move.
You get two different approaches to device support. One option is web-first with full mobile apps that let you make quick edits and use templates from a phone or tablet. The other runs in a browser but adds native desktop apps for Windows and macOS to boost performance and offline access.
Both platforms use cloud syncing, so your designs stay current across devices. The desktop client often gives better responsiveness and native integration. The mobile app shines for fast edits and social-ready content on the go.
- Mobile editing: great for quick changes and last-minute posts.
- Desktop experience: preferred for heavy editing, precise interface work, and offline access.
- Remote collaboration: cloud-based files make teamwork simpler across locations.
If device flexibility matters, weigh mobile convenience against desktop performance. For a deeper feature and platform comparison, see this comprehensive comparison and review related graphic design applications.
Third Party Integrations and Plugins

A healthy plugin ecosystem decides whether your design tools fit cleanly into daily work or add extra steps.
Both platforms offer third-party integrations that link design files to business apps. You can pull assets from Dropbox or Google Drive and push finished graphics to social media channels. That direct publishing saves time and avoids manual uploads.
The marketplace model differs between the apps. One app provides add-ons for video editing, infographics, and stock access that help marketing teams and solo creators. The other relies on a community plugin system that favors prototyping, accessibility checks, and design system tools for product teams.
- Publish: send social media posts straight to Facebook, Twitter, and Pinterest.
- Sync: connect Dropbox or Google Drive for easy media and asset access.
- Automate: use Slack, Jira, or Asana links to manage feedback and developer handoff.
| Integration Type | Best for | Primary benefit |
|---|---|---|
| Marketing add-ons | Social content teams | Faster editing and stock access |
| Developer plugins | Product teams | Prototype automation and system checks |
| Cloud sync | Cross-team work | Shared assets and simpler collaboration |
Bottom line: choose the tool with integrations that match your plan, team, and content needs. Good connections reduce handoffs and speed delivery.
Community Support and Resources
Active user groups and tutorial libraries shorten the learning curve for busy teams. These communities offer practical help you can use right away.
Design schools and community hubs provide step-by-step guides, sample templates, and video lessons. If you need quick training, interactive guides teach key features fast.
Forums and knowledge bases handle common problems. Both platforms keep thorough help centers and docs that save time during project work.
- Beginner-friendly resources: guided lessons and tutorials that speed initial learning.
- Technical community hubs: shared plugins, templates, and design systems used by professional teams.
- Ongoing learning: community examples keep you updated on trends and best practices.
| Resource | Best use | Who benefits |
|---|---|---|
| Interactive tutorials | Learn core features quickly | Marketers, content creators |
| Community hub | Share templates and plugins | Product teams and developers |
| Help center & docs | Troubleshoot and advanced learning | All users and teams |
Practical tip: join both communities. Use beginner lessons to shorten the learning curve, and tap technical libraries to scale designs across your team.
Using Both Tools in a Professional Workflow
Many teams split duties so product design stays precise while marketing moves at speed.
Use a pixel-focused tool for interface work and prototyping, and a template-first design tool for fast social media and marketing content. This keeps deep design work in skilled hands while content production stays quick.
Designers keep core components and global styles in one place, which maintains visual consistency across products. Marketing teams then use templates to turn that system into on-brand posts and decks.
Coordination is required because the platforms don’t interoperate natively. Set clear ownership, share color palettes and logos, and export approved assets to avoid mismatched designs and duplicated effort.
- Role split: product teams handle components and prototyping.
- Speed: marketing teams use templates to publish media fast.
- Governance: sync libraries and a simple handoff process to keep brand rules intact.
| Area | Primary use | Team benefit |
|---|---|---|
| Components | Interface consistency | Cleaner developer handoff |
| Templates | Rapid social media and content | Faster campaign delivery |
| Prototyping | User flows and interactions | Reduced rework and clearer specs |
When you integrate both tools, you balance speed with design quality. That combination delivers polished designs to clients while keeping marketing agile and responsive.
Conclusion
When you weigh speed against precision, the right design tool becomes a business decision.
Learning should match your team’s time and goals. If you need rapid social content and template access, canva pro gives a gentle learning curve and fast results.
If your work demands pixel control, advanced vector editing and realistic clickable prototypes matter. A professional app delivers that depth and tighter developer handoff.
Both paths add value. Choose the option that trims review cycles, boosts output quality, and respects your budget. The best outcome is a workflow that helps you ship better work faster while keeping learning and ease use in balance.



