Can a simple rule set turn a chaotic inbox into a precise, searchable system overnight?
Define criteria. Create a filter. Apply a label. Execute a repeatable process that routes incoming email to exact categories.
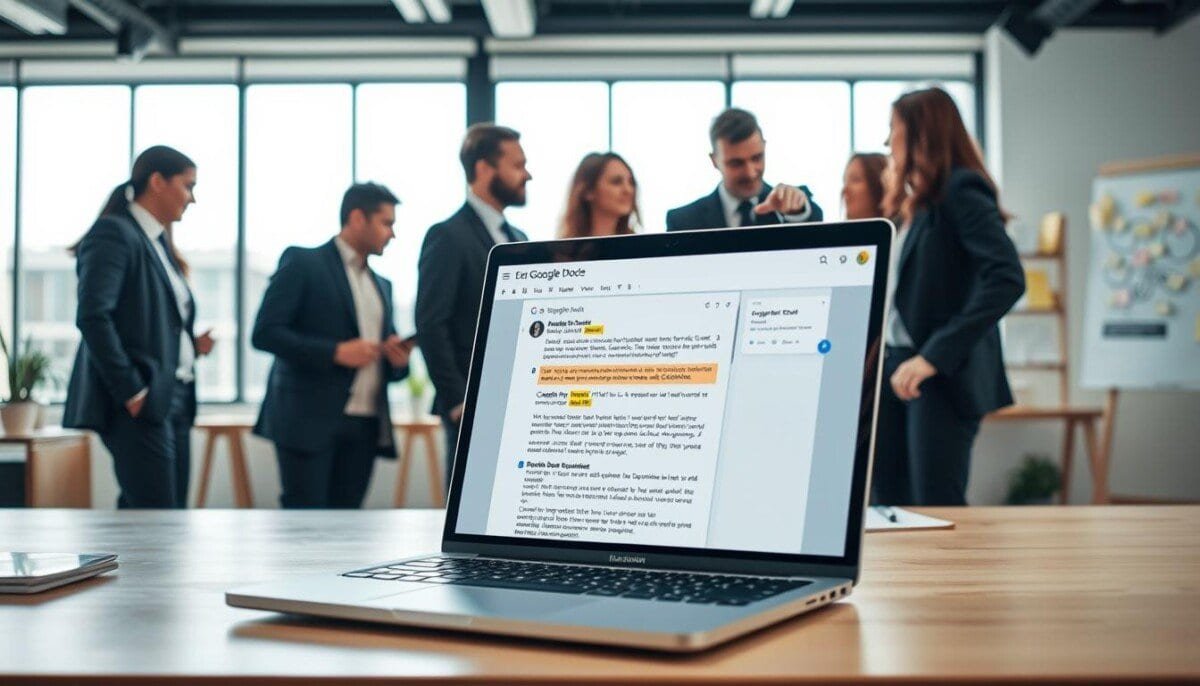
This section explains the technical way to automatically label emails as they arrive. Use the search options in the search bar to set sender, subject, or keyword rules. Then create a filter and choose the action to label matching messages.
Apply multiple tags to one email—this departs from folder-only structures and boosts retrieval speed. Enable settings like Send & Archive to combine reply and filing actions. Optimize the gmail inbox with systematic filters to reduce manual effort.
For troubleshooting or deeper setup steps, consult the detailed guide on filter management at filter setup and troubleshooting.
Key Takeaways
- Implement filters to automatically label incoming emails for consistent routing.
- Use the search options to define precise criteria—sender, subject, or keywords.
- Apply multiple labels to a single email for flexible categorization.
- Enable Send & Archive to streamline reply and filing workflows.
- Maintain a naming convention to ensure fast retrieval and professional productivity.
Understanding the Power of Gmail Labels
Convert each incoming message into a set of searchable tags for instant retrieval.
Treat a label as metadata rather than a folder. This allows one email to belong to multiple categories without duplication. Use tags to organize emails by project, priority, or sender — and speed retrieval.
Benefits of Categorization
- Flexible mapping — Associate a single message with several categories for cross-reference.
- Scalable workflows — Institutions such as Boise State University apply shared labels to manage distance learning at scale.
- Focused primary inbox — Move promotional or social messages out of the primary inbox to surface critical tasks.
Labels vs Folders
Folders remove messages from their original context. Tags preserve context and enable multi-dimensional sorting. Implement a tagging taxonomy to support billing, client tracking, and team collaboration.
| Feature | Folder | Tag |
|---|---|---|
| Multiple categories | No | Yes |
| Non-destructive | No | Yes |
| Shared system | Limited | Scalable (enterprise-ready) |
How to Create New Labels for Your Inbox
Access the side panel plus sign to initiate a new label and enforce consistent categorization.
Navigate to the left side of the inbox. Click the plus sign (+). Enter a concise label name. Save the entry. The new label appears in the side menu for immediate use.
Open Settings → See all settings → Labels to manage structure. Use the Labels tab to create nested labels per the Gmail help documentation. Nesting produces a hierarchy for project-level organization.
- Create a new label directly from an open message to tag ongoing conversations without leaving the view.
- Use the search bar to check existing names and avoid duplicates.
- Assign the label name to filters so future emails route automatically.
| Action | Location | Result |
|---|---|---|
| Click plus sign | Side panel | Create new label instantly |
| Manage labels | Settings → Labels | Nested structure and global control |
| Create from message | Message menu | Fast tagging without navigation |
For deeper troubleshooting and step-by-step guidance on filter integration, reference the filter setup and troubleshooting guide.
Mastering Gmail Labels Automation
Configure precise search terms to capture only the messages that matter.
Use the search bar to define sender addresses, subject keywords, or attachment presence. Test queries until results match target email conversations. Keep criteria narrow to avoid false positives.
Setting Up Search Criteria
Enter the determined criteria in the advanced search fields. Include exact phrases in quotes. Add size or has:attachment filters when required. Save the query for verification.
Applying the Filter
Click create filter. Choose the action to automatically label matching messages. Select multiple tags when one conversation spans projects.
Skipping the Inbox
Enable the option to skip the inbox to archive incoming messages directly under the designated label folder. This keeps the primary inbox focused on urgent items.
- Test rules — Run search queries before finalizing.
- Use IF-THEN — Integrate third-party logic tools to extend conditional workflows.
- Save time — Automate to reduce manual tagging and preserve consistency.
Managing and Organizing Your Label System

Perform a periodic audit to keep the tag structure aligned with active projects.
Manage the label roster from the left-hand panel. Hover over a name to reveal the three-dot menu. Use that menu to edit, rename, or delete a tag quickly.
Editing and Deleting Labels
Open Settings → Filters and Blocked Addresses to view all active filters. Modify or remove filters to change how messages route in time.
Deleting a label does not delete the underlying emails. Tags are metadata — the messages remain intact and searchable.
- Rename a label when project names change — preserve continuity.
- Add labels to existing messages manually to incorporate older emails into the system.
- Perform quarterly audits to remove unused categories and reduce cognitive load.
| Action | Location | Result |
|---|---|---|
| Edit | Left-panel menu / Settings | Change name and nesting |
| Delete | Left-panel menu | Remove tag — messages remain |
| Manage filters | Settings → Filters | Modify routing rules and apply label changes |
Advanced Filtering Techniques for Better Productivity
Configure multi-criteria filters to surface high-value messages and suppress noise.
Flag VIP senders. Route newsletters and system notifications to archive automatically. This keeps the primary inbox focused on action items.
Use keyword detection — for example, “invoice” — to automatically label emails that include attachments or require immediate review. Combine sender AND subject rules to reduce false positives.
Enable Priority Inbox sections. Add label-based sections for project streams. This creates visual separation for urgent threads and long-running email conversations.
- Save time — create filter rules that handle routine messages.
- Increase productivity — ensure critical emails surface first.
- Scale control — chain criteria to manage hundreds of daily messages.
| Technique | Use Case | Result |
|---|---|---|
| VIP filter | Key clients | Always flagged in inbox |
| Keyword + has:attachment | Invoices | Auto-label and archive |
| Label-based section | Projects | Focused workflows |
Using Email Aliases to Trigger Automatic Labels

Assign unique recipient variations to channel incoming mail into designated categories.
Append a plus sign to the local part of an address to create an alias. This produces addresses like cassy+news@solarmora.com.
Use that alias when subscribing to newsletters. Then create a filter that targets the exact alias and apply a new label at delivery. The system will automatically label matching emails and reduce clutter in the primary inbox.
Creating Plus Sign Variations
Form aliases by inserting a plus sign and a short name. Examples — +news, +receipts, +vendor. Use concise naming to ensure fast recognition.
Routing Specific Newsletters
Set a filter that matches the alias. Choose the action to apply label, skip the inbox, or archive. Test with a sample message to confirm routing.
- Use unique alias names to identify the source of each subscription.
- Map each alias to a specific label for consistent classification.
- Audit alias-to-label mappings quarterly to remove stale subscriptions.
| Alias Pattern | Use Case | Filter Action |
|---|---|---|
| user+news@domain.com | Newsletters | Apply label; skip inbox |
| user+receipts@domain.com | Purchase receipts | Apply label; archive |
| user+promo@domain.com | Promotional offers | Apply label; move to folder |
Troubleshooting Common Labeling Issues
Run targeted searches to validate that rules capture the exact email conversations intended.
Verify filter criteria. Use the search bar to test sender, subject, and keyword combinations. Confirm results match target messages.
If automation fails to apply labels to existing messages, note this constraint — filters act on new arrivals only. Manually add a label to historic messages when required.
- Open Filters and Blocked Addresses in settings to find conflicting rules.
- Update filters after renaming a label name to preserve continuous routing.
- Click create filter again when parameters require adjustment; then test with sample emails.
| Problem | Check | Action |
|---|---|---|
| Missing on old messages | Retroactive rule | Manually apply label |
| Expected label not appearing | Conflicting filter | Delete or edit via Filters tab |
| Too many matches | Broad criteria | Refine with exact phrases |
Audit filters regularly. Consult the how to automatically label emails guide for step-by-step recovery and advanced fixes.
Streamlining Your Workflow for a Clutter-Free Inbox
Establish a daily 30-minute routine to process new messages. Triage into Action, Follow-up, and Later. Maintain strict rules to reduce decision fatigue.
Apply label and archive non-urgent emails immediately. Use a Zero Inbox approach to keep the primary inbox focused on tasks that require attention.
Create a small set of filters to automatically label incoming mail. Test each rule, then click create to enforce routing. Review mappings weekly to preserve organization and productivity.
Consistent execution saves time. A disciplined system makes it simple to organize emails and maintain long-term control over the inbox.