Question: What if one simple schedule change could cut distractions and double deep work output?
Implement a dedicated google calendar secondary calendar to isolate focused sessions from routine tasks. Create clear time blocks—no overlap. Reduce context switching and cognitive load.
Name the primary schedule with a distinct name so project timetables remain separate. Use the platform interface on the main page to add or hide entries. Configure color codes and access controls.
Segment professional time into structured slots. Track results. Iterate the system to maximize uninterrupted work and measurable throughput.
Key Takeaways
- Create a dedicated secondary calendar to separate deep work from admin tasks.
- Assign a unique name to the primary calendar for clarity and hierarchy.
- Use the platform page to manage visibility and permissions.
- Color-code and time-block for reduced cognitive load.
- Measure session outcomes and refine scheduling rules.
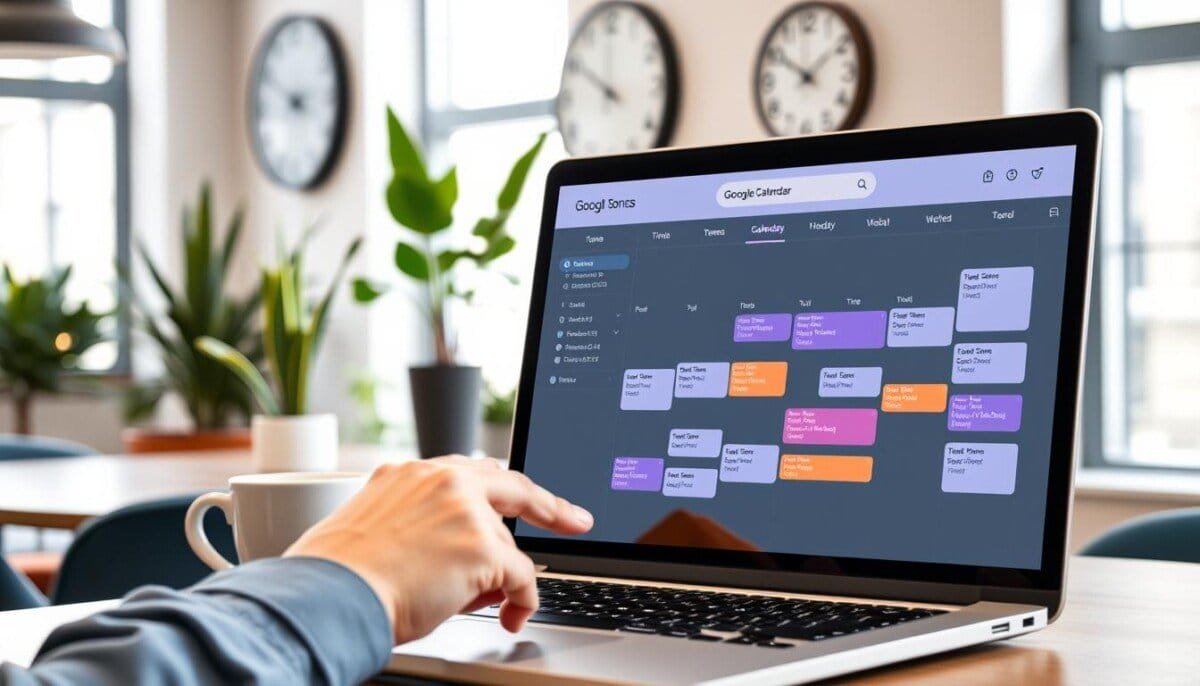
Understanding the Benefits of a Google Calendar Secondary Calendar
Add a separate scheduling layer to isolate project work and reduce visual clutter. This enables precise control of time blocks and task categories.
Key functional advantages—create distinct calendars for specific needs. Use an example like “Football” to log practices and game dates. This preserves the main view.
- Distinct calendars categorize events—improve retrieval and reporting.
- The owner retains full administrative control—transfer or delete only by the owner.
- A shared calendar provides organization-wide visibility for holidays and meetings.
- Multiple schedules isolate workflows from personal or core work timelines.
| Use Case | Visibility | Control |
|---|---|---|
| Football schedule | Team members | Owner-managed |
| Company holidays | Organization-wide | Admin or owner |
| Deep work blocks | Personal view | Private owner control |
For mobile scheduling tools and integrations, consult this guide on mobile app scheduling.
How to Create Your New Deep Work Calendar

Begin the setup on a computer to add a new focused work calendar. Creation is available only via the browser interface.
Accessing the Settings Menu
Open the web view and locate the left side of the page. Click the plus icon next to “Other calendars” to open the menu.
Choose the dropdown option to create new. The action redirects to the settings page for the new calendar.
Naming and Saving Your Calendar
Enter a concise name that reflects the work type. Click the “Create calendar” button to finalize.
- A gray banner at the bottom of the page confirms that the new calendar is being created.
- When the banner disappears, click the arrow at the left of settings to return to your list and verify the calendar is active.
- As the owner, schedule deep work events on this calendar to keep them separate from primary entries.
Example: create a dedicated calendar for uninterrupted blocks. Shared calendar options remain available for later collaboration.
Customizing Your Calendar for Better Focus

Assign distinct colors to focused sessions to reduce visual noise and speed recognition.
Open the interface and locate the deep work schedule on the left side of the page. Use the options menu beside the name to apply a hue. Changes apply instantly across all linked events.
Color Coding for Visual Clarity
Purpose: Improve scan time and reduce context switching.
Method: open google calendar, find the deep work entry in the list, then select calendar click to reveal the palette.
- Pick a unique color family for focused blocks—avoid hues used by meetings.
- Use “Add custom color” to create a distinct visual token for deep work.
- Maintain a short list of calendars with clear names to prevent fatigue.
- Apply the color immediately; confirm via the events on the main page.
| Action | Location | Effect |
|---|---|---|
| Create new color | Options menu — left list | Distinct deep work visibility |
| Rename calendar | Settings — name field | Faster identification in lists |
| Apply color | Calendar click on page | Uniform color across events |
Managing Your Secondary Calendars for Long-Term Productivity
Run periodic checks on all calendars to ensure ownership, permissions, and relevance.
Open google calendar and review the left-side list. Remove any obsolete entries via the options menu on the left.
Use the Settings and sharing page to copy the Integrate section Calendar ID. Transfer the owner before deleting a user account to prevent loss—note: starting in early 2026, group calendars are deleted if their owner is removed.
Create clear name conventions when you create new entries. Audit events and settings regularly to maintain long-term focus. See guidance on secondary calendar management for ownership transfer steps.