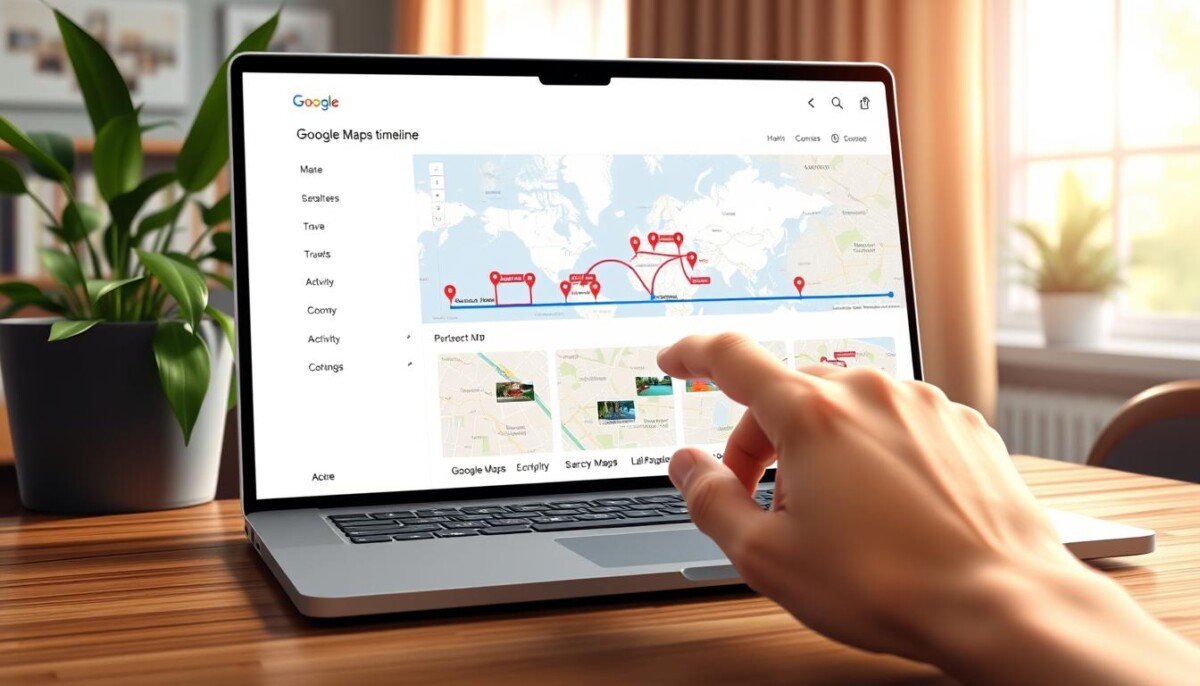
Can one simple record change how you recall a whole month of trips? This question matters if you care about where you went, when you went, and how that data lives on your devices.
The timeline feature automatically saves visits and routes when you sign in on your phone or other device. It helps you go back in time and remember places and routes with clear day-by-day entries.
Backups keep your history safe. When you choose to back timeline data, an encrypted copy stays on servers so your activity remains available if you switch devices.
This section explains what the system records, how to view that location history in the web app or mobile app, and which settings let you control what is stored. You will learn how to edit entries, export data, and protect your privacy while keeping useful records for work or travel.
Key Takeaways
- Timeline saves daily routes across signed-in devices for easy recall.
- You can view and edit location entries in the web app or app to correct errors.
- Backing up timeline data creates an encrypted cloud copy for device changes.
- Adjust activity settings to balance convenience and privacy.
- Exporting lets you keep an offline record of months or years of activity.
Understanding the Google Maps Timeline Guide
Use this overview to learn what your location record stores and how it ties to your account settings.
This google maps timeline guide is designed to help you track and manage location history tied to your google account.
The feature acts like a digital diary. It logs visits and routes so you can review trips and patterns later.
- Clear control: Turn history on or off from your account settings.
- Easy edits: Fix places or remove days to keep records accurate.
- Personal insights: See habits and frequent places at a glance.
| Feature | What it records | Where to change | User control |
|---|---|---|---|
| Daily routes | Start/end points and path | Activity controls in account | Enable/disable per device |
| Visited places | Addresses and timestamps | Location history settings | Edit or delete entries |
| Backup | Encrypted cloud copy | Account backup options | Restore or export data |
Getting Started with Location Tracking
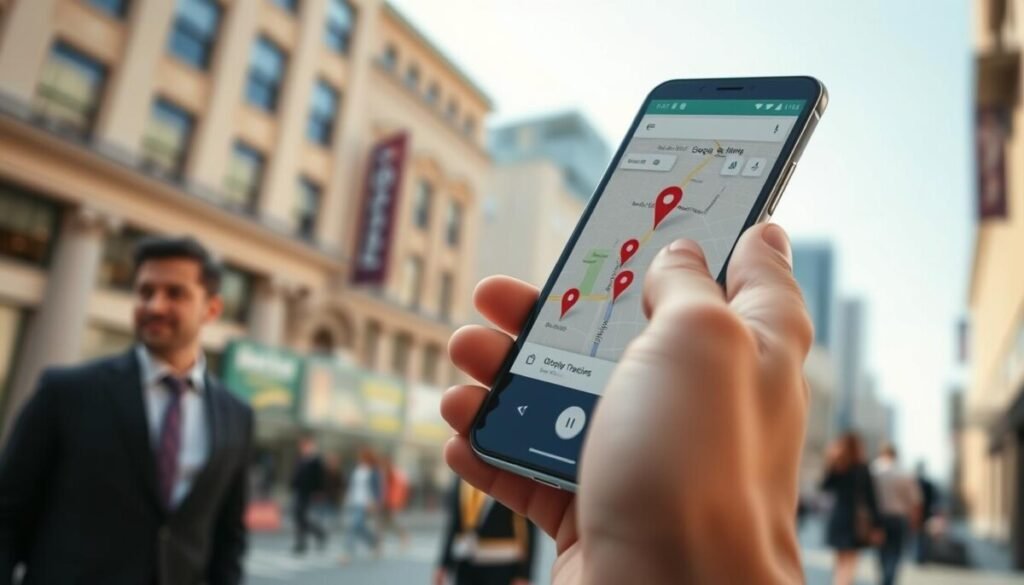
Prepare your device before you turn on history. Update the app to version 11.106 or higher so advanced tracking features work. Note that the feature is off by default and unavailable on Android Go devices.
Enabling Timeline
You must enable the timeline manually to give consent for saving location data. Tap your profile picture in the app, open the privacy section, and follow prompts to turn on recording.
Once enabled, your phone regularly saves precise location info even when you do not actively use apps. The system combines GPS, Wi‑Fi, and mobile signals to log visits and routes.
Understanding Privacy Settings
Control what is stored. Manage home and work addresses to improve accuracy. Each device keeps its own timeline, which helps keep data localized and easier to review.
- Check activity settings often to match your comfort level with location use.
- Example: visiting a restaurant will record when and where you stopped, visible on your day view.
- Use account privacy options to pause or delete history for specific days or devices.
Managing and Backing Up Your Location Data
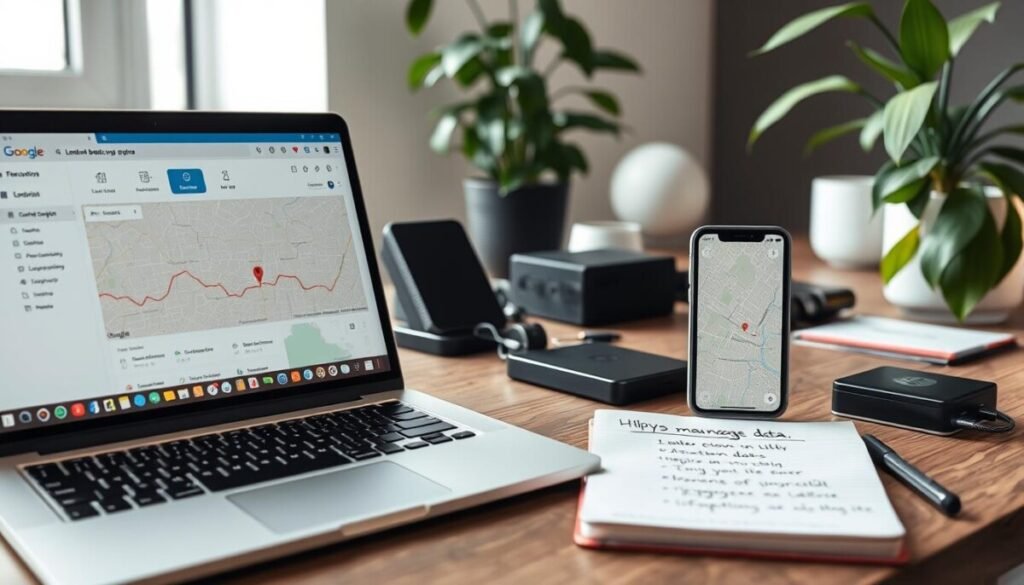
Encrypted backups let you restore detailed day-by-day location data to a new phone. Backing up is the simple step that keeps months of places and routes safe if a device is lost or damaged.
Turn on backups per device. Open the app, go to your timeline screen, and tap the cloud icon at the top right to start encrypted backups.
Restoring Encrypted Backups
If you need to restore, sign into your account on the new device and open settings in the web app or phone app to access backups. The service pulls the encrypted copy from servers and returns your day entries.
Keep this in mind: you must opt in on each device. If an encrypted file is locked, you may need to enter your password on the original device to regain access.
- Backups protect history across devices and time.
- Manage web app activity to control what services and sites can use stored information.
- Verify backup settings often to avoid accidental data loss.
| Action | Where | Outcome |
|---|---|---|
| Enable backups | Timeline screen, top right cloud | Encrypted copy saved to servers |
| Restore | Account settings in web app or app | Data restored to new device |
| Lock recovery | Original phone | Re-enter password to unlock |
Editing Your Travel History and Places

Fixing errors in your recorded trips keeps your history useful and accurate. Use quick edits to correct places, adjust times, and set units so entries match reality.
Correcting incorrect locations
Open the day view and tap the entry that looks wrong. Then tap the edit icon at the bottom right to change the place or remove the visit.
If a spot is missing, search for it in the app and add it manually. This keeps your location data complete for work or travel review.
Adjusting visit times
If arrival or departure times are off, edit the start or end time on that entry. Precise times help when you track hours, trips, or monthly activity across devices.
Switching distance units
To view miles or kilometers, open navigation settings on your phone and toggle units. That change applies to route summaries and daily totals.
- Tap edit to fix place, time, or travel mode (walking, driving, biking).
- Use the calendar at the top of the screen to jump to any specific day.
- Correcting entries also improves services that rely on aggregated activity data.
| Action | Where | Result |
|---|---|---|
| Edit place | Day entry → edit icon | Correct location in your history |
| Adjust time | Entry details | Accurate arrival/departure stamps |
| Change units | Navigation settings | Miles or kilometers in routes |
Exporting and Deleting Your Timeline Information
You can move months of location records to a file or erase them to free space and protect privacy.
Exporting is simple: open your phone’s location settings and choose the export option to save a copy of your day-by-day activity for offline use.
To remove history, the app lets you delete a single day, a range, or all timeline information at once. Use the delete controls in the day view or settings to clear entries you no longer want.
The auto-delete feature can remove data older than 3 months, 18 months, or 36 months. This helps manage storage and keeps older activity from accumulating; see how to manage automatic deletion for details: manage automatic deletion.
Note: turning off or deleting backups does not erase timeline data stored on other devices. Deleting on one device won’t remove copies kept elsewhere. Also, removing timeline entries does not delete unrelated location info saved by other services in your account.
| Action | Where | Effect | Notes |
|---|---|---|---|
| Export data | Location services settings on phone | Creates offline file of days and routes | Keep secure backup for audits |
| Auto-delete | Activity or privacy settings | Removes data older than 3, 18, or 36 months | Applies going forward only |
| Delete backups | Backup settings per device | Removes encrypted device backup from servers | Does not erase device-stored history |
| Delete days | Day view in app or web app | Removes specific visits or whole days | Use to correct or prune records |
Conclusion
Take charge of your travel record by reviewing entries, editing mistakes, and setting clear limits on what is saved. Use the tools in the app and your account to back up or remove days so your location data matches your comfort level.
Mastering the google maps timeline helps you keep a precise log of routes and places while protecting privacy on each device. Small actions—changing settings, pruning old entries, or exporting key files—keep your records accurate and secure.
Check your history from time to time. That habit keeps your stored data useful, helps with searches for past trips, and makes the record fit your life and work.