Can a few scheduled messages change your professional reach overnight?
Mastering a simple scheduler helps you keep a steady presence on the platform without being tied to your desk. This brief guide shows a clear path for planning content, picking the best times, and using the native scheduler or a third‑party tool.
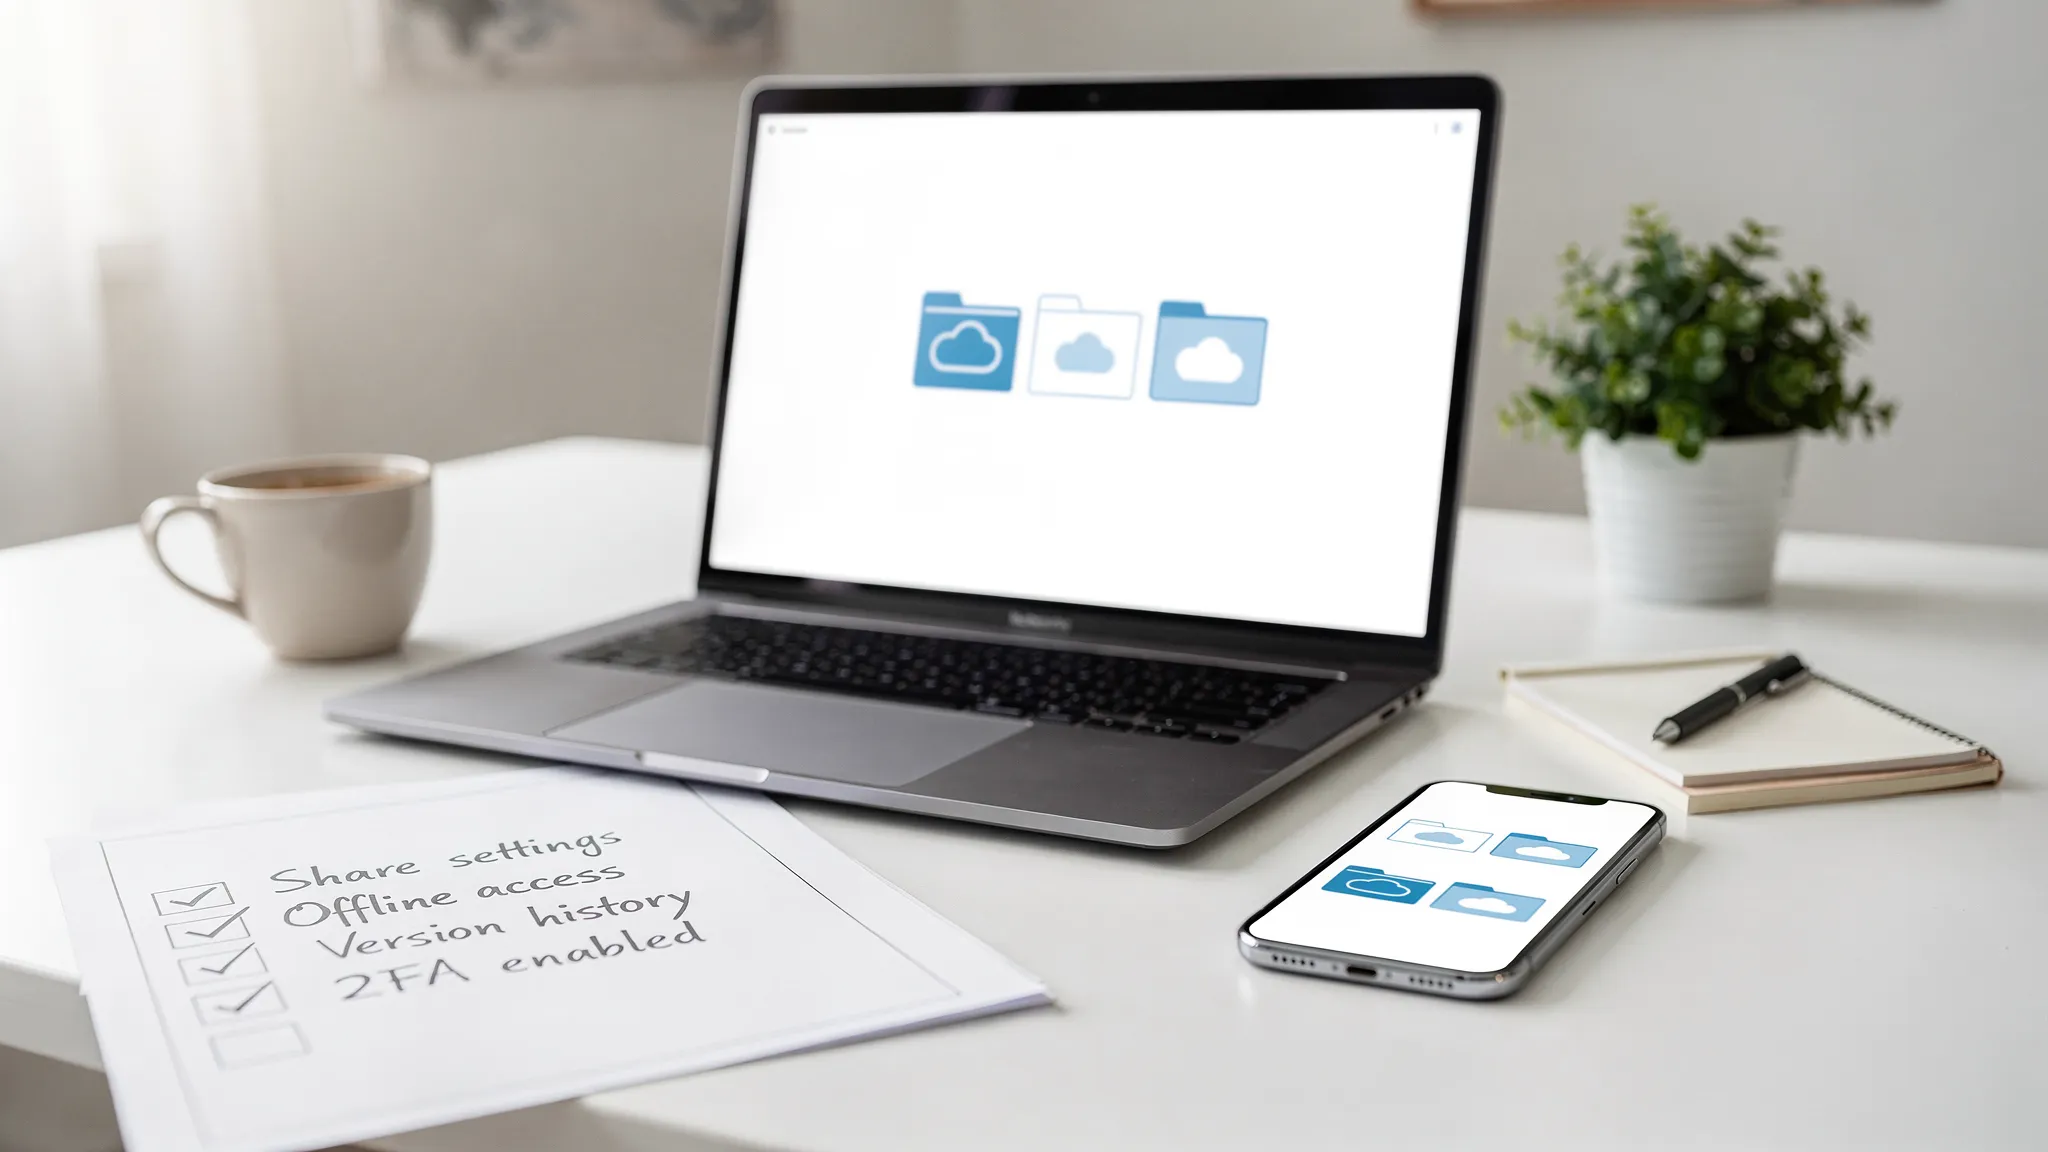
You will learn to create posts that boost visibility and engage your audience. We cover practical steps like using the clock icon to select date time options and how to view scheduled posts before they publish.
Expect actionable tips on content types, media handling, and calendar workflows that save hours each week. The goal is firm: make scheduling linkedin straightforward and reliable so your marketing gains momentum.
Key Takeaways
- Use a scheduler to keep a consistent professional presence.
- Pick optimal posting times and confirm with the clock icon.
- Combine the native scheduler with tools for scale.
- Create concise content and test images for higher visibility.
- Always review the view scheduled posts screen before publishing.
Why Consistent LinkedIn Posting Matters for Your Brand
Consistent posting builds a reliable brand signal that audiences notice and trust. With more than 1 billion members as of 2025, the platform is a primary place for professionals to find expertise and partners.
The Power of Professional Networking
Seventy-five million organizations are registered, so you must make sure your brand stands out. Regular updates help you connect with decision-makers and peers.
Impact of Regular Posting
Posting a minimum of three times per week keeps you on your audience’s radar. Short, valuable content builds authority and invites meaningful engagement.
- Visibility: Active profiles get more organic reach from the algorithm.
- Authority: Frequent, high-quality post updates build thought leadership.
- Leads: Relevant content at the right time converts interest into contacts.
Use scheduling and a simple calendar to plan media and message themes. That small effort saves time and increases consistency across social media channels.
How to Schedule LinkedIn Posts in Advance Using Native Tools
The native scheduler makes it simple to lock in publishing times without extra software. LinkedIn introduced this built-in tool in 2022 and it supports planning up to three months ahead.
Start by logging into your account and clicking the start post button on your homepage. Create post content, then click the clock icon at the bottom left to open the scheduling menu. Once you have everything ready, you can enhance your post with custom fields setup in monday.com to track important information. This will allow you to categorize and manage your content more effectively. Be sure to review the options available to personalize your fields according to your project’s needs.
Pick your preferred date and time within the three-month window. Use the calendar controls to set precise times and confirm the date before saving.
Want to double-check? View scheduled posts from your profile or page to confirm copy, media, and timing. This built-in tool supports images and video, but it does not allow polls or events.
- Use when: you prefer a simple scheduler without third-party tools.
- Note: company page scheduling requires admin access.
- Benefit: planning content in advance keeps your presence steady and your audience engaged.
Limitations of the Built-in LinkedIn Scheduler
While the platform’s native scheduler helps you set times, it does not cover every real-world need. The tool is fine for quick updates, but several restrictions affect professional routines and team workflows.
Restricted Post Types
The native scheduler blocks several post formats. You cannot queue polls, events, or job offers with the built-in tool.
This limits creative formats and excludes some social media campaigns. If your strategy needs rich media or interactive posts, you will hit a ceiling fast.
Lack of Editing Capabilities
One major drawback is that you cannot edit scheduled posts once they are saved.
If you must change content or the date of scheduled posts, you must delete the original and create a new entry. There is no preview mode, so you may not see the final layout until the post is live.
- Planning horizon: the native scheduler caps scheduling at three months.
- Team limits: it lacks shared calendars and approval workflows for a company page.
- When this matters: errors are harder to fix under heavy workloads, pushing serious teams toward third-party schedulers.
Benefits of Using Third-Party Scheduling Platforms
A robust third-party tool gives teams visibility and editing control over queued material. These platforms lift the three-month limit and let you plan far beyond the native window.
Use a professional scheduler and you gain a calendar view that makes content planning clear. Teams see what goes live and when. Managers approve edits without deleting drafts.
Platforms like HeyOrca let you publish across multiple social media networks at once. That saves time and reduces manual posting errors.
- Batch creation: prepare many posts and set staggered times for steady audience reach.
- Collaboration: approval workflows and role-based access speed decision cycles.
- Analytics: built-in reports show performance and guide content choices.
| Feature | Native Scheduler | Third-Party Tool (e.g., HeyOrca) |
|---|---|---|
| Scheduling Horizon | Up to 3 months | 6+ months or custom ranges |
| Team Collaboration | Limited | Approval workflows and roles |
| Edit Scheduled Posts | No | Yes |
| Cross-network Publishing | Single platform only | Multiple social media networks |
Step-by-Step Guide to Scheduling with Professional Tools
A reliable scheduler turns scattered ideas into a steady stream of brand messages. Use a professional tool and you gain clarity, edit control, and a calendar view that teams actually use.
Connecting Your Accounts
Start by linking your company page and personal profiles to the platform. For example, 100 Pound Social connects accounts via HeyOrca for seamless management.
Grant the required permissions and assign roles so admins can create post drafts and approve content without repeated logins.
Setting Up Your Calendar
Use the calendar view to block themes, plan media, and pick ideal times. Select date and time settings for each entry and set clear publishing windows.
Tip: batch similar content types and reserve peak slots for high‑value posts. This reduces friction and saves roughly 20 hours per month for many teams.
Previewing Your Content
Always preview scheduled posts before finalizing. The platform shows a live layout of the linkedin post, images, and captions.
- Click the clock icon or the start post trigger in the tool to set times.
- Use the calendar view to review scheduled posts across the month.
- Approve final drafts, then publish or export the queue as needed.
Outcome: a repeatable workflow that increases visibility and gives you full control over posting, media, and audience timing.
Optimizing Your Content for Maximum Reach

A sharp hook and compelling visuals stop users mid-scroll. Use a bold first line and pair it with an image or short video that connects to the message.
High-value content wins attention. Create posts that teach or solve a specific problem. That makes your updates more likely to be shared on social media and discussed by peers.
Analyze performance regularly. Track which content formats get the most reactions and comments. Use that data to repeat formats that work for your audience.
- Lead with a hook in the first two lines to increase dwell time.
- Include clear visuals or short video that illustrate the point.
- Tailor messages to the interests of your professional network.
Consistency matters. Fill your calendar with useful insights that invite replies and debate. Engage in industry conversations to demonstrate expertise—algorithms favor meaningful interaction.
| Tactic | Impact | Effort |
|---|---|---|
| Hook + visual | High reach, more shares | Low (10–20 minutes) |
| Educational thread | Increased authority | Medium (30–60 minutes) |
| Active replies in discussions | Boosted visibility | Low (daily) |
| Performance review | Better content fit over time | Medium (weekly) |
For tips on recurring publishing and calendar alignment, consult this recurring scheduling guide. Apply findings and you will see each post reach more of the right people.
Best Times to Publish for Higher Engagement
Targeting peak workday moments drives more meaningful reactions and saves wasted reach. Use data-driven timing when you plan scheduled posts and align them with audience routines.
Top-performing windows are consistent across many professional networks. The clearest gains appear on these days and times:
- Tuesday — 8:30 AM: strong morning engagement as people settle into their day.
- Wednesday — 9:00 AM: midweek attention spikes for thought leadership and tips.
- Thursday — 1:00 PM: good for business updates and media shared during lunch breaks.
Use a reliable scheduler so your linkedin post hits these exact times and does not get buried. Then view analytics and refine the date and time mix for your specific audience.
| Day | Optimal Time | Why it works |
|---|---|---|
| Tuesday | 8:30 AM | Morning routine, higher attention on professional content |
| Wednesday | 9:00 AM | Peak midweek focus; good for thought pieces |
| Thursday | 1:00 PM | Lunch browsing; higher click-through on media-rich posts |
Remember: timing boosts reach, but quality content drives long-term engagement. For recurring timing tactics and event-driven queues, see this best practices guide on scheduling tweets for events: event scheduling tips.
Strategies for Batching Your Content Creation

Batching reduces friction by grouping similar creative tasks into focused sessions. Block a few hours each month and you can produce a full month of content quickly.
Set one weekly session for writing and one for editing. Use those slots to draft, proof, and attach media. This keeps your workflow steady and removes daily pressure.
Use a content calendar to map themes, rotate formats, and mark key dates. A clear calendar prevents last-minute rushes and helps you refine messages before they publish.
- Plan monthly: batch similar post types together for faster output.
- Reserve weekly time: write drafts and finalize captions.
- Leverage AI: generate topic ideas and outlines, then polish them.
- Keep a bank: hold scheduled posts for evergreen use and react when news breaks.
For a practical checklist and step-by-step method, see the content creation batching guide. This approach saves time and improves consistency across social media channels.
Managing Team Collaboration and Approval Workflows
A shared platform keeps every draft visible and every stakeholder accountable. Use one hub where scheduled posts are queued, reviewed, and approved before they go live.
Define roles clearly. Assign creators, editors, and final approvers so responsibility is never vague. This prevents duplicate work and missed deadlines.
Use a shared calendar to align content and media with campaign timelines. A calendar reduces communication gaps and keeps the brand voice consistent across accounts.
- Build approval workflows that require sign-off before a post publishes.
- Keep feedback and revisions in one thread to save time and cut errors.
- Run regular review meetings to refine the process and clear blockers.
For teams managing many clients, structured workflows are essential. They improve quality control and streamline scheduling across accounts. If you need platform options and best practices, consider this guide on published scheduling services and insights on mobile vs desktop scheduling.
Streamlining Your Social Media Presence for Long-Term Growth
A clear publishing rhythm turns scattered updates into a steady growth engine for your brand.
Streamline your social media presence by learning to schedule linkedin posts and by using a simple calendar workflow. Use the clock icon and the start post controls to set dates and times, then view scheduled posts regularly for accuracy.
Combine the native scheduler with a third-party tool when you need editing, approvals, or bulk uploads. Optimize images and text so each linkedin post reaches the right audience at prime times and delivers measurable visibility for your marketing.
See practical event planning and timing advice in this event scheduling tips guide and start treating queued content as a long-term asset that fuels growth.