One in four organizations relies on Internet Free/Busy to protect meeting details while keeping scheduling efficient. This statistic highlights scale — large deployments require consistent privacy controls.
Configure sharing to expose only availability. Navigate to the File tab and select Options to manage how information publishes. Publish to a specific URL to limit visible details to status only.
Adjust permissions so users see status without event text. Use the desktop app on Windows or the web interface to set per-day work hours and location options. This ensures time slots update automatically for each meeting request.
Address common questions by validating settings, toggling location visibility, and confirming admin policies. For a step-by-step on scheduling work hours and location controls, consult this guide: schedule office hours in Outlook.
Key Takeaways
- Publish availability via IFB to hide event details.
- Use File > Options to configure sharing and permissions.
- Set work hours and location in Windows or web interfaces.
- Limit exposed information by disabling location sharing.
- Confirm org policies; some features require a work or school account.
Understanding Outlook Calendar Busy Free Functionality
Explain how standardized .vfb files and iCal rules drive status sharing between connected users.
Standards determine what information others see. The IETF iCal specification sets the protocol for exchanging availability. Outlook stores availability snapshots as .vfb files to ensure consistent interpretation across systems.
The Role of iCal Standards
The iCal format encodes event data and visibility flags. Systems read those flags to show only necessary details. Default publishing occurs every 15 minutes to keep times accurate.
How Scheduling Assistant Interprets Status
The Scheduling Assistant maps event attributes to a color grid. Status values—Busy, Tentative, Out of Office—render visually for others. Users can force an update via the Send And Receive option on the Tools tab in Windows clients.
| Component | Representation | Default Interval |
|---|---|---|
| Standard | iCal (.ics rules) | N/A |
| File Type | .vfb snapshot | 15 minutes |
| Control | Send And Receive (Tools tab) | Manual override |
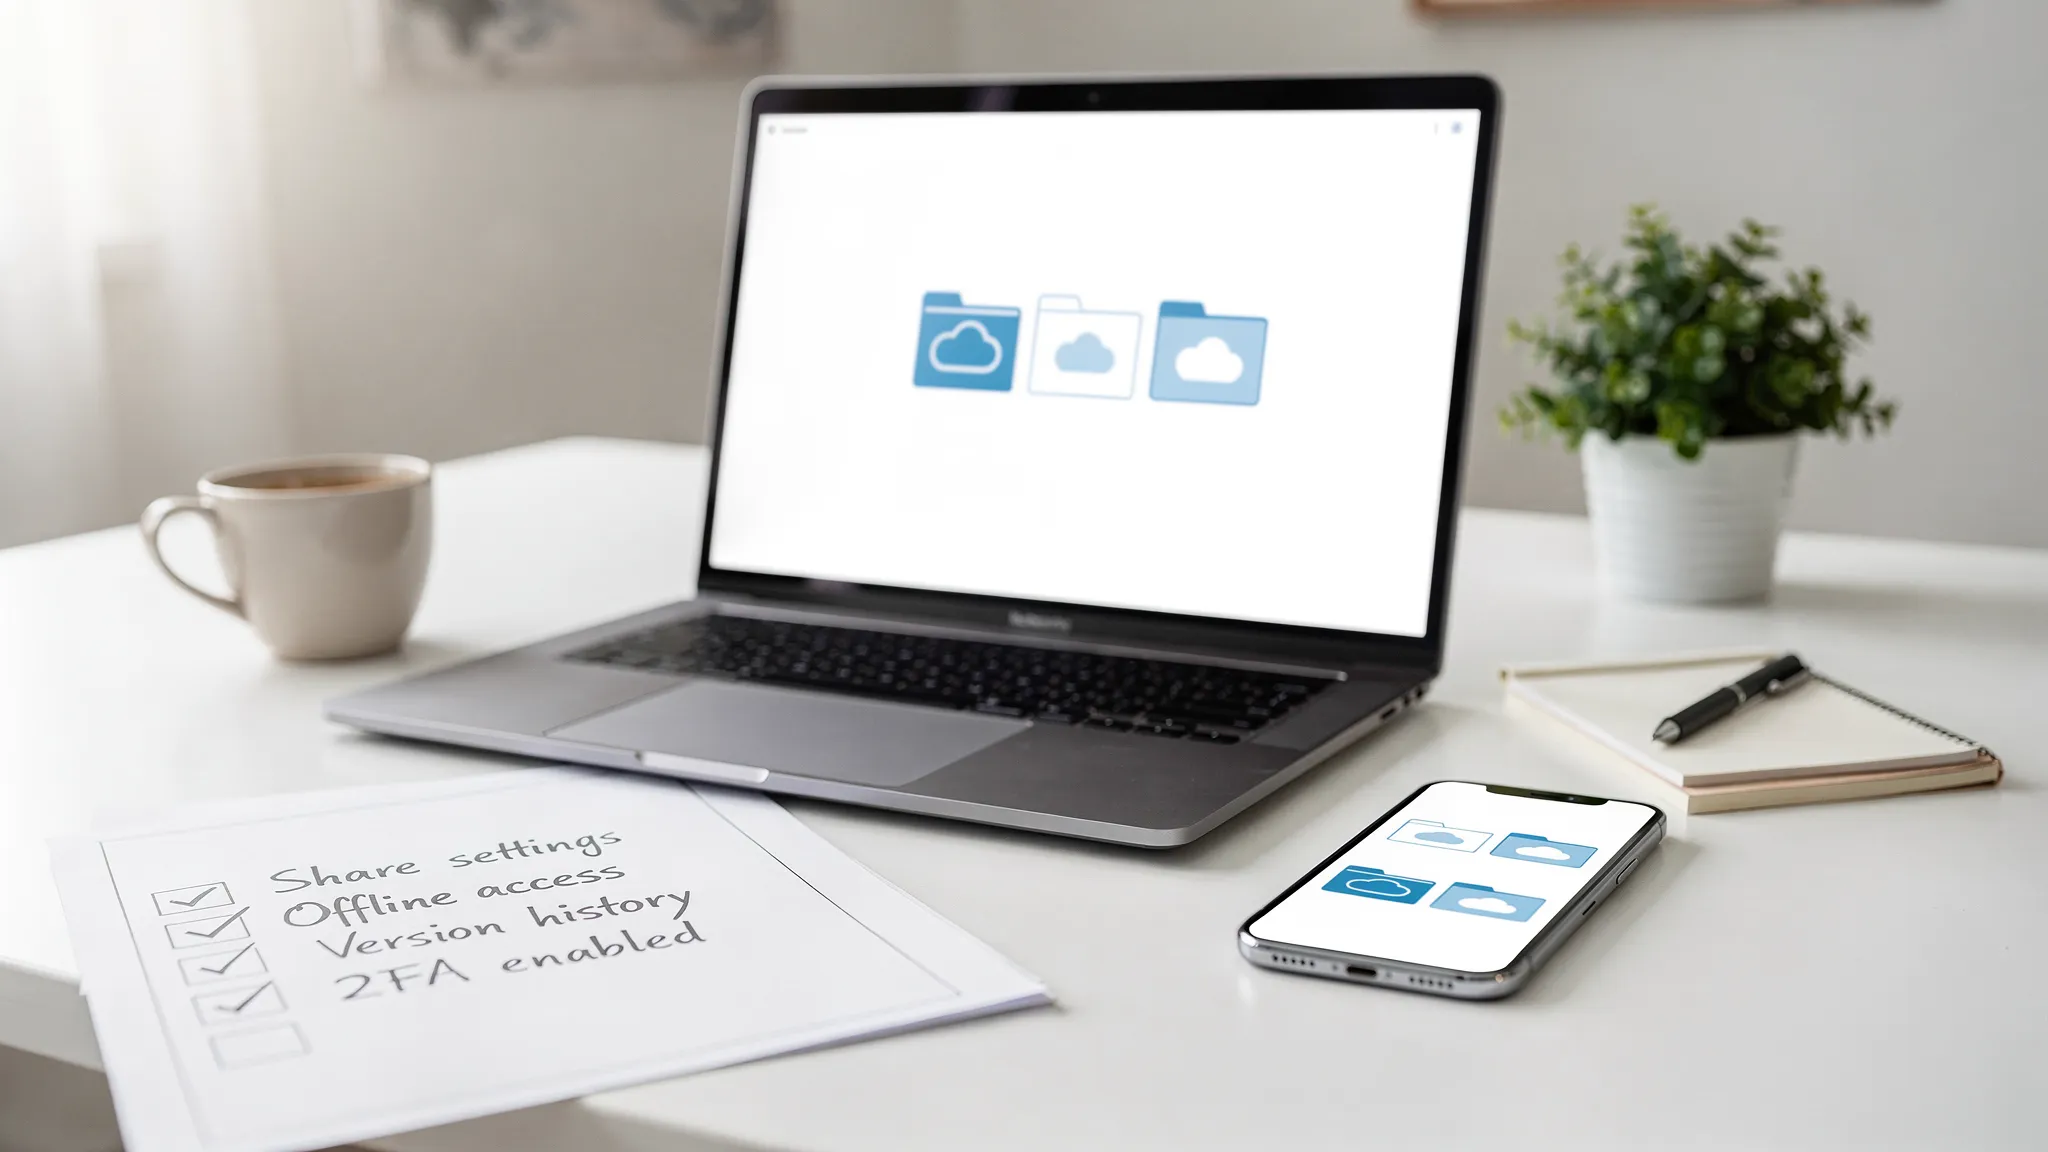
- Manage the list of calendars to limit exposed information.
- Verify options and permissions to control location and event text.
Configuring Your Calendar Visibility Settings

Open the Free/Busy Options in the Calendar section of settings to begin. Select the Free/Busy Options button—confirm the options and default publishing interval. Once you have adjusted the settings, you can easily share availability in Google Calendar with your colleagues or clients. This feature will help streamline scheduling by allowing others to see when you are free. Be sure to update your sharing permissions to maximize its effectiveness. In addition to sharing availability in Google Calendar, you might also consider syncing calendar with Salesforce to enhance your workflow. By integrating these platforms, you can ensure that all your appointments and tasks are aligned, allowing for better time management. This synchronization can significantly improve your productivity by keeping all critical information in one place.
Provide a fully qualified path when publishing to an FTP server—example: ftp://username:password@Ftpservername/Freebusy/Myname.vfb. Use supported URL formats—http://, file://, or ftp://—to publish status to a central server.
Use the Permissions tab to assign which users may read availability information at the specified location. Set the global free busy search path so all contacts resolve to the same source for times and status.
- Define the publish path—ensures meeting availability updates across systems.
- Assign permissions—limit which users access information on the server.
- Validate URL format—confirm http, file, or ftp conforms to network policy.
Confirm settings after changes. Test by creating a short event and verifying that the default availability transmits to other calendars and user agents.
Managing Permissions for Specific Contacts

Grant targeted visibility by assigning a custom search path on each contact entry. Open the contact details and enter the address in the Internet Free‑Busy box. This directs availability queries to a chosen source.
Setting Custom Search Paths
- Use Business Card view on the Home tab in Outlook 2013 or later to edit contact details.
- Enter a fully qualified URL—example:
ftp://%SERVER%/Freebusy/%NAME%.vfb. - The system replaces
%NAME%with characters before the @ and%SERVER%with characters after the @ in an SMTP address. - Add new contacts to the list and define their specific search path to ensure accurate scheduling for every meeting.
Verify each path is fully qualified. Manage these settings on Windows to retain granular control over who can view event details. If questions arise, confirm the URL format and substitutions before changing permissions.
Mastering Your Calendar Privacy and Scheduling Efficiency
Enforce selective visibility to present availability without exposing sensitive event content. Set the default publishing path and permissions—apply the minimum info needed to coordinate meeting times.
Use the Scheduling Assistant to show status markers only. Grant permissions to specific users. Maintain accurate location paths for .vfb files so queries resolve correctly.
Review settings on a regular cadence. Update default options when role or policy changes occur. Validate event visibility and test changes from the web and desktop clients.
If questions remain about free busy configuration, consult the version-specific Microsoft guidance. For workflow optimization and advanced tips, see this guide on mastering calendar management.