Can a single configuration ensure every sent message waits the exact time required before transmission? Implement a system that enforces hold rules across the account. Configure the client to queue messages until the preset threshold elapses.
Follow a systematic method—set account rules, verify server hold, and audit outbox behavior. Each step must use precise settings to control when an email leaves the client. The procedure ensures organizational standards for timing and review.
Apply the native hold feature to keep a message in the outbox until the selected time. Validate rule scope so that every message and email adheres to the policy. Maintain logs and periodic checks to guarantee consistency.
Key Takeaways
- Implement a global rule to hold each sent email until the chosen time.
- Use client and server settings—verify both—to enforce the hold.
- Audit the outbox and logs regularly for compliance.
- Apply the native feature to control message transmission systematically.
- Test settings with sample messages before full rollout.
- Document the procedure for repeatable execution across accounts.
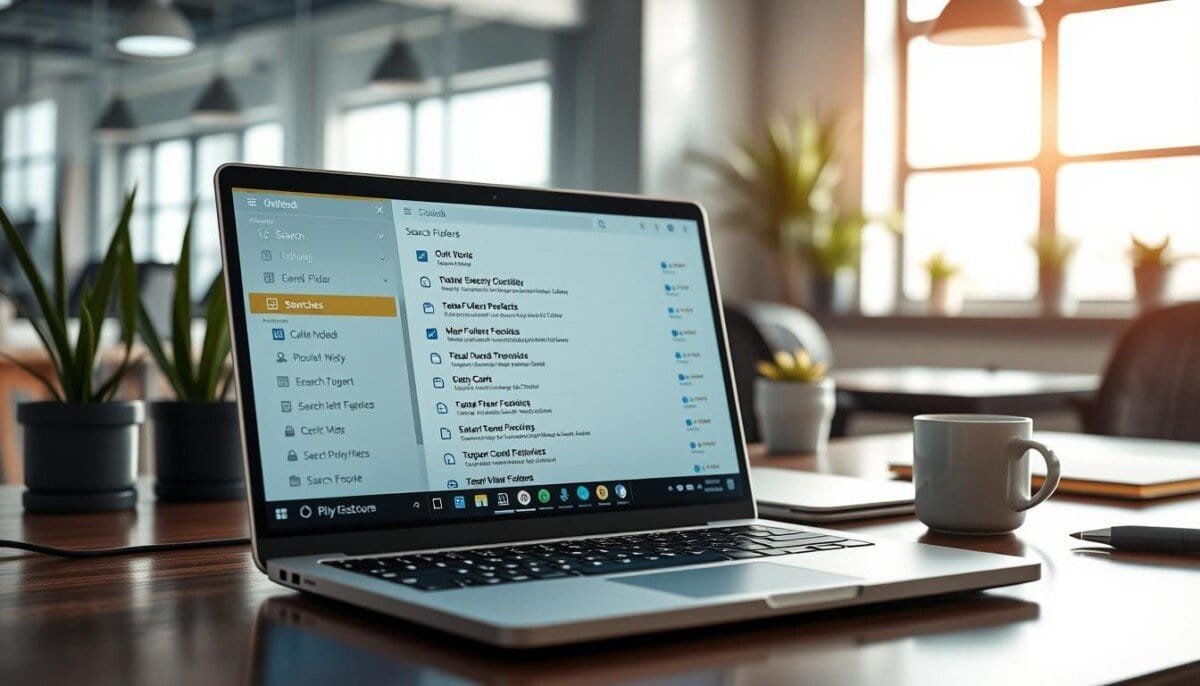
Understanding Outlook Delay Delivery Options
Choose a scheduled send slot so each email remains pending until the target time.
Configure the client to pick a specific date and time for a message. This sets a hold state so the message transmits only at the chosen moment.
The feature varies by version. Classic editions present a different interface than modern releases. Confirm the exact menu path in the installed version before applying a rule.
Use the available options to control when an email leaves the outbox. Professionals must map schedule choices to project deadlines and cross‑zone coordination.
- Choose a date and time to schedule send for a single message.
- Verify version-specific menus to apply the hold correctly.
- Ensure each message remains pending until the scheduled moment.
Master these options to maintain control over timing and to ensure consistent delivery behavior across accounts.
Scheduling Messages in Modern Outlook Versions
Choose the schedule send option beside the Send command to set a custom time for each message.
Desktop Application Steps
Open the compose window. Select the dropdown next to Send. Choose Schedule send and pick a date and time.
On Windows, monitor the outbox after the scheduled moment to confirm processing. Use the next send check if immediate transmission is required.
Web and Mobile Interface
In the web interface, scheduled messages remain in the Drafts folder until the set date. Edit the date by selecting the edit icon or the arrow in the managing tab.
Mobile users tap the clock icon next to Send. A valid Outlook email account is required to access this feature.
- To send immediately, open Drafts, select the message, then choose Send now.
- Many people use scheduling to align message timing with recipient work hours.
| Platform | Action | Storage |
|---|---|---|
| Desktop (Windows) | Select Schedule send from Send dropdown | Outbox at processing |
| Outlook Web | Edit date via edit icon or tab arrow | Drafts until date |
| Mobile (iOS/Android) | Tap clock icon next to Send | Drafts or scheduled queue |
Configuring Automated Rules for Outgoing Emails

Establish a global rule that holds every outgoing message for a defined interval before transmission.
Open the File tab in the classic version. Select Manage Rules & Alerts. Create a new rule that applies to messages sent.
Select the action to defer the send by a number of minutes. Enter the exact number—up to 120 minutes—so each email sits in the Outbox for the set time.
Setting Up Global Delay Rules
Do not add conditions. Leaving conditions blank forces the rule to apply to every message. Confirm the rule targets all accounts and the correct file profile.
- Access: File tab → Manage Rules & Alerts.
- Trigger: apply rule on messages sent.
- Action: defer by specified minutes (max 120).
- Scope: no conditions = global rule for all messages.
| Step | Action | Result |
|---|---|---|
| Open Rules | File → Manage Rules & Alerts | Access rule editor |
| Create Rule | Apply to messages sent; no conditions | Global scope |
| Set Minutes | Define number (1–120) | Messages held in Outbox for set time |
Troubleshooting Common Delivery Failures

Confirm network state and cache settings when scheduled messages fail to send.
Connectivity and Cached Mode Issues
Cached Exchange Mode stores delayed emails in the local outbox. This behavior causes send failures when the client is offline.
Switch to Online Mode by unchecking Use Cached Exchange Mode in Account Settings to force server sync. Keep the application open and connected at the scheduled time.
Managing the Outbox Folder
Check the outbox folder when a message does not go. Confirm the message appears and that the scheduled date is correct.
Perform regular maintenance—remove duplicates, clear stuck items, and resend when necessary. Update the rule if messages remain pending.
Verifying Account Synchronization
Ensure account synchronization is active and the client is not in an offline state. Verify the installed version is current and supports the scheduled send feature on Windows.
If problems persist, test with a single scheduled email. Confirm that the rule and account settings match the intended scope.
| Issue | Action | Result |
|---|---|---|
| Cached Mode | Disable Cached Exchange Mode | Server sync at send time |
| Offline Client | Open app and connect to network | Scheduled send occurs |
| Stuck Message | Inspect outbox; resend | Message processed |
Enhancing Email Productivity with Advanced Scheduling
Integrate automation tools to enforce precise timing for every outbound message. Add Boomerang or similar plugins to automate follow‑ups. Configure rules to pause the inbox and to queue messages by date and hours.
Enable natural language scheduling to set a custom time quickly. Use server‑side scheduling so emails send at the correct date and time even if the client is closed.
Standardize policies with a global rule and supplement with third‑party options for extra flexibility. Organizations gain richer options—automated follow‑ups, pause inbox, and cross‑zone send control.
For implementation details and step‑by‑step guidance, consult a focused guide on how to schedule an email in. Master these techniques to keep every message professional and timely.