65% of internal delays trace back to unclear availability notices. Implement a systematic status to prevent task bottlenecks. To streamline communication among team members, it is essential to manage Webex status efficiently. This ensures everyone is aware of each other’s availability, allowing for more productive collaboration. By establishing clear status updates, teams can minimize interruptions and stay focused on their tasks.
Enable the salesforce out of office status in chatter to signal unavailability and expected return date. Configure the profile message and settings before departure. Post a concise message that people can search and reference.
Use the Lightning experience to manage posts, reassign leads, and limit redundant email traffic. Update profile details—name, home location, and access dates—to preserve data integrity. Ensure customers and users receive clear information to reduce questions and case delays.
Key Takeaways
- Set the chatter status—announce dates and expected return.
- Craft a precise message to reduce email and question volume.
- Use Lightning to post status updates that people can search.
- Adjust profile settings to maintain data and customer access.
- Reassign leads before departure to preserve continuity.
Why Setting an Out of Office Status Matters
Publish a clear status message that signals coverage and next steps. A concise post prevents duplicate work and preserves data integrity. Configure the profile settings before leaving—set dates, time windows, and alternate contacts.
Informing Colleagues of Absence
Notify team members via chatter so people can search your profile and find access details. Jane posts a brief message before a conference; projects continue without delay.
Mark specifies a date range—June 1st to June 7th—so teammates route urgent queries to backups. Sarah lists her return date; follow-up emails drop significantly.
Setting Clear Response Expectations
State expected reply times and escalation paths in every message. This reduces customer queries and internal questions.
- Define coverage: name the backup and response SLAs.
- Set visibility: use Lightning to make messages searchable on the home page.
- Preserve records: include data and page links for context.
Get started by reviewing profile settings and posting a final chatter message. For coordinating live hours and team handoffs, see the guide to schedule office hours.
Configuring Salesforce Out of Office Settings
From Setup, use the Quick Find box and open Chatter Settings. Locate the Out of Office section. Select the checkbox that permits users to set out-of messages.
Click save to enable the feature for the org. Then click the profile name in the header. Select the Out of Office option from the profile menu. Check the box labeled Set Out‑of‑Office message.
Select a Start Date and an End Date. Enter the short office message that explains coverage and contact details. Click save — the message posts next to the name in Chatter and appears on the user page.
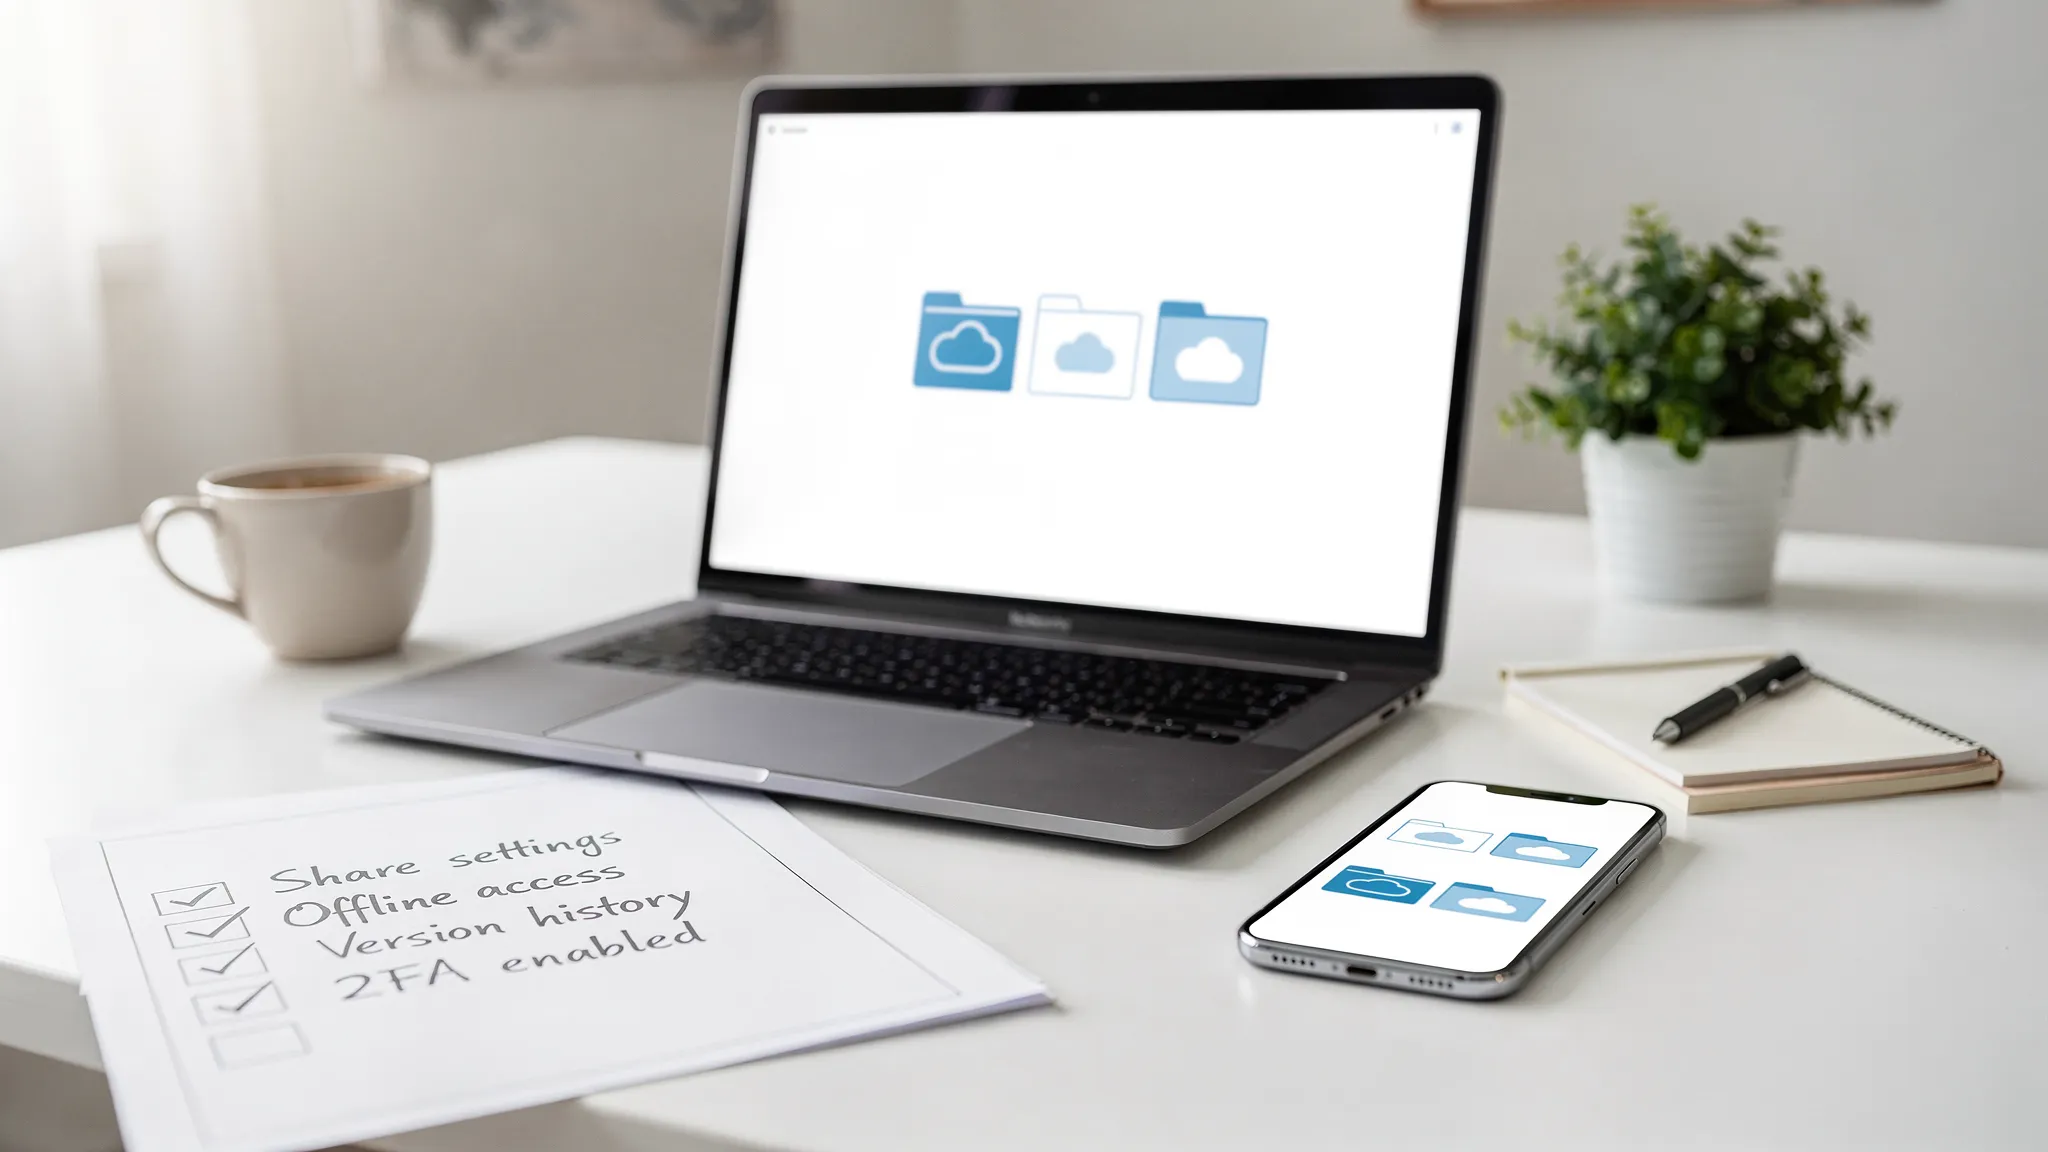
Confirm messages are searchable by peers. Use Lightning home to verify the post and to reduce unnecessary email. Ensure data and profile details remain accurate before departure.
| Step | Action | Outcome |
|---|---|---|
| 1 | Find Chatter Settings in Quick Find box | Access to configuration |
| 2 | Select “Users can set Out of Office messages” and click save | Organization enabled |
| 3 | Open profile name → Out of Office → set dates → click save | Message posts next to name; visible when people search chatter |
Managing External Communication and Customer Expectations

Place a concise, searchable post on the home page to route customer queries during staff absences. Configure the public office message so people find guidance and backup contacts quickly.
Extending Functionality Beyond Internal Chatter
Enable a public post that mirrors internal chatter entries. Surface the same message on the home page and customer portal. This reduces repeated email and lowers case reopen rates.
Grazitti implemented a custom feature for a Spatial Data Company. The change extended standard salesforce chatter to external users and raised customer satisfaction by 15%.
- Feature: external post on home page — automated responses for customers.
- Benefit: fewer manual messages; improved access to backup information.
- Result: faster query resolution; no case left unattended.
| Item | Impact | Metric |
|---|---|---|
| External post | Visibility for customers | +15% satisfaction |
| Automated reply | Reduced manual work | Less email volume |
| Home page link | Searchable access | Faster case routing |
For integration with CRM workflows and additional tools, reference the CRM tools guide.
Strategies for Effective Lead and Case Reassignment

Schedule hourly batch checks to ensure no case remains unassigned during absences. Configure Omni-channel to route new work to the next available agent. Run the batch class on a fixed start date and at regular time intervals to preserve throughput.
Automated Case Routing
Enable automatic routing so each case lands with an available user. This reduces latency and lowers manual touches. Grazitti reported a 25% reduction in manual intervention after automation.
Manual Assignment Best Practices
Require managers to review pending cases on the home page before manual assignment. Prioritize by urgency and customer impact. Update the profile and settings to include backup contacts and expected return date.
Balancing Workloads During Absences
Distribute leads to avoid overload on any single user. Monitor queue depth and redistribute when thresholds exceed limits. Use the assignment batch specification for implementation details: assignment batch specification.
- Result: consistent coverage for customers and fewer emails.
- Action: set out-of status and reassign before planned leave.
- Metric: track case handoff time to measure results.
Customizing Your Workflow for Better Productivity
Surface live status and the agent’s name on the home page to remove ambiguity. Display the assigned user and current post so teams route work without delay.
Configure the settings to let users set a clear office message that includes a start date, return date, and backup name. Keep the profile concise—add links to relevant data and the next contact.
Integrate the manual and automatic assignment feature. Route incoming email and new case items to the next available user. Monitor queue depth and rebalance when thresholds hit.
Make every post searchable in chatter. Ensure people can search by profile name or page link. This reduces repeated email and lowers basic questions.
- Show agent status on home page—faster handoffs.
- Set clear messages—improve coverage and access.
- Combine manual and auto routing—consistent throughput.
| Action | Configuration | Benefit |
|---|---|---|
| Display status on home page | Enable chatter post visibility | Immediate team awareness |
| Standardize office message | Include start date and backup name | Fewer customer questions |
| Enable mixed assignment | Integrate automatic routing and manual review | Balanced workload; reduced latency |
Final Thoughts on Maintaining Professional Availability
Maintain clear availability and delegation to prevent delays and preserve customer trust. Set a short office message and a public post so teams see coverage at a glance.
Keep chatter entries current. Update settings and backup details before leave. Inform users and link to key resources. Use concise messages to reduce redundant email.
Reassign leads and monitor queues to ensure each case receives timely attention. Track metrics for handoff time and customer inquiries. Get started with these steps to secure continuity and maintain professional standards.