Fact: 37% of professionals report back-to-back bookings despite configured protections — a direct sign that incorrect buffer logic led to conflicts.
Proof: A user set 1 hour before and 30 minutes after an event. An event from 3–4pm then clashed with a 2:30pm slot.
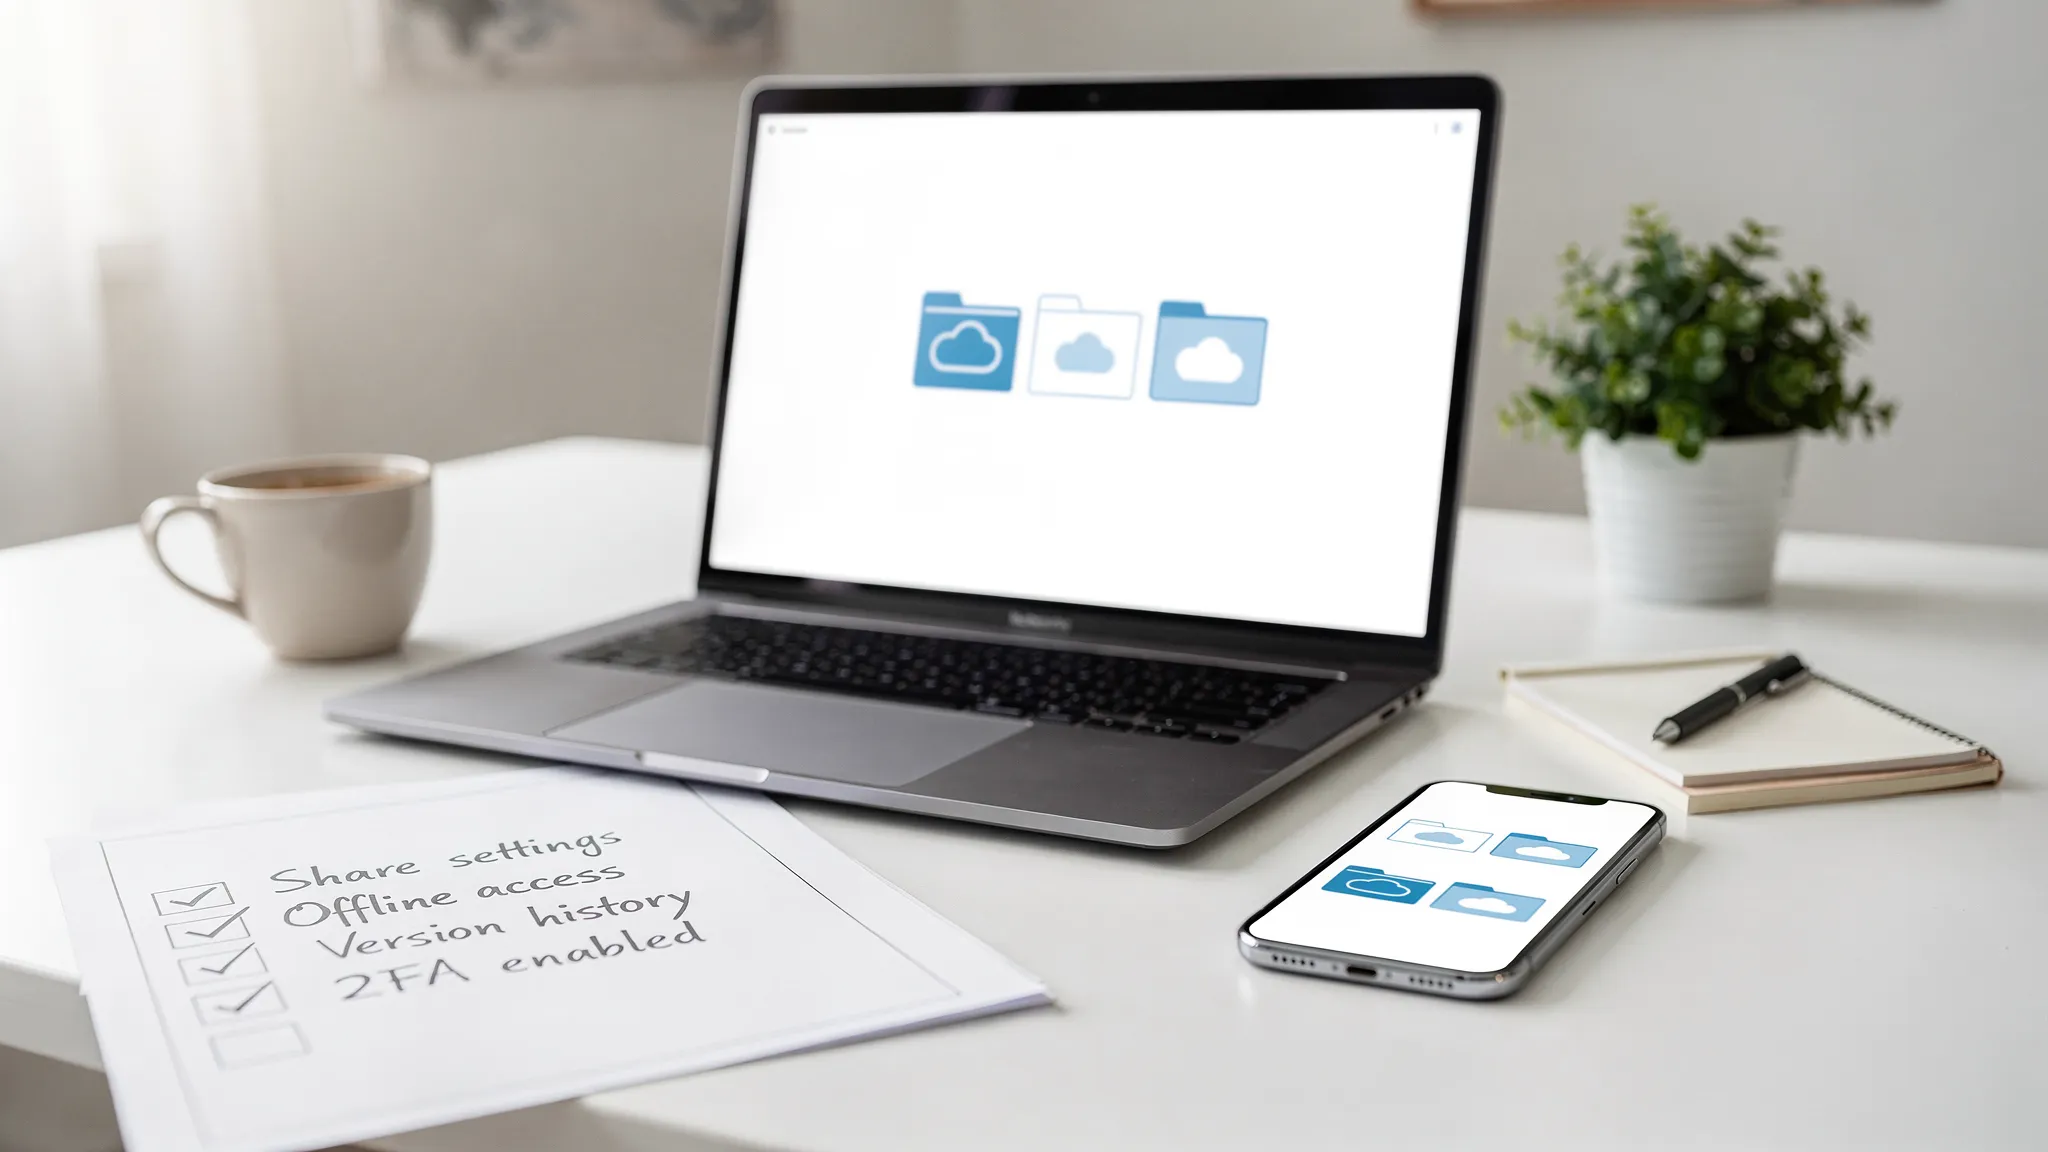
This section explains how to configure buffer behavior so the system respects availability. Follow precise steps to set the buffer before and after each event type. Ensure the calendar reflects true free blocks.
Access the event type settings. Verify that the tool blocks adjacent slots. Confirm on the landing page that the buffer applies to each event type.
For adjacent scheduling strategies and consistent weekly blocks, review guidance on setting office hours and availability — see scheduling office hours.
Key Takeaways
- Set both pre- and post-event buffers to prevent overlaps.
- Verify buffer logic by testing a sample event (for example, 3–4pm).
- Adjust event type settings to protect each meeting slot.
- Confirm changes on the landing page and in calendar views.
- Standardize weekly blocks to maintain consistent availability.
Understanding the Benefits of Calendly Buffer Times
Establish intentional gaps around events to reduce scheduling friction and protect focus blocks.
Reserve a short span before and after each event. This creates a predictable rhythm across the calendar. It prevents rushed transitions. It improves overall availability for high-priority tasks.
Example: a user prefers a 30m buffer after meetings to avoid awkward quarter-hour increments. That single change keeps the calendar organized. It makes reading daily slots straightforward. Implementing strategies to reduce meeting frequency can lead to more productive use of time. By minimizing unnecessary gatherings, team members can focus on their core tasks and increase overall efficiency. This shift not only enhances individual performance but also fosters a culture of accountability within the organization.
- Implementing this feature creates dedicated space before or after scheduled appointments.
- A 30m buffer after an event eliminates awkward quarter-hour increments and improves readability.
- Set buffers per event type to ensure each event receives full attention.
- Buffers automatically block adjacent slots — a reliable way to protect availability.
- Consistent use across every event type balances workload and enhances meeting quality.
Action: apply buffer time to each event type on the page. Verify the calendar shows the reserved gaps.
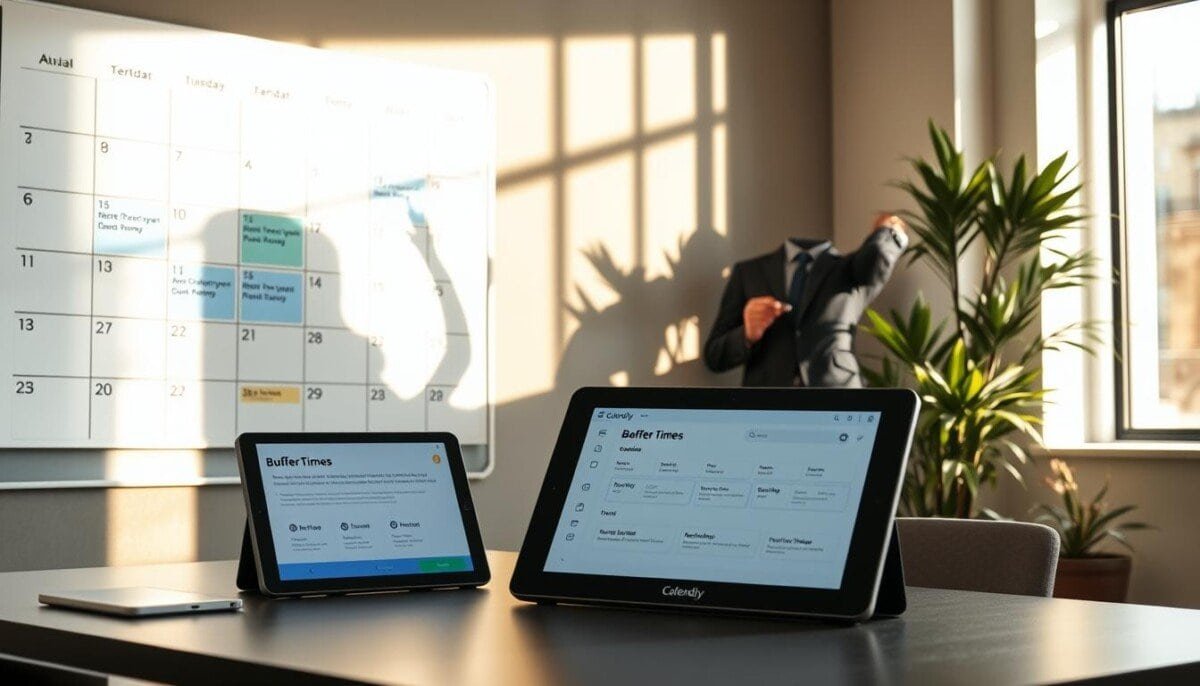
How to Configure Buffer Settings for Your Event Types

Access the event configuration screen to assign protective gaps before and after scheduled items.
Accessing Event Settings
Open the event type list on the settings page. Select a target event type to inspect its parameters.
Use the tool navigation — choose the event and open the availability panel.
Adjusting Before and After Buffers
Define the duration for pre-event and post-event buffers. Enter the desired time for prep or wrap-up.
- To begin, open the event settings for the chosen event type.
- Select durations for before and after the event — choose minutes or hours.
- Configure per type to grant granular control over each meeting.
- If the gap is insufficient, return to the settings page and update the buffer time.
- Save changes to apply the new buffers across the calendar and protect availability.
Result: The feature automatically blocks adjacent slots so no two events schedule too closely. Verify on the page that changes reflect in the calendar view.
Managing Travel Time and Complex Scheduling Scenarios

Treat each on-site appointment as a logistics problem—assign commute windows accordingly.
Note: mapping APIs do not currently calculate transit duration for automated scheduling. Increase advance notice for in-person events to allow manual adjustments.
Handling In-Person Meeting Logistics
Because automated distance calculations are unavailable, set a manual buffer for each location-specific event.
Create a distinct event type for each venue. Assign a commute gap that reflects real-world travel time. When scheduling events, ensure to set meetingfree time in Outlook to avoid overlaps with other appointments. This approach will help maintain a balanced calendar and improve time management. Additionally, be mindful of time zone differences if hosting events with participants from various locations.
- Adjust the gap after an event is booked if actual travel requires more or less time.
- Increase scheduling notice to permit edits and avoid last-minute conflicts.
- Edit the event settings on the dashboard to save changes to commute gaps.
- Share a dedicated page per location so invitees pick the correct spot.
| Scenario | Recommended Gap | Action |
|---|---|---|
| Same neighborhood | 15–20 minutes | Create local event type; set gap; save changes |
| Across town | 30–60 minutes | Increase scheduling notice; set larger gap |
| Multiple venues per day | Buffer per event; stagger start times | Use location-specific page links |
Manual management of commute gaps is the reliable way to prevent rushed transitions between appointments. For additional guidance on implementing protective gaps, see a practical guide to learn how to use buffer time and review available online planning tools.
Best Practices for Maintaining a Balanced Calendar
Enforce regular gaps across the schedule to prevent successive bookings.
Apply a consistent buffer for every event. Configure each event type so the calendar blocks adjacent slots.
Review buffers monthly. Adjust the allocated time before and after an event to match workload and travel needs.
Limit daily meetings. Cap events per day to preserve focus and reduce context switching.
Audit each event type for real-world fit. Use the practical setup guide for implementation: learn how to set buffer time. Combine scheduling with real-time posting strategy insights: scheduling vs. real-time posting.
Result: A disciplined approach to buffers keeps the calendar efficient and stress-free.