78% of users report productivity gains after adopting structured logging—an immediate case for granular busy hour analysis.
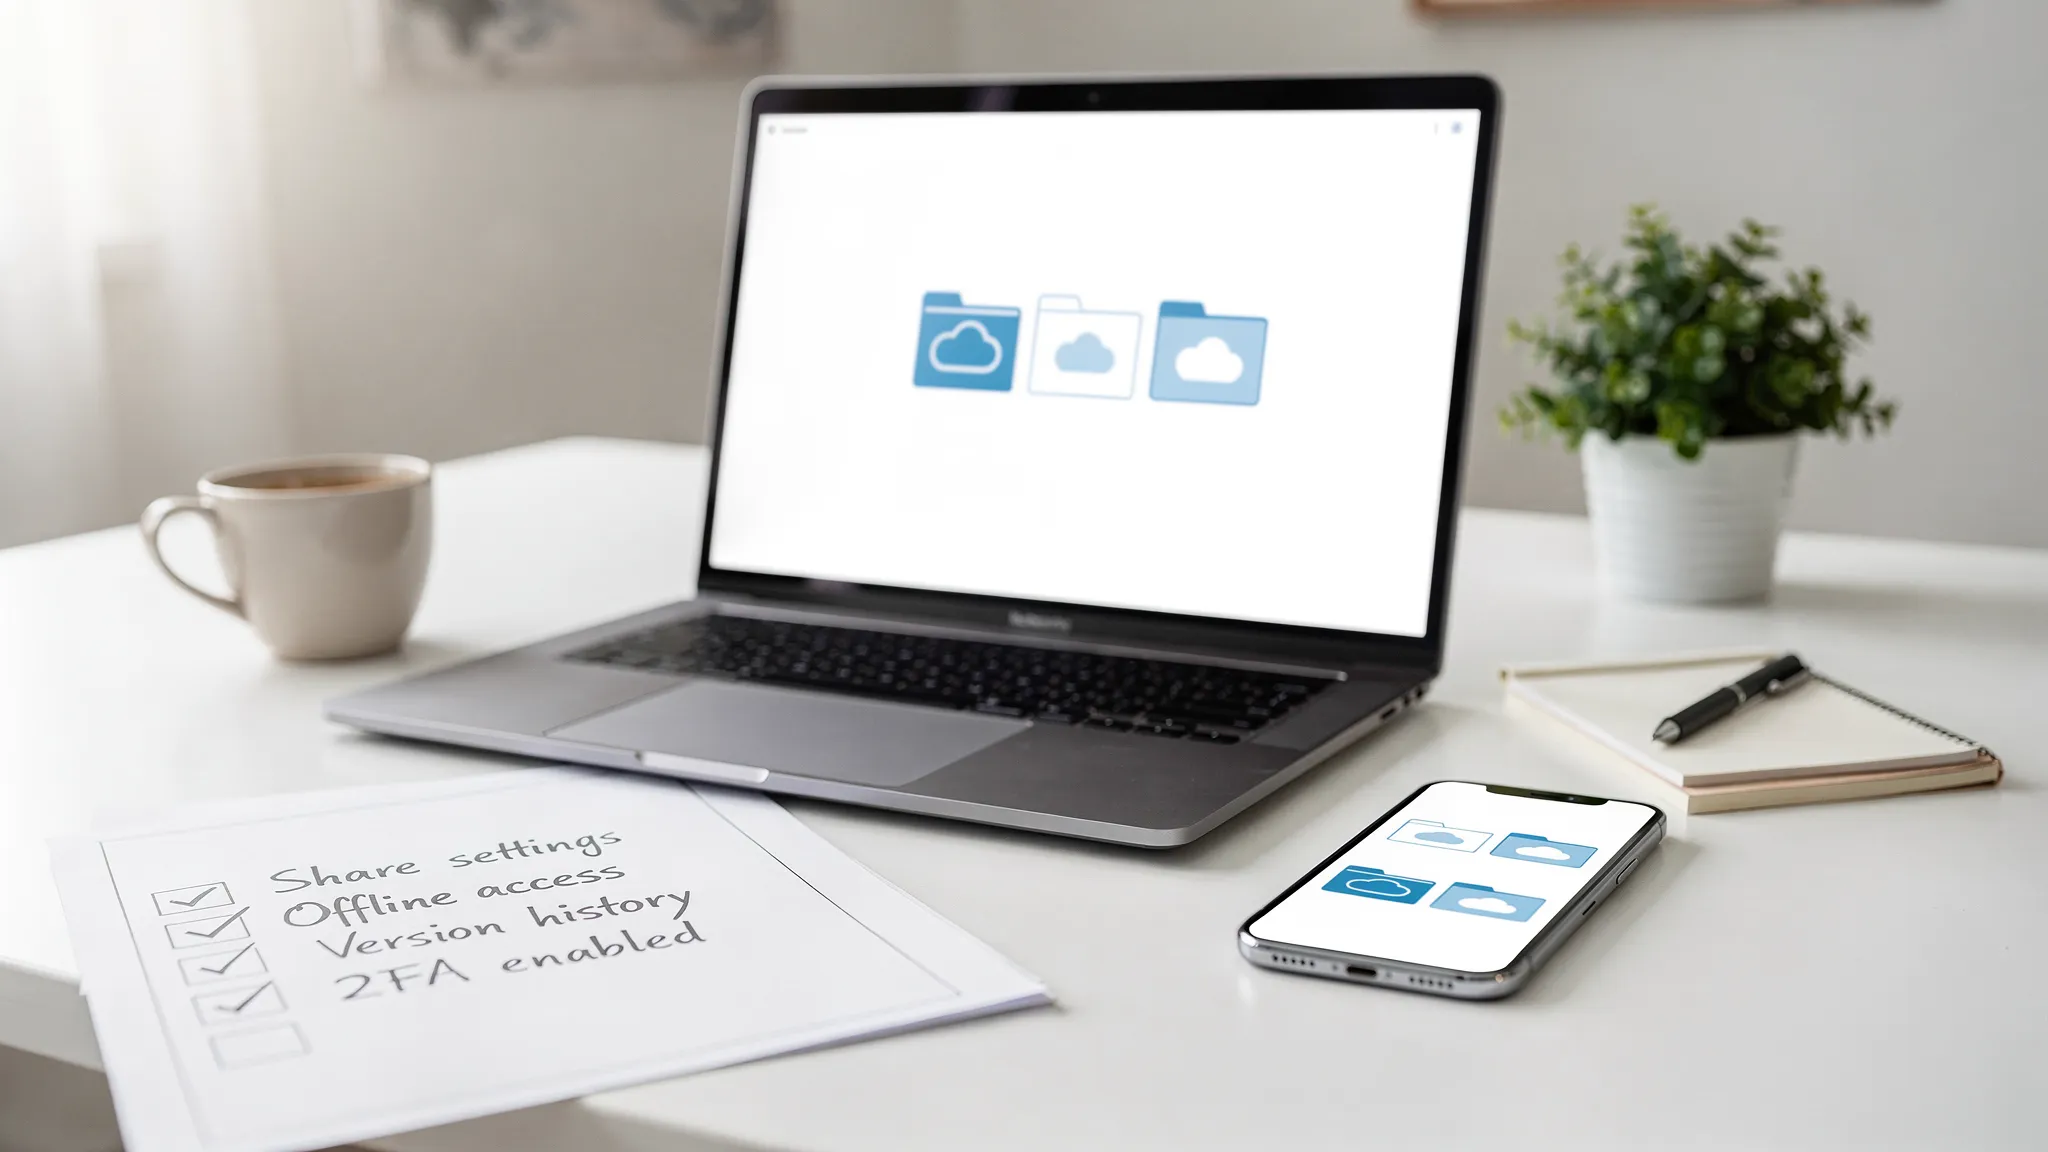
Enable the built-in ClickApps menu to start basic logging. Collect consistent entries from every user. Require the start stop timer on each task to standardize data.
Advanced analysis needs more than native reports. Add a dedicated integration for deeper metrics. Use integrations that export timesheets and detailed entries for peak-hour detection.
Standardize the workspace—icon names, column formats, and list layouts. Audit the dashboard and default settings to ensure every button press and timer event counts toward accurate reports.
For integration options and comparative app capabilities, review the linked guide on modern time applications: time tracking applications.
Key Takeaways
- Mandate consistent logging—every user must record work entries.
- Enable the native feature set—use the ClickApps menu and start stop timer.
- Deploy an integration for advanced reports and timesheets.
- Audit dashboard and list columns to remove data inconsistencies.
- Use exported data to identify peak hours and optimize billing.
Understanding the Role of Time Tracking in Productivity
Capture granular work entries to reveal when teams deliver the most value.
Measure output by collecting consistent logs across the team. Require uniform entries to normalize datasets.
Every app used for recording must show clear visibility into patterns. Visibility allows managers to identify peak effectiveness and idle intervals.
- Align processes with measured effort to reduce waste.
- Use accurate logs to calculate task complexity versus actual work.
- Derive data-driven actions to remove recurring inefficiencies.
Establish a culture of accountability through transparent use of the system. Make reporting mandatory—standardize formats and audit regularly.
| Metric | Source | Frequency | Primary Benefit |
|---|---|---|---|
| Active Hours | Task logs | Daily | Identify peak output windows |
| Task Duration | Manual/auto entries | Per task | Estimate effort vs. plan |
| Idle Intervals | Session gaps | Weekly | Remove nonproductive steps |
How to Use ClickUp Time Tracking for Busy Hour Analysis
Pinpoint peak productivity intervals by comparing past entries and task throughput.
Define busy hours as periods when task completion and time tracked metrics spike noticeably.
Set performance goals from historical time entries. Use averages and peak-percentiles to set realistic targets.
Defining Busy Hours
Analyze historical entries. Map completed tasks per hour against logged hours.
Mark intervals with consistent high throughput as busy hours. Flag those windows for priority scheduling.
Setting Performance Goals
Base goals on median and 90th-percentile hours. Align targets with project milestones.
When teams start timer functions during peak windows, the dataset improves. Every button press and start action refines the model.
- Review reports weekly to validate goals.
- Compare logged hours to targets and adjust workflows.
- Use entries to detect recurrent overloads.
| Metric | Calculation | Action |
|---|---|---|
| Peak Hour Rate | Tasks completed / hour | Prioritize critical tasks |
| Logged Hours vs Target | Sum of time tracked vs goal | Rebalance assignments |
| Entry Density | Entries per task | Train on start timer usage |
Enabling Native Time Tracking Features in Your Workspace
Activate the workspace’s native timer features to capture uniform task logs across projects.
Open ClickApps and enable three features: Time Tracking, Time Estimates, and Rollup. This step makes every list and task support the native timer and standardizes collected data.
Once enabled, the account synchronizes across projects. Data from tasks flows into reports without manual export—improving accuracy for busy-hour analysis.
- Navigate to ClickApps settings; turn on the listed features.
- Verify each list supports the timer before onboarding the team.
- Use the browser extension alongside native features for flexible logging.
| Feature | Where to Enable | Primary Benefit |
|---|---|---|
| Time Tracking | ClickApps → Workspace | Consistent task data |
| Time Estimates | ClickApps → Space settings | Compare planned vs actual |
| Rollup | List configuration | Aggregated project metrics |
Configure permissions and validate data integrity after activation. Enforce standard use of the timer across the team to maintain reliable datasets for analysis.
Manual Entry Versus Automatic Timer Methods
Decide whether to record work retroactively or capture live sessions—match method to project needs. Establish a policy that defines when manual edits are allowed and when live capture is mandatory. This reduces data drift and enforces consistency.
Using the Manual Entry Field
Use manual entries for corrections and bulk updates. Allow edits when tasks require consolidation of split work or after offline efforts. Require a short note for each edit—preserve auditability.
Starting the Live Timer
Use the live timer for continuous focus tasks. When users start the timer, the system records exact duration. Stop with the button at task completion to generate reliable entries for reports. Implement strategies to pause lead routing in HubSpot when necessary, ensuring that teams can focus on high-priority tasks without distraction. This flexibility allows for better resource allocation and improved performance tracking across various campaigns. By optimizing lead management, organizations can enhance their overall marketing effectiveness.
- Choose method by task type—short interruptions vs. long focus windows.
- Balance manual edits and live capture to keep datasets accurate.
- Train staff to use the start stop timer for billable work.
| Method | Best For | Primary Benefit |
|---|---|---|
| Manual Entry | Retroactive corrections; multi-session work | Accurate total hours; edit history |
| Live Timer | Continuous focus tasks; real-time logging | Precise duration; reduced estimation error |
| Hybrid | Complex projects with mixed workflows | Flexibility; improved data completeness |
Limitations of Native ClickUp Time Tracking
Standard in-app timers capture activity but rarely provide the required detail for enterprise reports.
Native features deliver basic session logs and simple summaries. They do not include advanced analytics needed to isolate busy-hour patterns or to correlate task throughput with resource allocation.
The default timer creates gaps when users forget to start or stop sessions. These gaps cause inconsistent datasets and reduce confidence in aggregated reports.
High-volume projects require granular entries—per-subtask timestamps, multiple session merges, and customizable fields. The native app lacks several of those controls.
- Limited reporting — no deep-dive filters or composite metrics.
- Insufficient granularity — missing per-session context for complex tasks.
- User-dependence — manual start/stop increases data loss risk.
| Limitation | Impact | Remedy |
|---|---|---|
| Basic reports | Cannot isolate peak-hour drivers | Export to specialized analytics |
| Session gaps | Underreported work volume | Enforce start-stop policy; use integrations |
| Low customization | Poor alignment with billing rules | Adopt third-party tools with flexible fields |
Conclusion: Relying solely on native tracking will impede strategic decisions. Integrate robust analytics when precise busy-hour intelligence is required.
Why Advanced Integration is Necessary for Deep Data
Integrate specialized analytics to convert raw session logs into actionable operational intelligence. Native logs provide scope. External connections provide resolution.
The Need for Granular Analytics
Advanced integration bridges basic time tracking and the granular analysis required for enterprise decisions. Collect high-fidelity event records. Preserve per-session context.
External tools reveal how work distributes across teams and tasks. Use those insights to locate bottlenecks and reassign effort. Ensure the timer data is correlated with workflow events.
- Connect professional integrations to increase data fidelity.
- Enable detailed reports to show where teams spend effort.
- Use linked analytics to validate billing and performance metrics.
| Capability | Benefit | Action |
|---|---|---|
| Per-session logs | Accurate duration | Enforce start/stop policy |
| Event correlation | Identify bottlenecks | Map events to tasks |
| Exportable metrics | Audit-ready reports | Integrate with analytics |
For guidance on scaling analytics and selecting compatible tools, consult the scaling project management software guide.
Connecting TimeCamp for Enhanced Reporting
Link the analytics platform to the project workspace to harvest full hierarchy data for enhanced reports.
Authorize the integration to import spaces, lists, and tasks automatically. The import preserves the project structure for audit-ready timesheets.
Use the start stop timer inside the app to ensure every minute is recorded. The dashboard shows a TimeCamp icon to manage settings and validate user imports.
- Automatic sync—hourly updates; force synchronization for instant imports.
- Cross-platform support—desktop, web, and mobile clients synchronize entries.
- GDPR compliant—account privacy controls and data export for billing.
- Streamline invoices—export detailed reports and timesheets for client billing.
| Capability | Behavior | Benefit |
|---|---|---|
| Full Hierarchy Import | Spaces, lists, tasks | Consistent project mapping |
| Sync Frequency | Hourly / force sync | Current time tracked data |
| Platform Reach | Desktop, web, mobile | All users can track |
| Compliance | GDPR | Secure billing records |
Leveraging Browser Extensions for Seamless Tracking

Install a browser extension to embed a start timer button directly into the task UI.
Enable the extension to keep time tracking native to the workflow. Do not force context switches between the web app and external tools.
Place the start timer button inside each task. One-click start reduces missed entries. The button captures session metadata—task id, user, and timestamp.
Use the extension across desktop and web clients. Synchronize sessions with the central project account. The integration preserves hierarchical task data.
- Ensure consistent session capture—less manual editing.
- Support hybrid workflows—web pages, desktop apps, and browser tabs.
- Improve data accuracy—automated start and stop events.
| Capability | Action | Result |
|---|---|---|
| Embedded button | Click to start timer | Fewer missed entries |
| Browser extension | Sync with project | Unified session records |
| Integration | Map tasks automatically | Audit-ready reports |
Analyzing Your Team’s Peak Productivity Hours
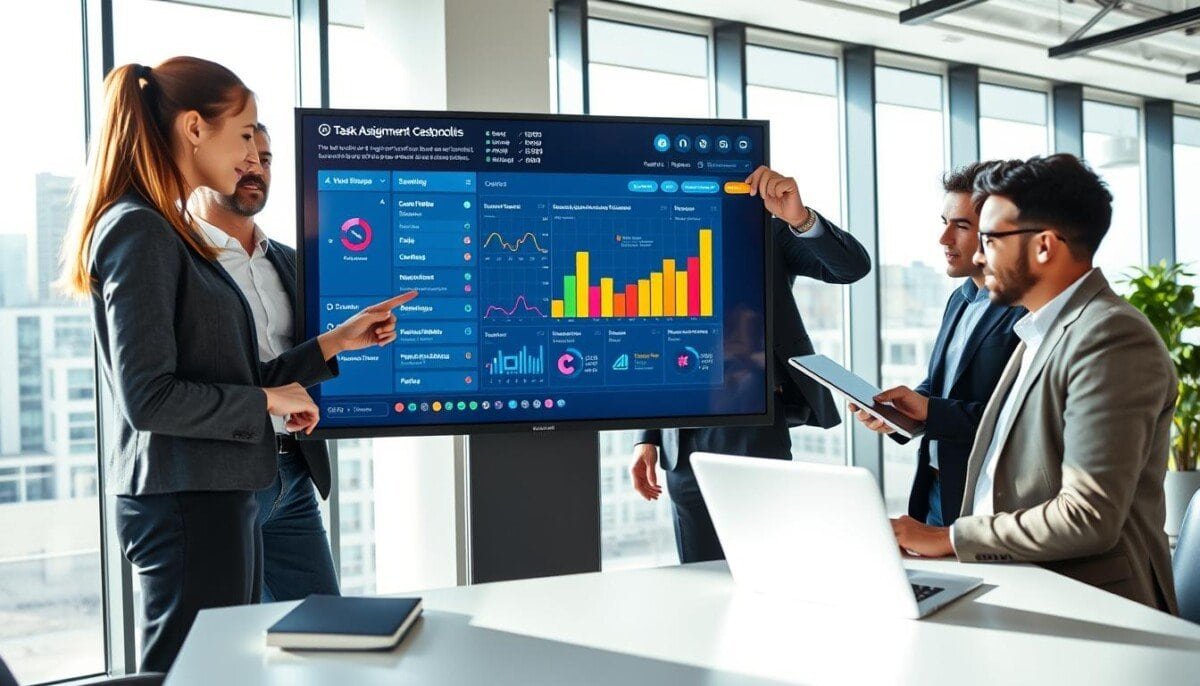
Visualize hourly entry density to reveal consistent production windows across projects. Aggregate entries by hour. Produce charts that map output versus logged hours.
Visualizing Trends
Generate line and heat maps from exported data. Highlight recurring peaks—weekday patterns, mid-day surges, and late-afternoon drops.
Use color scales to make patterns obvious. Pair visuals with median and 90th-percentile metrics for context. To further enhance your visual presentations, consider utilizing engaging layouts that encourage audience participation. This approach will not only maximize your google meet experience but also foster a more interactive environment for discussions and brainstorming sessions. By incorporating these techniques, you can ensure your data resonates effectively with your viewers.
Comparing Daily Workloads
Compare per-day workloads to identify overloaded days. Normalize by task count and entries to avoid skew.
- Sort by tasks completed per hour.
- Compare average hours logged across projects.
- Flag days with high entry density for review.
Spotting High-Output Periods
Use a start stop timer to collect precise session data. Cross-reference those entries with reports to confirm true capacity.
| Metric | Calculation | Action |
|---|---|---|
| Peak Hour Rate | Tasks / hours | Schedule critical work |
| Entry Density | Entries / hour | Balance assignments |
| Median Output | Median tasks per day | Set realistic targets |
Use visuals and reports to reallocate staff. Monitor progress and iterate weekly.
Identifying Bottlenecks Through Time Data
Compare per-task durations to uncover the precise stages that slow down delivery.
Collect standardized time tracking entries across the workspace. Aggregate durations by process step to isolate slow segments.
Use an external integration for advanced analysis. Map event sequences and compute median and 90th-percentile durations to rank problem areas.
Leverage the timer data as an objective record. Correlate timestamps with workflow states to identify handoff delays and repeat bottlenecks.
- Validate that every team member uses the same logging method to ensure reliable tracking.
- Prioritize fixes for stages with high variance and low throughput.
- Reassign work or simplify steps where bottlenecks persist.
| Indicator | Calculation | Action |
|---|---|---|
| Stage Delay | Median duration per stage | Revise process; add checkpoints |
| Variance | 90th–10th percentile gap | Target root-cause audits |
| Throughput | Tasks completed / hour | Balance assignments; automate steps |
Enforce consistent logging. Use the resulting data to remove slow steps and keep the project on schedule.
Managing Billable Hours and Client Invoicing
Consolidate per-project entries into audit-ready timesheets before billing cycles.
Prepare invoices from verified records. Enforce standardized entries and consistent use of the timer feature. Validate each entry against deliverables.
Generating Accurate Client Reports
Produce precise reports that map hours per task to client billing.
Use the track time clickup option to export reports that show time tracked per project and per task. Integrate with billing tools to automate invoice creation and reduce manual reconciliation.
- Maintain complete timesheets — include notes for edited entries.
- Reconcile entries to deliverables before sending invoices.
- Run profitability reports to compare billed hours versus costs.
| Deliverable | Source | Metric | Action |
|---|---|---|---|
| Client Invoice | Approved entries | Billable hours | Generate PDF; send |
| Project Profit | Timesheets + costs | Net billed hours | Adjust pricing or scope |
| Audit Report | Raw entries | Entry completeness | Flag missing data |
Ensuring Data Privacy and Security Compliance

Treat recorded sessions as sensitive records—protect them with policy and tech controls.
Encrypt all recorded entries at rest and in transit. Apply role-based access—grant read or write rights only to necessary accounts.
Require administrators to document retention periods and deletion procedures. Keep retention policies consistent with legal requirements.
Integrate only with vendors that publish SOC 2 or ISO 27001 reports. Validate OAuth scopes and API permissions before authorizing any integration.
- Train the team on secure logging practices—notes required for manual edits.
- Enforce multi-factor authentication on every account that can start or stop a timer.
- Schedule quarterly audits to detect unauthorized access and data anomalies.
| Control | Purpose | Recommended Action |
|---|---|---|
| Encryption | Protect data confidentiality | Use AES-256 for stored entries |
| Access Control | Limit exposure | Implement RBAC and MFA |
| Vendor Assessment | Assess risk from integration | Require SOC 2 / ISO 27001 |
| Audits | Maintain compliance | Run quarterly logs and reviews |
For troubleshooting analytics and compliance workflows consult the guide on analytics setup and audits.
Comparing Native Features with Third Party Tools
Contrast default app behavior with external providers to expose missing metrics and controls.
Evaluate native reporting first. Check for session granularity, export formats, and built-in dashboards.
Then assess specialist integrations. Choose options that add automated session capture, budget controls, or invoicing sync.
- Memtime — automatic session logs across all programs; reduces manual edits.
- Clockify — Chrome extension adds a Start/Stop timer button directly in tasks.
- Everhour — estimates and budget tracking; superior project budgeting features.
- Harvest — syncs entries with tasks for invoice-ready reports.
- Hubstaff — progress monitoring and budget controls for managed teams.
| Capability | Native | Third‑Party |
|---|---|---|
| Automatic capture | No | Yes — Memtime |
| Embedded button | Limited | Yes — Clockify extension |
| Budgeting & reports | Basic | Advanced — Everhour / Harvest |
Recommendation: Select integrations by required fidelity — invoicing, budgets, or automated logs. Enforce the start stop timer policy to maintain dataset integrity.
Best Practices for Consistent Time Logging
Publish a concise logging policy—include start-stop rules, acceptable edits, and review cadence.
Enforce one standard per workspace list. Require the start stop timer or a manual entry for every billable task. Train all users on the app and desktop client workflows.
Standardize the time tracked column and timesheets. Validate entries during weekly audits. Reconcile anomalies before billing cycles.
Use browser extensions to reduce missed sessions. Place a start button in the task UI where available. Map the integration icon into the default dashboard for visibility.
- Document how and when to log—start, pause, stop, edit.
- Assign responsibility for list-level audits and timesheet approvals.
- Train teams on notes for edited entries to preserve audit trails.
| Practice | Frequency | Benefit |
|---|---|---|
| Start-stop enforcement | Daily | Accurate session data |
| Weekly audits | Weekly | Clean reports for billing |
| Extension + desktop app | Ongoing | Fewer missed entries |
For procedural examples and templates consult this guide on clickup time tracking best practices.
Automating Your Workflow with Force Synchronization
Trigger an instant sync to reconcile recent session logs across platforms and eliminate reporting lag.
Enable automatic hourly sync for background updates. Use force synchronization when immediate reports are required.
Allow the team to start an on-demand update—this aligns external entries with the workspace without waiting for the hourly cycle.
Automated sync reduces manual export work. It ensures every task and entry appears in analytics quickly. The start timer button stays active during sync—no interruption to user workflows.
- Keep datasets current across the integration and workspace.
- Trigger instant updates when billing cycles or audits demand fresh entries.
- Reduce reconciliation effort by automating repetitive exports.
Consistent synchronization produces reliable entries for busy hour analysis and operational reporting. Enforce regular sync checks and train the team to use the force sync option when anomalies appear.
| Feature | Behavior | Benefit |
|---|---|---|
| Automatic hourly sync | Runs in background every 60 minutes | Low maintenance; steady data flow |
| Force synchronization | On‑demand instant update | Immediate report accuracy |
| Start timer continuity | Button active during sync | No session gaps; uninterrupted tracking |
For integration options and comparative app capabilities consult the productivity guide: productivity enhancement apps.
Maximizing Your Project Efficiency Through Better Time Insights
Treat every recorded session as a data point—then optimize tasks from aggregate patterns.
Enforce consistent rules. Require staff to start a timer or to log entries that clearly state the task and outcome. Use short notes to preserve auditability.
Analyze the dataset weekly. Compare median durations and entry density. Use those signals to rebalance assignments and remove low-value steps.
Make tracking a managerial KPI. Train teams to track time and to respect the start-stop policy—this yields cleaner reports and better forecasts.
For procedural templates and reporting tips consult the time-tracking reporting guide to standardize exports and improve billing accuracy.