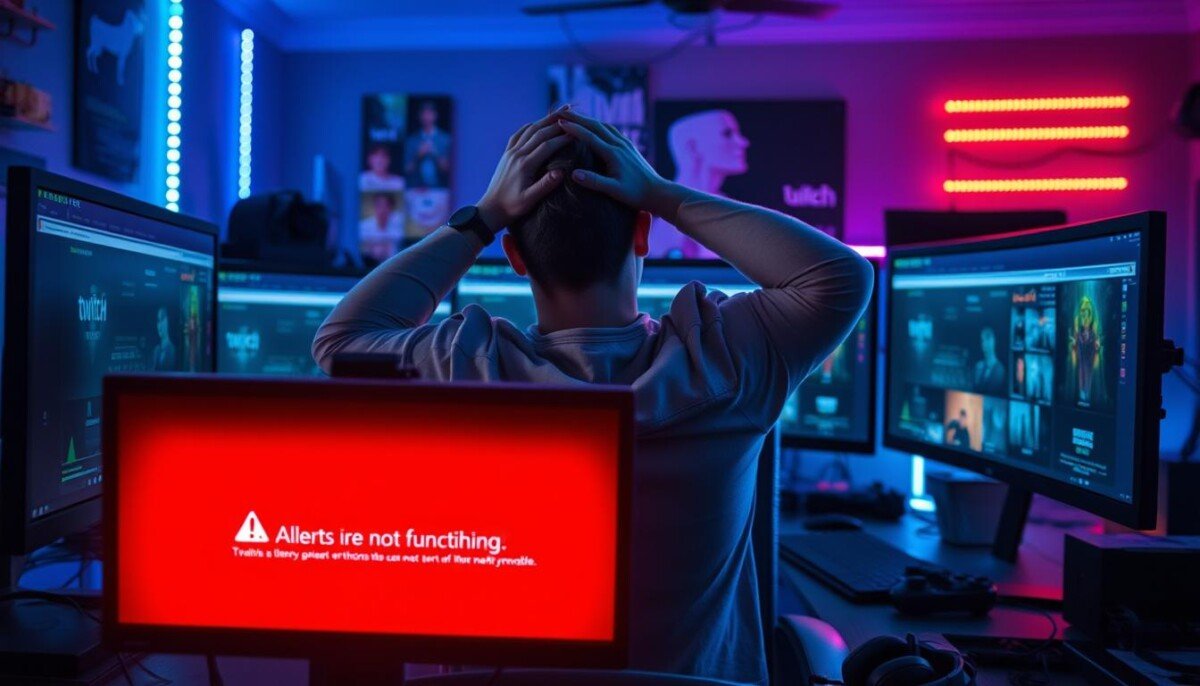
Do you ever run a test and see no notification, even though your stream looks set up correctly? This common problem frustrates creators who depend on live feedback to stay engaged with viewers.
Many broadcasters find that alerts fail to appear in OBS because a browser source or permission is misconfigured. We will walk you through clear troubleshooting steps to find the issue fast.
This short guide shows how to check your browser source, verify sources and settings, and run a proper test so each alert fires during a live broadcast. Follow practical steps to stop missing key notifications and keep your audience connected.
If you also accept donations, a correct tip-page flow matters. See how to link a payment setup to your overlays with a helpful guide on setting up PayPal for donations.
Key Takeaways
- Confirm your browser source in OBS and refresh it after changes.
- Verify permissions and overlay URLs so each alert can load.
- Run a live test to replicate the issue and spot missing elements.
- Adjust settings like volume and timing to avoid missed alerts.
- Use clear sources and consistent names to simplify troubleshooting.
- Keep a backup plan for donations and alternate alert paths.
Understanding Why Your Twitch Alerts Are Not Working
Begin by reviewing the key settings and device links that most often block a notification from reaching your stream. Small defaults in software can override custom options and cause sound or visual problems.
Kevin updated the Streamlabs troubleshooting guide on April 25, 2025, and highlights that widgets are essential for interactive sessions. Check recent events for muted alert sounds and confirm your source is present and visible.
Often, the right way to fix an issue is a simple step: log out, then log back in to refresh the connection. If your device isn’t linked correctly, the stream receives no information and the alert will not trigger.
- Verify default audio and visual options so custom alert variations can play.
- Confirm the software has permission to access your device and overlay sources.
- Follow basic troubleshooting to isolate the exact problem before deeper fixes.
Initial Troubleshooting Steps for Your Streaming Software
Start with a few quick checks inside your streaming app to rule out common connection faults.
Refreshing your connection
Make sure your streaming software is allowed through your firewall. This often restores the link between your browser source and the stream.
Refresh the browser source in OBS by deleting and re-adding it. That forces the overlay to reload and can fix an alert that fails to appear at run time.
Clearing cache files
Clear cached data for the OBS browser plugin so sources reload fresh. On Windows, go to %appdata%/obs-studio/plugin_config/obs-browser and delete that folder.
Restart OBS after clearing the folder. Then re-add your browser source and test a single alert event to confirm the change.
- Confirm OBS is updated to the latest release before deeper debugging.
- Check device permissions so visual and sound sources can play.
- Take time to reconfigure your browser source so events appear when viewers interact.
| Step | Action | Why it helps |
|---|---|---|
| Allow through firewall | Enable app in OS firewall settings | Restores network access for browser source and web events |
| Re-add browser source | Delete then add new browser source in OBS | Clears stale references and forces fresh load |
| Clear OBS cache | Delete %appdata%/obs-studio/plugin_config/obs-browser | Removes corrupted cache that blocks alert data |
If problems persist, review the error logs and follow the guide to fix the error 503 for similar web-source issues.
Fixing Visual and Audio Configuration Issues
Confirm visibility and routing first. Check that your alert source sits above other layers so it is not hidden. If the source is behind an image or scene, it will not display.
Adjusting Layering and Source Visibility
Open your scene in OBS and move the alert browser source to the top of the stack. Right-click the source to lock position after you confirm placement.
Tip: Disable overlapping sources temporarily to test whether content is blocking the alert.
Configuring Alert Variations
Review your alert variations so subscribers get the correct notification when they support your channel. Update names and media files in each variation so the right content plays.
Also check the Unlimited Alert Moderation Delay setting; if enabled, events require manual approval before they show on stream.
Checking Custom HTML and CSS
If you enabled custom HTML or CSS, disable it unless you wrote the code. Bad code can stop animations from showing or cause the browser source to freeze.
Right-click your alert box in OBS to verify audio routing and ensure your device plays sound for every event.
| Problem | Action | Result |
|---|---|---|
| Source hidden by layers | Move browser source to top; lock position | Alert becomes visible across scenes |
| Missing animation | Disable custom CSS/HTML; refresh browser source | Animations restore and show/hide correctly |
| No sound on event | Verify audio routing in OBS; select correct device | Alerts play sound on the chosen device |
For donation flows and payment setup that link to overlays, follow this guide on setting up PayPal for donations.
Advanced Technical Solutions for Persistent Problems
When simple fixes fail, focus on API and network layers that can block your stream.
This section covers the steps to reset tokens and verify deeper settings. These actions help when your usual checks do not resolve the issue.
Resetting API Tokens
Resetting your API token is an advanced step. Remove all widgets and re-add each browser source in your streaming software.
After you refresh the token, run a test alert in OBS to confirm the browser source communicates correctly.
- Re-add every source so each widget links to the new token.
- Check software permissions and account access in your settings.
- Advanced users: review IPv6 and network rules that can block the alert path.
| Action | Why | Expected Result |
|---|---|---|
| Reset API token | Breaks stale sessions and forces re-authentication | Fresh connections for browser and widget data |
| Re-add browser sources | Ensures each source uses the updated token | Alerts display and play as intended |
| Verify permissions & network | Fixes access and routing problems | Stable streaming and fewer failures |
Run a final test to confirm everything. If the problem persists, collect logs and contact support with token and network details.
Addressing Platform-Specific Alert Limitations
Some notification gaps come from the platforms themselves, not your software. Platforms process events on different schedules and apply privacy rules that affect what appears on your stream.
Example: YouTube can delay subscriber notices for up to four hours due to back-end processing. That delay is outside your control but worth explaining to your audience.
API rules also matter. On twitch, a resubscription may only fire an alert if the user posts their resub in chat. Facebook privacy settings can block a user’s action from reaching your device entirely.
Tell your subscribers how these limits affect on-screen content. Clear information reduces confusion and lowers support messages after a stream.
Review platform options and adjust your channel settings where possible. Use in-stream messages or an FAQ so viewers know when an alert might arrive with delay.
| Platform | Typical Limitation | Recommended Action |
|---|---|---|
| YouTube | Subscriber alerts can take up to 4 hours | Inform viewers and add a note in your community posts; link to the YouTube community tab guide |
| Twitch API | Resub events may need chat share to trigger alert | Ask resubs to post in chat or use manual acknowledgments |
| Privacy settings can prevent event data | Advise viewers to set visibility for interactions or confirm via message |
Managing External Factors Affecting Alert Delivery
Many delivery failures happen outside your software, so look at OS and network rules first.
Mobile and OS settings can silence notifications. Battery optimization and OS-level suppression often hide an alert before it reaches a viewer.
Antivirus and firewall can block a browser source or push service. Make sure your streaming software is allowed through security tools to avoid that problem.
- Check mobile battery saver and notification access on phones.
- Allow your streaming app in antivirus and firewall settings.
- Test network stability; packet loss can drop real-time events.
| External Factor | What to Check | Quick Fix |
|---|---|---|
| Mobile power settings | Battery saver, doze mode, notification permissions | Disable saver for your app; whitelist notifications |
| Security software | Antivirus rules, firewall blocks | Add app and browser source as allowed |
| Network reliability | Latency, packet loss, Wi‑Fi roaming | Use wired connection or stable Wi‑Fi; reboot router |
Direct push notifications reach about 97% of users, while platform bells hit roughly 30%. Use push services as a reliable way to deliver content and reduce this common reason for missed alerts on twitch.
Conclusion
Finish by confirming each scene, audio route, and token with a short test. This final check makes it clear which part fails and saves time during live streams.
We covered the essential steps to diagnose and fix common issues so your stream runs smoothly. Follow the checks in this article and repeat tests after changes.
If a problem persists, consult the Streamlabs troubleshooting guide for targeted fixes. Keep testing regularly and your community will enjoy a reliable live experience on twitch.