Can the last 20 seconds of a video really decide whether a viewer subscribes or clicks away? That question matters if you want steady growth for your channel.
In this guide you will learn how an end screen works and why it is a strategic moment to keep people watching. A well-timed element guides a viewer to another video, a playlist, or a subscribe button.
Few creators treat the final seconds as a conversion opportunity, but those who do see measurable gains in watch time and views.
We will show the step-by-step setup, how to add end elements, and which options boost attention. Tools like the TubeBuddy Bulk End Screen Editor let you update many videos in seconds, saving time while keeping brand consistency.
Key Takeaways
- End screens are a short, strategic chance to guide viewers to more content.
- Use clear elements to point people to another video, playlist, or the subscribe button.
- Manage many videos fast with tools like the TubeBuddy Bulk End Screen Editor.
- Design the final seconds to keep attention and grow watch time and subscribers.
- This guide walks you from setup to analytics so you can improve results step by step.
Understanding the Role of End Screens
The final 5–20 seconds of a video are a deliberate moment to steer viewers toward what you want them to watch next.
An end screen serves as the closing section of your video, placed where attention is highest. It gives clear options: subscribe, play a related video, or open a playlist.
Used well, end screens keep people inside your content ecosystem instead of letting them click away. That sustained session time signals stronger engagement to the algorithm.
Presenting tailored recommendations at the youtube end helps prevent drop-off. When you guide viewers clearly, your channel looks organized and trustworthy.
- Purpose: Turn attention into action—subscribe or watch another video.
- Benefit: Maintain session duration and boost overall watch time.
- Focus: Direct traffic to a converting video or a full playlist.
In short, end screens act as a strategic bridge between videos and a powerful tool to stop viewers from leaving when interest is highest.
YouTube End Screen Best Practices for Maximum Impact
Close each video with a single, friendly prompt that points people to what matters next.
Crafting Clear and Actionable Calls to Action
Keep CTAs short and friendly. Use phrases like “Watch this next.” Say the prompt once and show bold text on the screen so the action is obvious.
Using Visual Cues to Direct Viewer Attention
Pair your line with a small gesture — a head turn or hand point — so the viewer’s eyes follow the cue. Place the subscribe button and related tile where they do not compete with other elements.
Ensuring Content Relevance for Higher Retention
Link to a follow-up video or a related video playlist to keep people watching. Recommend the next video that logically continues the topic to increase watch time and audience trust.
- Simple CTA: one clear action per final 10–20 seconds.
- Visual cue: gesture plus bold text improves clicks.
- Relevant link: guide viewers to a related playlist or website page when useful.
Key Differences Between End Screens and Cards
Some tools nudge viewers during playback; others wait until the closing moments to guide the next move.
Cards pop up mid-video to suggest a link or playlist. They are useful for quick pointers, but they can feel intrusive if overused.
End screens appear only in the final 20 seconds and act as a natural wrap-up. Viewers have finished the main content and are ready to decide what to do next.
- Cards work during a video; end screens wait until the close.
- Cards can interrupt flow; screens preserve story continuity.
- Viewers often ignore mid-roll prompts but respond to closing options.
- Use cards to support a single clip and an end screen to boost session time across your channel.
Understanding these differences helps you choose which element to use and when. Use both, but reserve the final tiles to guide longer viewing paths and stronger channel growth.
Technical Requirements and Timing Guidelines
Correct timing and precise placement ensure every clickable element works across devices. Follow the platform limits and size rules so your closing visuals render clearly for people on phones and desktop.
Optimizing the Timing Window for Engagement
Minimum and maximum: the platform requires your closing segment to run at least 5 seconds and no more than 20 seconds. Aim for a 10–15 second window to give viewers time to read and act without dragging the outro.
Slow your delivery in the last moments. A gentle pace helps people process the suggestion and increases clicks.
Understanding Element Dimensions and Placement
Reserve clear space away from faces and key visuals. Overlapping elements can hide important information and reduce clicks.
| Element | Pixel Size | Suggested Location |
|---|---|---|
| Subscribe button | 294 × 294 | Bottom-right corner, clear of text |
| Video / playlist tile | 615 × 345 | Center-right area, avoid face overlap |
| Duration guideline | 5–20 seconds | Aim 10–15 seconds for viewer processing |
- Test layouts on mobile and desktop before publishing.
- Leave margin space so buttons render clickable on all devices.
- Always run a quick playthrough to check that elements don’t cover critical text.
Final step: test and iterate. A well-timed closing feeling intentional helps people stay to the very last second and click where you want them to.
How to Add End Screens in YouTube Studio
A fast, repeatable process in Studio saves time and keeps your channel consistent.
Step-by-step: after you upload a video, open the Video Elements tab. Click the “+ELEMENT” button to add a subscribe button, a next video tile, or a playlist link. Use preset layouts like “Subscribe + Video” to speed setup.
Importing Layouts from Previous Videos
You can import end layouts from earlier uploads to maintain a uniform look across videos. This saves editing time and helps viewers recognize your brand at the final seconds.
The editor also offers a “Best for Viewer” option so the platform can choose a recommended video. Always preview by hitting play to confirm timing, placement, and that the subscribe button is visible on mobile.
- Tip: adjust timing so elements sit within the final 10–15 seconds for clear action time.
- Tip: test on phone and desktop before you save changes.
| Action | Where to Set It | Why It Helps |
|---|---|---|
| Add element | Video Elements tab | Places clickable items in the final seconds |
| Import layout | Choose from previous uploads | Keeps layout consistent and saves time |
| Preview | Editor play button | Checks timing, visibility, and mobile fit |
Creating Custom Visuals for Your Outro
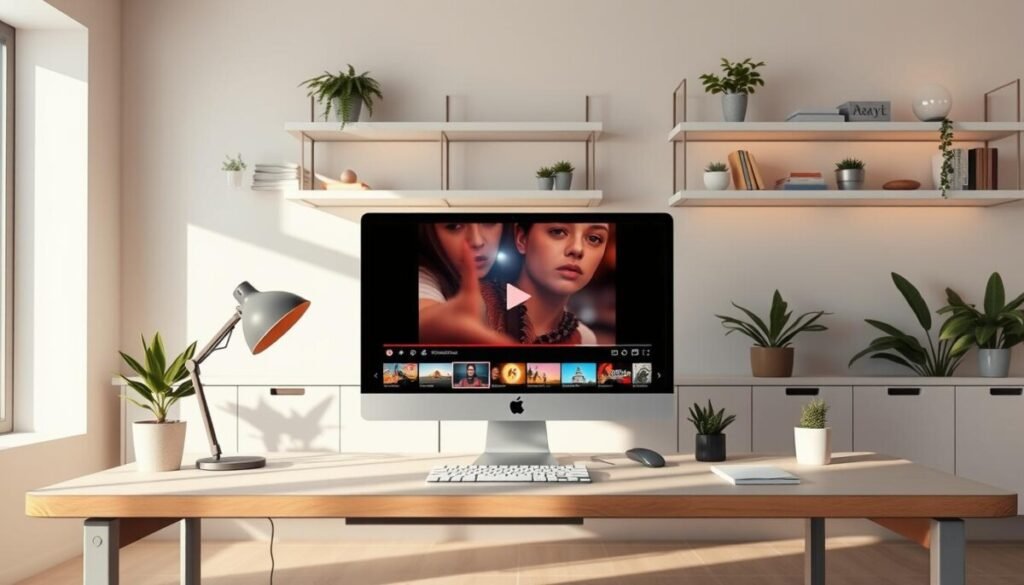
Your outro can act as a visual roadmap that points people to the next step on your channel.
Create a template in Canva, Photoshop, Figma, or InVideo. Design a static background with clear zones for the subscribe button, a suggested video tile, and a playlist area.
Keep the clickable boxes in mind. Leave at least 300×300 pixels of safe space for image tiles so YouTube’s boxes do not hide important text or faces.
Use consistent colors, a clear brand mark, and short labels so viewers know what to expect each time. Add social icons or brief labels for context; note those icons are not clickable.
- Download the image and place it at the final seconds of your video before upload.
- Preview on phone and desktop to confirm spacing and visibility.
- Keep one focal point that draws the eye to the subscribe tile or next video.
Small, repeatable templates save editing time and make your channel feel professional. A polished closing helps people stay longer and click through to more content.
Leveraging Bulk Tools for Channel Efficiency
When you manage dozens or hundreds of uploads, updating each closing frame one by one wastes hours.
Tools like TubeBuddy let you bulk copy an effective end screen across many videos in minutes. You can pick a single high-performing video and replicate its elements to a full list, by IDs, or to results from a search phrase.
Important: delete existing annotations before you bulk copy. The platform blocks overlapping overlays, so check the box that removes old notes to avoid conflicts.
- Save days of manual edits when you have a large content library.
- Choose a top-converting video, then copy its layout and button placement to other videos.
- Automate uniform elements so every video on your channel matches your current strategy.
This step scales your updates and keeps viewers facing a consistent call to action across your catalog.
Strategic Selection of End Screen Elements
Picking the right tiles and a single clear call will shape how viewers move through your catalog. Focus on one primary goal: more watch, more subscribers, or longer playlist sessions. Keep choices tight so the viewer can act quickly.
Promoting Playlists to Increase Watch Time
Playlists work best for step-by-step or educational content. When you link a video playlist, viewers binge without choosing anew, which raises session watch and views.
For tutorials, lead to the logical “next video” in sequence. That reduces friction and nudges viewers deeper into your channel.
Maximizing Subscriber Growth with the Subscribe Button
If subscriber growth is the goal, make the subscribe button obvious. Pair it with a single, highly relevant video recommendation rather than three unrelated options.
Noah Morris, who runs over 20 faceless channels, stresses: use only the elements that support your goal. Too many options dilute clicks and lower overall engagement.
- One or two actions: reduce decision fatigue for viewers.
- Relevance: match the suggested video or playlist to the viewer’s journey.
- Test: try a subscribe + playlist combo and measure changes in views and watch time.
For technical setup and rules on clickable elements consult the creator help page and research on viewer prompts: creator help and a short study of on-screen prompts like-button behavior.
Driving External Traffic Through Verified Links
Use verified external links to move viewers from a video to your site or store.
Eligibility matters. To add external links you must join the Partner Program. That requires at least 1,000 subscribers and 4,000 valid public watch hours in the last 12 months.
Once approved, you can link to a verified website, merch shop, or crowdfunding page. Sites like Bookmyshow, Etsy, and SoundCloud are already approved for creators.
Keep links focused. Promote one clear destination per closing tile so people know where to go. Match the link to the video topic—for example, a gear page for an equipment video.
Monitor what converts. Track clicks, purchases, and referral traffic and refine which links you add to your end screen elements.
Turn your channel into a business hub by using verified links thoughtfully. For troubleshooting related to video metrics, check this guide on video analytics.
Analyzing Performance to Refine Your Strategy

Tracking clicks and drop-off points after the final moments turns guesswork into repeatable results. Use the End Screen report in Analytics to see how often each element was clicked and which tiles drive clicks to another video or a playlist.
Look for patterns. If a tile or the subscribe button underperforms, replace or delete it. Small swaps can improve overall views and watch time.
Identifying Drop-off Points in Your Analytics
Pinpoint when viewers leave your video. Drop-off timing shows whether your pacing or CTA timing needs change.
Compare click-through rates across videos. If one element consistently wins, promote that element across more videos or copy its layout with your editor.
- Review the End Screen report regularly to confirm your strategy works.
- Adjust timing and text to make the final seconds feel like a natural next step.
- Keep testing—every channel and audience behave differently.
For deeper insight on subscriber value and channel growth, read this short guide on subscriber value. Use those findings to prioritize elements that drive views and audience action.
Conclusion
, Finish your video with a clear plan that turns attention into action.
Mastering an end screen is a key step to grow your channel. Use one clear call to action, a relevant playlist, and a visible subscribe button so viewers know what to do next.
Measure results with analytics and swap low-performing elements. Small tests of layout, timing, and text often lift watch time and views.
Be consistent and intentional: apply the same layout across similar videos and review performance each step of the way. Start now and make your closing moments work for your audience.