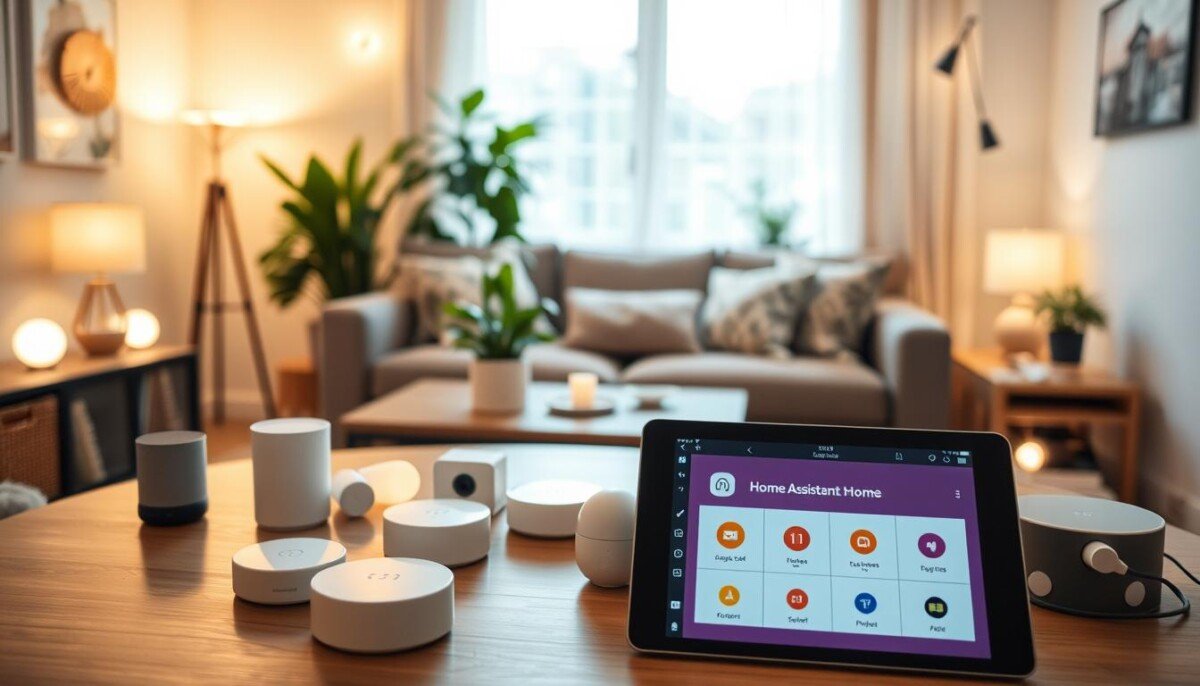
Can you run a smarter house without paying monthly fees or surrendering your privacy? This guide shows a clear path that many professionals prefer when they want control, privacy, and growth.
The Open Home Foundation backs this project, and developers have focused on ease of use rather than complex code. Early reliance on YAML has shifted to a polished interface that eases installation and makes moving from platforms like SmartThings simple.
Home assistant gives local control so your smart home keeps working even if the cloud does not. The setup scales with your needs, supports integrations, and keeps your data private while you build reliable automations.
Key Takeaways
- Run a subscription-free smart home with a local server and strong privacy.
- Installation moved from YAML to a user-friendly interface by the developers.
- The platform scales from a single room to full property automations.
- The community and platforms offer guides to speed up getting started.
- Local integrations keep data secure and devices responsive during outages.
Understanding the Home Assistant for Beginners Ecosystem
The platform merges device telemetry and controls so you can build reliable automations.
This open-source project links TVs, fans, cameras, and thermostats into a single interface. You get device states and actionable information in one place.
Developers designed the system so you can create complex automation without coding. That means fewer barriers when you need a tailored smart home setup.
The Open Home Foundation supports the effort and keeps your data local and private. You can access the system via mobile apps, web browsers, or voice commands.
- Supports Ethernet, WiFi, Bluetooth, Zigbee, Z-Wave, Thread, and Matter.
- Unifies devices from multiple manufacturers into one dashboard.
- Makes understanding automations the first step to scaling your setup.
Selecting the Right Hardware for Your Server
Your server choice decides how responsive and future-proof the system will be.
Start with goals: stability, processing headroom, and low noise. A Raspberry Pi 4 with 4GB of RAM remains a popular, cost-effective option when you are getting started.
Raspberry Pi Alternatives
The Pi is simple to install and fits small setups. It works well for basic automation and a few devices.
Mini-PC Benefits
Mini-PCs like the Beelink Mini S12 Pro (Intel N100) give extra CPU and memory. They handle more containers and scale to multiple integrations.
Zigbee and Thread Radios
Use USB radios on extension cables to reduce interference and keep the network reliable. That small change improves signal and reduces dropouts.
- Stability: choose hardware that keeps your server running 24/7.
- Performance: compare Geekbench 6 multi-core scores when evaluating mini-PCs.
- Practical tip: Home Assistant Yellow is an all-in-one option but may be limited by supply.
| Option | Typical RAM | Use Case | Notes |
|---|---|---|---|
| Raspberry Pi 4 | 4 GB | Small setups, light automation | Low cost, easy installation |
| Beelink Mini S12 Pro | 8 GB+ | VMs, many integrations, future growth | Strong value; check Geekbench 6 scores |
| Home Assistant Yellow | Varies | Turnkey server | Convenient but limited stock |
Choosing the right device ensures your smart home stays responsive and your data stays local. If you need help during install, see the troubleshooting smart devices guide on the website.
Comparing Installation Methods
Picking an installation path shapes how reliable and maintainable your smart system will be.
Home Assistant OS is the most turnkey option and is fully managed by the system. It handles updates, snapshots, and add-ons with minimal manual care. This setup is the safest first step if you want a stable, low-maintenance server.
Running Home Assistant as a virtual machine on Proxmox gives extra flexibility. Proxmox lets you run backups, snapshots, and other VMs alongside the main instance. If you use Proxmox, set the virtual disk cache to “write through” to reduce the risk of database corruption.
Supervised and container installs suit advanced users who need custom control and specific integrations. These ways give power but require more upkeep and knowledge of Linux and Docker.
- HAOS: turnkey, low upkeep, best starting option.
- Proxmox VM: scalable, great for mixed servers; change disk cache to write through.
- Supervised/Container: maximum control, higher maintenance.
Compare all available installation methods on the official Home Assistant website before you install home assistant. Choose the option that matches your technical comfort and long-term goals.
Navigating the User Interface
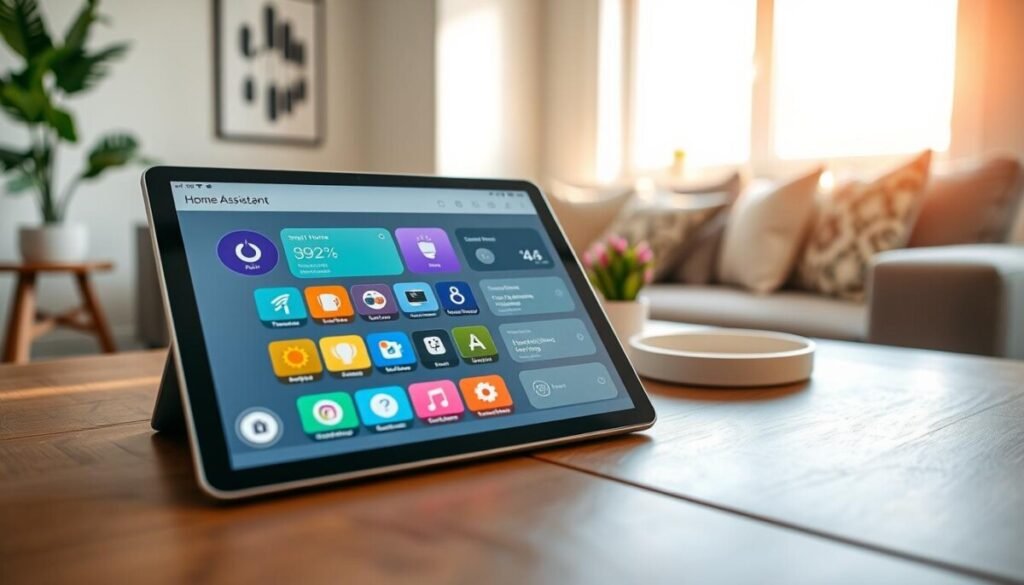
The main dashboard greets you with a clear snapshot of devices, states, and recent events.
The dashboard is the first page you see and gives fast access to vital information. Cards show each device and service so you can act at a glance.
Dashboard Customization
You can add, move, or resize cards using the visual editor. Advanced users can refine layouts by editing yaml to get exact behavior and appearance.
The side navigation is flexible; reorder menu items so critical views are one button away. Notifications appear above your profile and flag updates or issues that need attention.
- Quick monitor: watch device status and automation outcomes in real time.
- Personal layouts: save different dashboards per role or room.
- Browser settings: dashboard layouts are browser-dependent—set each device you use.
Organize your data to reduce friction in daily processes and save time when troubleshooting. A tidy interface helps the assistant deliver clear, actionable information every time.
Managing Integrations and Devices
A clear plan for devices and integrations shortens setup time and reduces troubleshooting.
Start with discovery. Auto-discovered devices rise to the top of the Devices & Services page so you can configure them quickly. Many integrations show a cloud icon when they rely on external services; that helps you spot offline risks at a glance.
Assign each device to an area, such as “Basement Bedroom Light,” to keep things tidy. A consistent naming convention speeds searches and makes automation rules clearer when you build routines.
- Manage integrations to connect smart home devices and the server efficiently.
- Access a list of over 3,000 integrations to cover most brand options and protocols.
- Use area assignments and clear names so your data stays organized as the system grows.
| Action | Benefit | Tip | Result |
|---|---|---|---|
| Auto-discovery | Faster setup | Check Devices & Services top list | Minutes to configure new devices |
| Naming convention | Easy search | Use room + device pattern | Clear automation rules |
| Review integrations | Reduce external dependency | Watch for cloud icons | More reliable local control |
Good management gives you full control smart home-wide. Spend a little time on names, areas, and integration choices and the system will work more reliably over time.
Understanding Entities and Areas
Entities turn real-world readings into actionable information inside the platform.
An entity represents one function of a device, such as temperature, motion, or illuminance. A single physical device can expose several entities; a Philips Hue motion sensor often reports motion, temperature, and light level separately.
Entities have states like ON or OFF, and numeric values such as 70°F. Attributes add context — battery level, last update time, or signal strength — and help you trust the data the system provides.
- Why entities matter: they let you target exact functions when you build automations.
- Use areas: group devices by room to keep the dashboard tidy and scalable.
- Quick audit: the entity list shows every component and its current state.
| Entity | Type | Example |
|---|---|---|
| sensor.living_temp | Temperature | 70°F |
| binary_motion_hall | Motion | ON |
| sensor.hue_lightlevel | Illuminance | 350 lux |
Organize sensors and other entities early. Clear names, areas, and tidy integrations make your smart setup easier to manage as you add more devices.
Utilizing Helpers for Custom Logic
Helpers provide an easy way to add custom logic to your home assistant setup. They act as small, durable variables that save state and guide automations without coding.
Toggle Helpers
Toggle helpers (input booleans) behave like virtual switches. Use them to enable or disable automations on demand.
Create a toggle to pause notifications during meetings or to gate a routine that runs at night. You can reset toggles nightly with a simple automation so each day starts predictably.
Grouping Entities
Group helpers combine multiple devices into a single entity for easier control. Group lights to set brightness or color temperature across several lamps at once.
Groups also simplify the Devices list and cut clicks when you trigger scenes or routines. Store helpers in your settings and reference them across automations to keep logic tidy.
- Best use: Add custom logic without complex scripts.
- Toggle: Virtual on/off switch to gate automations.
- Group: Control multiple devices as one entity.
- Persistence: Helpers store state and improve reliability over time.
Mastering Automation Basics
Good automation turns routine steps into reliable background tasks. Mastering this process makes your home assistant do the small work so you save time and avoid repetitive chores.
Automations have three parts: triggers, conditions, and actions. A trigger starts the sequence, such as a motion sensor or a schedule. Conditions act as rules so devices only run when you want them to.
Actions are the results. They change device states, send alerts, or run scenes. Use the built-in editor and its button-driven interface to create logic without touching yaml.
Use sun-based conditions to limit runs by time and light. Mobile apps expose your phone as a sensor so you can trigger arrival routines. Each automation runs on your computer or server in the background.
- Start small: one trigger, one condition, one action.
- Test often: run automations manually before scheduling.
- Iterate: refine settings and sensors as devices scale.
Implementing Security and Multi-Factor Authentication
A few focused settings can stop most unauthorized access attempts.
Start by enabling multi-factor authentication in your profile. Click your profile name and add MFA to ensure only you can control critical devices and scenes. See the multi-factor authentication guide for step-by-step help.
Enabling IP Bans and Config Best Practices
Configure IP bans in configuration.yaml to block repeated failed logins on your server. Use a secrets file to store API keys and passwords so your main configuration stays clean and safe.
Turn on Advanced Mode in your profile to view hidden security settings. Keep SSH enabled so you can troubleshoot if the server fails to start after an update.
- Enable MFA as the primary option to secure user access.
- Set IP bans in configuration.yaml to reduce brute-force risk.
- Use a secrets file for keys and credentials.
- Enable Advanced Mode to manage deeper settings and updates.
- Keep SSH available for emergency fixes.
| Measure | Where to Set | Benefit |
|---|---|---|
| Multi-factor auth | User profile | Strong second layer for account access |
| IP bans | configuration.yaml | Blocks suspicious login attempts |
| Secrets file | config directory | Keeps credentials out of visible configs |
| Advanced Mode | User profile | Exposes hidden security settings |
| SSH | Server level | Critical for recovery and troubleshooting |
Expanding Functionality with Add-ons
Add-ons turn the core platform into a toolset that fits your needs. They run alongside the server and deliver targeted features without heavy custom code.
You can install HACS to get a community-driven list of custom integrations, themes, and extras that the default installation does not include.
The Advanced SSH & Web Terminal add-on adds a button to open a shell in the web UI. That makes troubleshooting and file edits fast when a device stops responding.
- Use Samba Share to get simple file access from a computer for backups and edits.
- Run the Visual Studio Code server add-on to edit configs directly in the browser with professional tools.
- Pick add-ons carefully so each one solves a specific task and keeps the system stable.
If you need remote edits from your phone, several add-ons make secure access simple. When you install home assistant, plan which add-ons will support your devices and daily routines.
Setting Up Remote Backups
Remote backups protect your server configuration and automations when hardware or software fails.
The Google Drive add-on is the most recommended tool to automate off-site backups for your home assistant instance.
Google Drive integration tips
Configure the add-on to keep generational backups for 14 days or longer. That gives you several restore points after an update or change.
Set a strong backup password. This step secures saved data in the cloud and prevents unauthorized restores.
- Trigger backups on-demand from the UI with a single click.
- Schedule nightly backups so your automations and settings stay protected over time.
- The add-on can stop specific integrations, like InfluxDB, to ensure consistency during the snapshot.
- The community-supported tool gives remote access to backups even if your server is offline.
| Feature | Benefit | Recommended setting |
|---|---|---|
| Generational backups | Restore to past states | Keep 14+ days |
| Backup password | Encrypts archives | Strong, unique password |
| Pre-backup stop | Data consistency | Stop InfluxDB or databases |
| On-demand trigger | Fast recovery | One-click in UI |
If you want other cloud options, compare providers in this best cloud storage guide as a next step in your setup.
Monitoring System Performance
Watch host metrics over time to keep the platform responsive and predictable.
Built-in monitoring tracks CPU and memory usage so you have clear information when troubleshooting. Check these metrics in the settings panel to see spikes and trends.
If you run the server on lower-end hardware like a Raspberry Pi, monitoring saves time by showing when CPU or memory limits are hit. That data helps you plan upgrades before automations fail.
Proxmox users often pull host metrics into the dashboard using Glances. It displays disk I/O, load, and network use so you can view computer-level stats alongside integrations and entity states.
- Monitor regularly to spot slowdowns early.
- Use built-in tools to view CPU and memory trends.
- Add Glances on Proxmox to inspect host computer metrics.
- Keep updates current to maintain performance and security.
| Metric | Why it matters | Action |
|---|---|---|
| CPU usage | High sustained load can delay automations | Reduce polling, move heavy tasks to another computer |
| Memory use | Low free RAM causes crashes or slow response | Increase RAM or migrate to a stronger server |
| Disk I/O | Slow storage affects database write speed | Use SSD or change VM disk cache to write through |
| Network throughput | High traffic can delay device updates | Segment traffic and monitor integrations that rely on external data |
For setup details and the built-in system monitor options, see the system monitor integration. Regular checks of these metrics make sure the assistant running on your server stays stable as integrations and data grow.
Conclusion
You are set to run a private, subscription-free smart home that stays responsive and local.
By following this guide, you learned to set up a server, manage devices, and build reliable automations that save time and reduce noise.
The platform scales as needs grow. Start small, add integrations, and expand automations without losing control smart home-wide.
Use community resources when you hit a snag and keep regular backups to protect your setup.
Enjoy a more private, faster, and predictable smart home experience every day.