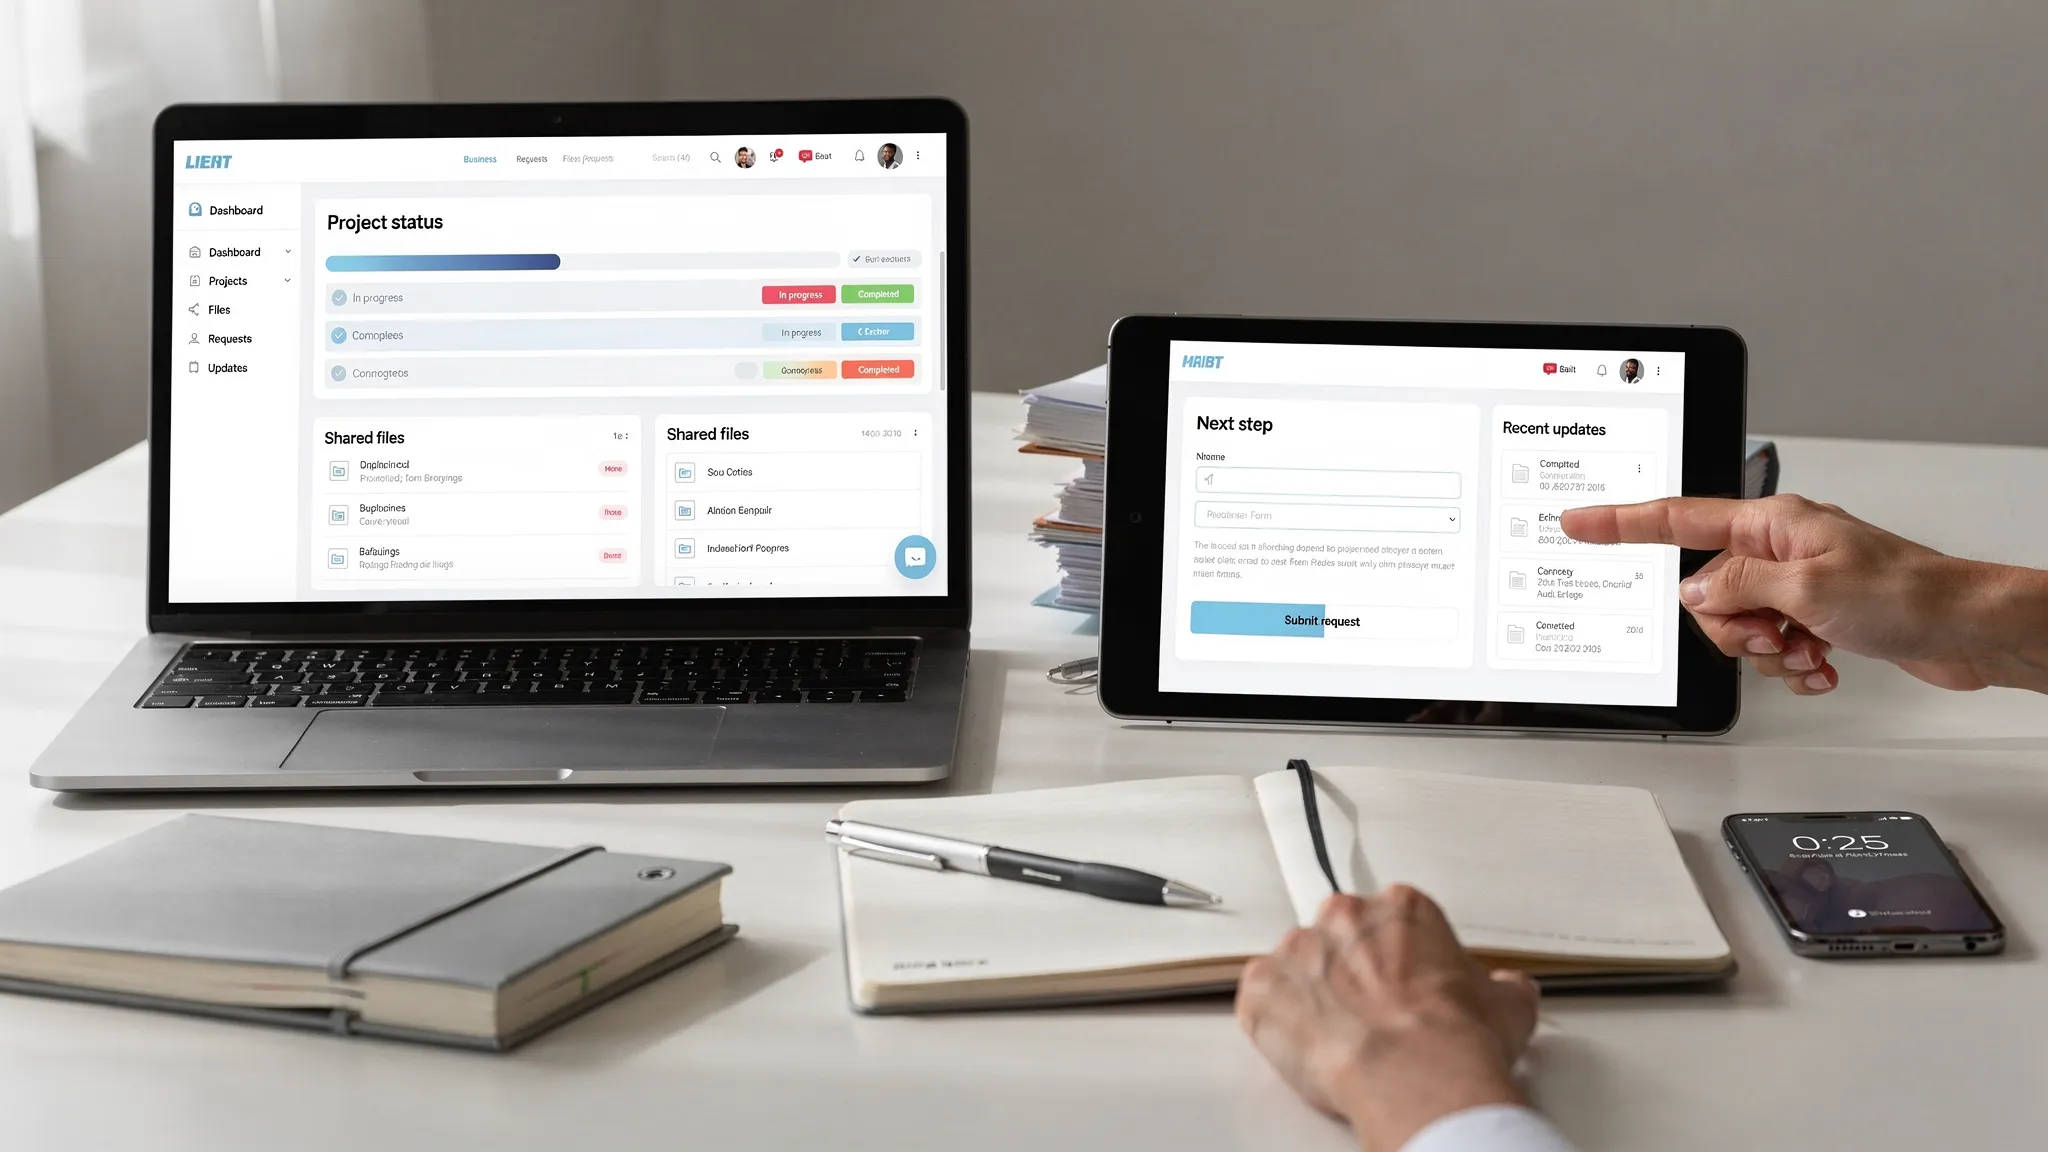
A client portal does not need to be a custom software project. For many freelancers, agencies, consultants, coaches, and small service businesses, a simple no-code client portal can replace scattered email threads, missing attachments, repeated status requests, and awkward handoff documents.
The goal is not to build the next enterprise dashboard. The goal is to give each client one private place where they can see what is happening, upload information, access files, submit requests, and understand the next step.
In this guide, we will build the portal like a practical workflow, not a software development project. You will learn what to include, which no-code tools to consider, how to structure your data, how to set permissions, and how to launch without overwhelming your clients.
What a no-code client portal should actually do
A client portal is a private online space where clients can access project information, documents, forms, updates, and support resources. In a no-code setup, you create that experience using visual builders, databases, forms, cloud storage, and automations instead of writing custom code.
A useful portal usually solves four problems:
- Clients do not know where to find the latest files.
- Your team repeats the same updates manually.
- Important intake information is buried in email.
- Project status is unclear, which creates follow-up messages.
Start small. A portal that clients use every week is better than a beautiful portal with ten features nobody understands.
| Portal area | What it does | Simple tool options |
|---|---|---|
| Client dashboard | Shows status, next steps, and key links | Softr, Stacker, Glide, Notion |
| Client database | Stores client, project, and task records | Airtable, Google Sheets, Notion database |
| File hub | Organizes shared documents and deliverables | Google Drive, Dropbox, OneDrive |
| Intake forms | Collects onboarding details and requests | Tally, Fillout, Typeform, Google Forms |
| Automations | Sends alerts and updates records | Zapier, Make, Airtable automations |
| Help resources | Answers common client questions | Notion, Google Docs, HelpScout Docs |
Choose the simplest no-code portal stack
There are many ways to build a no-code client portal. The best stack depends on how much structure, security, and polish you need. If you are new to digital workflow optimization, do not choose the most advanced tool first. Choose the stack you can maintain.
If you are still comparing categories, our guide on how to find and buy digital tools that work can help you evaluate tools by need, cost, and long-term fit.
| Stack | Best for | Why it works | Watch out for |
|---|---|---|---|
| Airtable plus Softr | Agencies, consultants, service teams | Structured database with a polished client-facing portal | Permissions and plan limits need careful review |
| Airtable plus Stacker | Operations-heavy client portals | Strong database-driven app experience | Can be more setup-heavy for beginners |
| Glide plus Google Sheets or Airtable | Mobile-friendly client apps | Fast app building with simple data sources | Complex permission rules may require higher plans |
| Notion plus shared pages | Coaches, creators, solo consultants | Easy to organize docs, checklists, and resources | Not ideal for sensitive data or complex client separation |
| Google Sites plus Google Drive | Basic document portals | Low learning curve and familiar tools | Less polished and less automated |
| WordPress plus membership plugin | Website owners who want everything in WordPress | Good for branded portals and content libraries | Requires maintenance, security updates, and hosting care |
For most small service businesses, Airtable plus Softr is a strong starting point because Airtable handles the database and Softr creates the client-facing portal. But if all you need is a shared onboarding hub, Notion or Google Sites may be enough.
Plan the portal before choosing features
Before opening any tool, map the client journey. This prevents the common mistake of building pages because they look impressive instead of because clients need them.
A simple service-based client journey often looks like this:
- Inquiry or booking
- Intake and onboarding
- Project kickoff
- Work in progress
- Review and feedback
- Final delivery
- Ongoing support or renewal
Your portal should support that journey. If a page does not help the client move from one stage to the next, leave it out for version one.
Ask these questions before building:
- What does the client need to know today?
- What does the client need to upload or approve?
- What do we currently explain repeatedly by email?
- What files must always be easy to find?
- What information should each client never see from another client?
That last question is critical. Client portals are useful only when permissions are reliable. A simple portal still needs careful access control.
Build your database structure
Your database is the engine of the portal. Even if clients never see the backend, your portal pages will pull information from it.
In Airtable, Google Sheets, or Notion, start with a few core tables. Do not create twenty tables on day one. Keep the structure easy enough for your team to update.
| Table | Purpose | Example fields |
|---|---|---|
| Clients | Stores each client account | Client name, contact email, portal access status |
| Projects | Tracks the work being delivered | Project name, client, status, start date, due date |
| Tasks or milestones | Shows progress and next steps | Task name, project, owner, due date, client-visible status |
| Files | Links to important documents | File name, project, file URL, category, version |
| Requests | Captures client questions or changes | Request type, priority, description, submitted date |
| Updates | Logs client-facing progress notes | Update title, project, date, summary |
For a simple no-code client portal, the most important relationship is usually Client to Project. Each project should connect to one client, and each client should only see records connected to them.
Use plain status names. Clients should not need a glossary. For example, use Not started, In progress, Waiting on client, In review, and Complete. Avoid internal status labels like Ops QA 2 or Creative Stage B unless clients already understand them.
Create the client-facing pages
Once your database is organized, build the front end. In tools like Softr, Stacker, or Glide, this means connecting your data source and creating pages that display filtered information to logged-in clients.
A simple portal needs fewer pages than you think. Start with these:
| Page | What clients see | Why it matters |
|---|---|---|
| Home | Welcome message, current project status, next action | Gives clients an immediate answer when they log in |
| Project overview | Timeline, milestones, key dates | Reduces status-check emails |
| Documents | Shared files, deliverables, contracts, guides | Stops file hunting across email threads |
| Submit request | Form for feedback, changes, or support | Standardizes incoming requests |
| Resources | FAQs, instructions, process notes | Helps clients self-serve simple questions |
| Contact | Main contact person and response expectations | Sets communication boundaries |
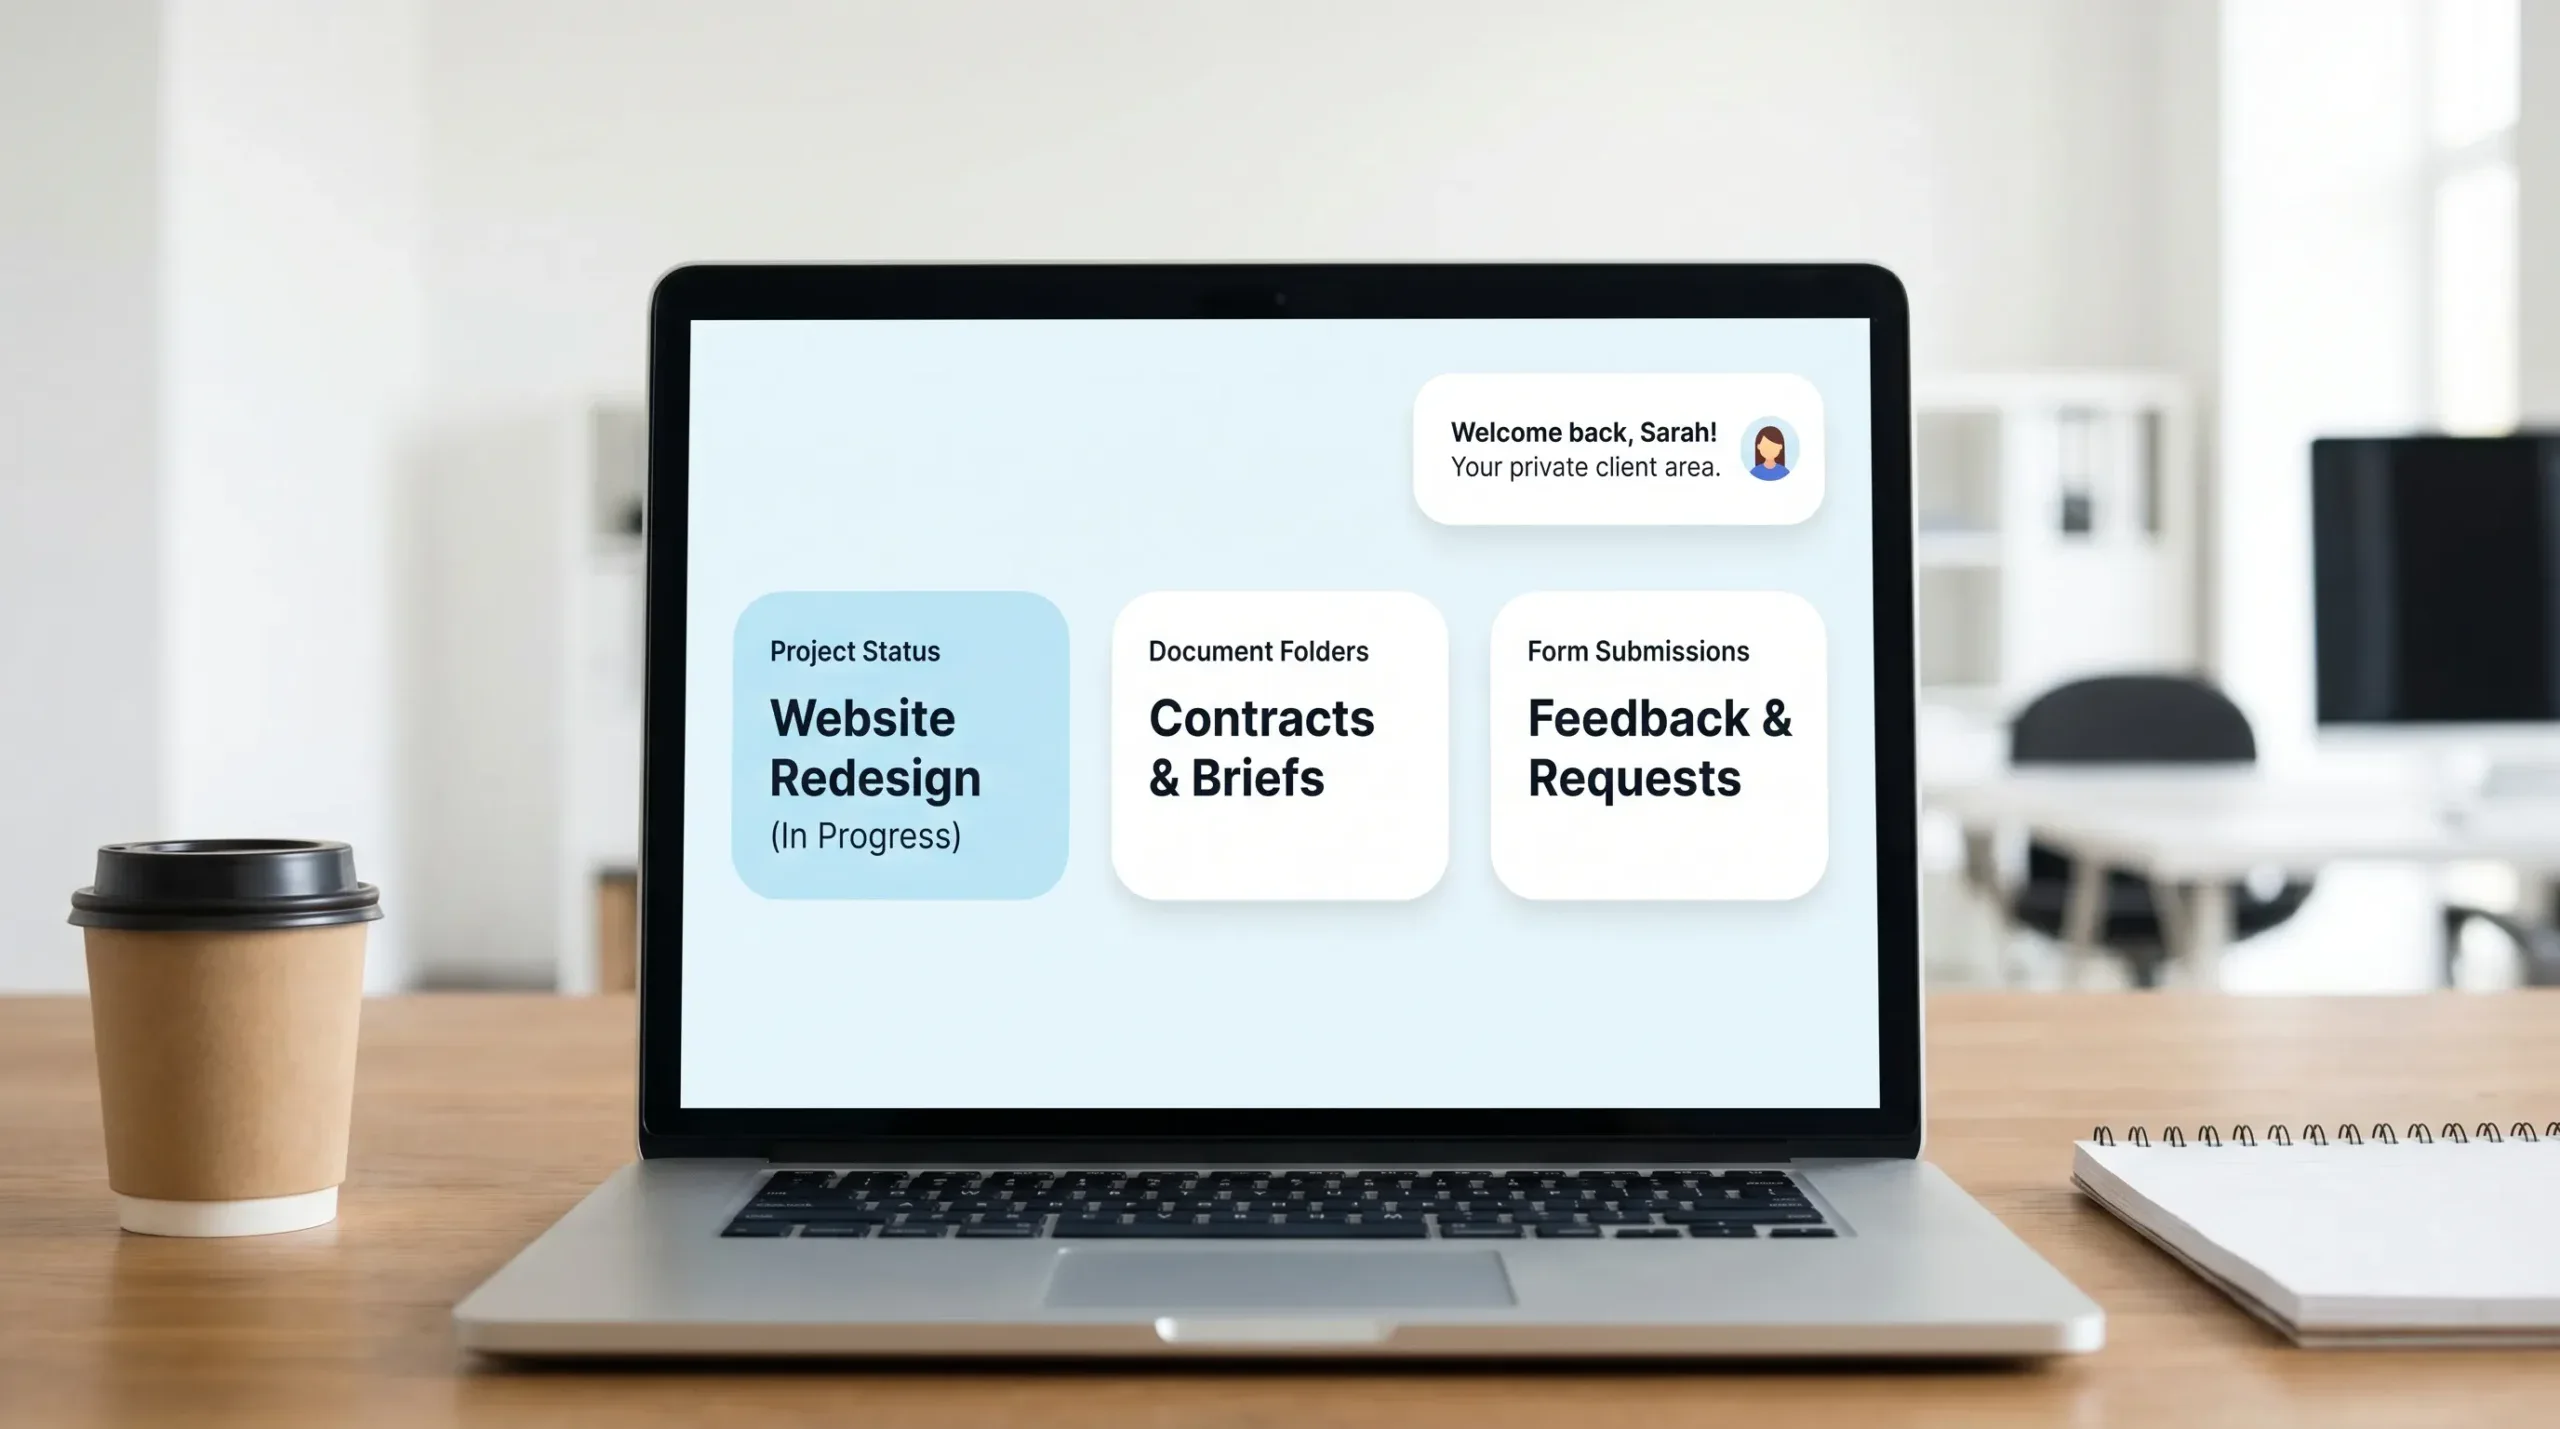
Keep the home page simple. It should answer: What is the current status, what is waiting on me, and where do I click next?
A strong client portal home page might include a short welcome message, one status card, three quick links, and a recent updates section. That is enough for version one.
Set up permissions and client access
Permissions are where many no-code portals fail. A portal looks simple on the surface, but the access rules determine whether it is safe and trustworthy.
At minimum, each client should only see records where the client field matches their account. If you are using Softr, Stacker, Glide, or another portal builder, look for user groups, conditional visibility, record-level filtering, and login-based access.
Before launch, create test accounts. One test account should represent Client A, and another should represent Client B. Log in as both and confirm they cannot see each other’s projects, files, forms, or updates.
Use these basic permission rules:
- Client users can view only their own projects and files.
- Client users can submit forms, but not edit core records directly.
- Internal team members can edit records based on their role.
- Public links are avoided for sensitive files.
- Admin access is limited to people who truly need it.
For sensitive business data, review basic privacy guidance from sources like the FTC guide to protecting personal information. Also consider multi-factor authentication, strong passwords, and secure file-sharing practices. Our guide on whether password managers are safe can help you improve account security across your tool stack.
Add intake and request forms
Forms make the portal useful because they turn messy email requests into structured records. Instead of asking clients to email feedback in different formats, give them one place to submit information.
Good starter forms include:
- New client onboarding form
- Project brief form
- Change request form
- File upload form
- Support request form
- Testimonial or feedback form
Each form should feed into the right table. For example, an onboarding form can create or update a client record, while a change request form can create a new request connected to the client’s project.
Avoid asking for information you do not need. Shorter forms get completed faster and reduce privacy risk. If you handle regulated data, such as medical, legal, or financial information, consult a qualified professional before collecting or storing it in a no-code stack.
Connect basic automations
Automation is where a no-code client portal starts saving real time. You do not need complex workflows at first. A few simple automations can reduce repetitive admin work.
Useful starter automations include:
- When a client submits an intake form, create a project record.
- When a request is submitted, notify the project owner.
- When a milestone status changes to Complete, add a client-facing update.
- When a file is marked Final, display it in the client document page.
- When a project is waiting on the client, send a reminder after a set number of days.
If you use Airtable as your backend, start with native automation features before adding more tools. We have a full guide on setting up Airtable automations for database management if you want a deeper workflow.
Zapier and Make are useful when your portal needs to connect multiple apps, such as Gmail, Slack, Google Drive, QuickBooks, or a CRM. Keep automations named clearly so you can troubleshoot them later. A name like Send client request notification is much better than Automation 7.
Organize files so clients can find the latest version
File confusion is one of the biggest reasons to build a portal. But a portal does not automatically fix messy storage. You need a naming system and a version policy.
A simple file structure might look like this:
| Folder or category | What goes inside |
|---|---|
| Contracts | Signed agreements, statements of work, amendments |
| Onboarding | Intake documents, checklists, kickoff notes |
| Working files | Drafts, references, collaborative documents |
| Reviews | Items waiting for client feedback |
| Final deliverables | Approved final files and handoff documents |
| Invoices | Invoice PDFs, payment links, receipts |
If files are stored in Google Drive, Dropbox, or OneDrive, your portal can link to the correct folders or individual files. Make sure file permissions match the portal permissions. A private portal page is not enough if the underlying document link is public.
For a deeper look at what it means when files are stored online, review our guide on how online storage works.
Design the portal for client behavior, not your internal process
Your internal workflow may be complex, but the client portal should feel calm. Clients usually care about progress, deadlines, approvals, and deliverables. They do not need every internal task, comment, or operational detail.
A helpful rule is to show outcomes, not operations. Instead of showing twenty internal tasks, show five milestones. Instead of showing internal notes, show a short weekly update. Instead of exposing your whole project management system, show the specific actions the client can take.
For example, a marketing agency might show strategy approved, content drafts in progress, review needed, revisions in progress, and final assets delivered. The internal team may have dozens of subtasks behind each milestone, but the client sees a simple progress path.
This also applies to industries outside typical digital agencies. A travel planner or tour operator could use a client portal to share itinerary drafts, payment milestones, packing checklists, permit documents, and arrival details. A company offering custom trips such as Uganda safari packages could give each traveler a private hub for gorilla trekking requirements, wildlife tour schedules, and booking documents.
Test the portal before inviting clients
Before launch, test your portal like a client who has never seen your process. Do not only test as the admin. Admin views hide many permission and usability problems.
Use this pre-launch checklist:
| Test | What to confirm |
|---|---|
| Login test | Client can sign in without confusion |
| Permission test | Client sees only their own records |
| Mobile test | Core pages work on a phone |
| Form test | Submissions create the correct records |
| File test | Links open and permissions are correct |
| Automation test | Notifications and updates trigger properly |
| Plain language test | Client understands labels and instructions |
| Offboarding test | Access can be removed when the project ends |
Ask one trusted client or colleague to test it. Watch where they hesitate. If they ask, Where do I click?, the page needs clearer labels.
Launch with a simple client message
The launch message matters. If you simply send a login link with no context, clients may ignore it. Explain what the portal is for, what they should do first, and how it helps them.
Here is a simple launch email you can adapt:
Hi [Client Name], we have created a private client portal for your project so you can find updates, documents, requests, and next steps in one place. Please use the link below to log in and review the home page first. Your current action item, project status, and shared files are available there. If anything looks unclear, reply to this email and we will help.
After launch, remind clients to use the portal when they send requests by email. You do not need to be rigid at first, but consistency matters. If your team keeps answering everything in email, clients will not build the portal habit.
Common mistakes to avoid
The fastest way to make a portal fail is to overbuild it. Too many pages, too many fields, and too many dashboards create confusion.
Another common mistake is exposing internal complexity. Your project management system may be useful for your team, but clients need a simplified view. If clients have to interpret your internal workflow, the portal creates more work instead of less.
Security mistakes are also common. Public file links, shared admin accounts, unclear offboarding, and weak passwords can create serious problems. Review access monthly, remove old clients, and document who owns the portal.
Finally, do not ignore maintenance. A portal with outdated project statuses is worse than no portal because it trains clients not to trust it.
How to maintain your no-code client portal
A client portal is not a one-time build. It is a lightweight system that needs small, regular updates.
Set a weekly maintenance routine. Review open requests, update project statuses, check failed automations, archive completed projects, and confirm that new clients were added correctly.
Once a month, review the portal from the client perspective. Are the most-used links easy to find? Are any pages unused? Are clients still asking questions the portal should answer? Use those questions to improve the experience gradually.
The best no-code portal is not the one with the most features. It is the one your team can keep accurate and your clients can understand in under a minute.
Frequently Asked Questions
What is the easiest way to build a no-code client portal? The easiest approach is to start with a simple database, a portal builder, a form tool, and cloud storage. For many teams, that means Airtable plus Softr, or Notion plus shared pages for a lighter setup.
Do I need a custom domain for my client portal? Not always. A custom domain can make the portal feel more professional, but it is not required for a basic internal or client-facing workflow. Check whether your portal tool supports custom domains on your plan.
Can I build a client portal with Google Drive only? You can build a basic document hub with Google Drive and shared folders, but it will not feel like a full portal. For status tracking, forms, and filtered client views, you will usually want a portal builder or database tool.
Is a no-code client portal secure? It can be secure enough for many everyday business workflows if you configure permissions carefully, avoid public links for sensitive files, use strong authentication, and review access regularly. For regulated or highly sensitive data, get professional compliance advice before choosing tools.
How long does it take to build a simple client portal? A basic version can often be planned and built in a few hours if your workflow is simple. A polished portal with permissions, automations, file organization, and testing may take several days.
What should I include in version one? Start with a home page, project status, shared documents, one request form, and a short resources section. Add more only after clients start using the portal and you see what they actually need.
Build the portal your clients will actually use
A simple no-code client portal is one of the highest-impact workflow upgrades a service business can make. It centralizes communication, reduces repetitive updates, keeps files organized, and gives clients confidence that the work is moving forward.
Start with one client journey, one database, a few essential pages, and careful permissions. Then improve the portal based on real client behavior.
For more practical tool workflows, explore our online tools list for task and project management and our guide to creating online tools.