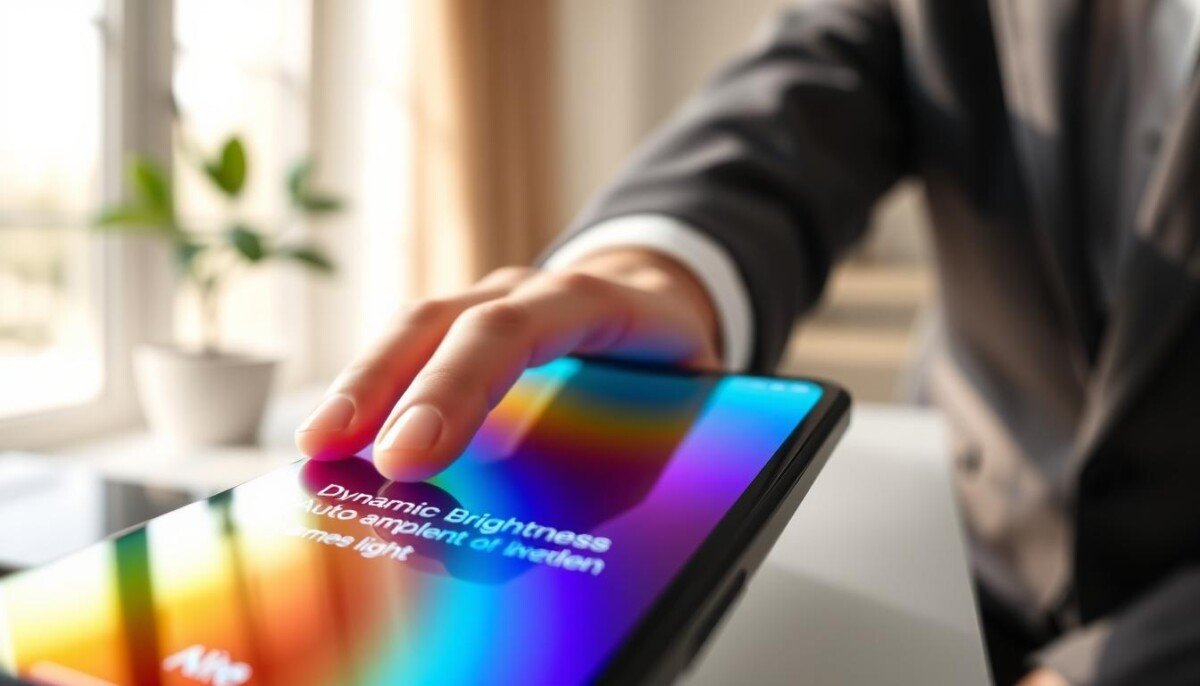
Have you ever felt your screen shift at the worst moment—mid-call, mid-presentation, mid-thought? That sudden change can break your flow and waste time. Many Windows users see their screen dim or brighten without warning, which can be jarring during focused work.
The feature aims to save battery and keep visibility steady by sensing ambient light. But professionals often prefer a stable display brightness across lighting conditions to avoid distractions and ensure consistent viewing.
Understanding how to manage your device settings lets you control screen performance and battery life. We’ll explain when it helps to leave adaptive control active and when to manually change brightness. You’ll also find quick tips to dim the screen and lower power draw, with a practical guide linked for reducing heat and preserving battery: reduce screen brightness.
Key Takeaways
- Unexpected shifts in display are common and distracting for professionals.
- The feature can save battery while improving visibility in varied lighting.
- Manually set display brightness for consistent viewing in fixed workspaces.
- Learning device settings gives you direct control over screen and battery.
- Simple steps like dimming the screen can reduce heat and extend battery life.
Understanding Adaptive Brightness Technology
Sensors and software work together to tune your display to the room’s light level. This lets your device adjust brightness automatically based on ambient light and the content you view.
How Sensors Work
The ambient light sensor is a small hardware element that senses surrounding light. It feeds data to the system so the screen can react without manual input.
Content Adaptive Control
Content Adaptive Brightness Control (CABC) analyzes what is on your display. It raises or lowers output to save power and to keep important parts of the image clear.
- The sensor monitors room light and helps the system make quick adjustments.
- CABC looks at on-screen content to optimize perceived contrast and power use.
- Both systems aim to improve viewing, but they can cause unwanted color changes.
| Component | Primary Role | Typical Effect |
|---|---|---|
| Ambient sensor | Measure surrounding light | Smooth display adjustments |
| Content adaptive control | Analyze on-screen content | Brightness based power savings |
| Combined system | Dynamic control | May impact color accuracy |
Deciding Between Auto Brightness On or Off
Choose how your screen reacts to light based on the work you do and the level of consistency you need.
If you need a steady screen brightness for long work sessions, take manual control. Many professionals find sudden changes distracting during calls, design reviews, or photo edits.
Graphic designers and photographers often lock a fixed level because precise color and tone matter. That steady setup keeps color checks and proofs reliable across the day.
- Keep adaptive settings when you move between bright and dim spaces.
- Use manual settings if your display shifts too often.
- Match the choice to device needs and personal workflow.
| Use Case | Recommendation | Reason |
|---|---|---|
| Office with fixed lighting | Manual control | Consistent viewing and accurate color |
| Frequent location changes | Adaptive setting | Better visibility and energy savings |
| Photo or design work | Manual control | Color fidelity and precise checks |
| General daily use | Personal preference | Balance comfort and battery life |
How Ambient Light Sensors Impact Your Display
A tiny sensor can change how your screen looks across different rooms.
The light sensor is a small hardware part that detects surrounding light. It sends data to your device, and the system then adjusts display levels to match the scene.
These changes aim to improve visibility and save power. That said, the shift can interrupt work when the display dims or brightens at the wrong moment.
- The sensor detects room light and informs display behavior.
- When the sensor notices a shift, it signals the screen to adapt.
- This automatic process can help visibility while also causing surprise changes.
- If you need steady settings, the sensor may interfere with consistent output.
| Item | Role | Typical Result |
|---|---|---|
| Light sensor | Measure ambient light | Signals system to change display |
| System control | Apply brightness based rules | Better visibility and power savings |
| User settings | Lock levels manually | Stable screen for focused work |
Impact of Brightness Settings on Battery Life
Small tweaks to display power use have a big effect on how long your device lasts. The display often consumes more power than any other component. That makes sensible brightness settings a top priority for saving energy and extending usable time.
Power Saving Strategies
Content Adaptive Brightness Control analyzes what is on the screen to reduce output where it can. That helps save power without your input, but the biggest gains come from lowering your display level directly.
- Manage your settings to extend battery life during long work days.
- When you disable auto adjustment, set the screen lower to save battery away from a charger.
- The display is often the largest consumer of power on mobile devices; keep it modest to protect battery.
- Use power management tools to prevent the screen from draining the battery needlessly.
- We recommend reducing display levels if you want to improve overall device battery life.
| Action | Effect on Battery | When to Use |
|---|---|---|
| Lower display level | High impact — extends battery hours | Long meetings, travel, remote work |
| Use content adaptive control | Moderate impact — saves power automatically | When you move through varied lighting |
| Enable power-saving profiles | Consistent reduction in power draw | All-day battery preservation |
Managing Display Preferences on Windows Devices
Windows gives several places where you can set how the display behaves. Use the right menu to match a steady view with battery goals.
Windows Settings App
Open settings and select System then Display to change brightness and related options. The settings app shows a simple slider and a toggle for automatic adjustments.
Power and Battery Options
In Power & Battery, disable battery optimization that may override your manual slider. This is key on laptops and tablets when you need stable display levels during long tasks.
Control Panel Methods
Advanced users can open Control Panel > Hardware and Sound > Power Options to edit the active power plan. Change the plan settings to disable adaptive features for your device.
- Open settings and navigate to System to change brightness for your device.
- Turn auto brightness features using the Settings app toggle when you need less shifting.
- Check power profiles so no background feature overrides your manual control.
| Method | Where to Find It | When to Use |
|---|---|---|
| Settings app | System > Display | Quick changes and sliders for daily use |
| Power & Battery | Settings > System > Power & Battery | Stop battery optimizations that alter screen levels |
| Control Panel | Hardware and Sound > Power Options | Advanced plan edits for consistent behavior |
Adjusting Screen Settings for Apple Hardware
Small gestures make it quick to adjust screen behavior on iPhone. Swipe down from the top-right corner on iPhone X and later to change levels manually.
True Tone uses an ambient light sensor to tune color and display intensity so images look natural in the room. This reduces sudden color changes when you move between spaces.
You can enable dark mode or Night Shift in the settings app to warm color temperature for night use and reduce eye strain. These tools also help manage perceived screen power use.
Models like the iPhone 17 Pro Max, 16 Pro, and 15 Pro include Always‑On display for glanceable info at lower refresh rates.
- Swipe to change levels quickly on modern iPhones.
- True Tone adapts color to ambient light for consistent viewing.
- Use the settings app to enable dark mode or Night Shift for comfort at night.
- Turn off auto control in Accessibility if you want fixed display levels.
| Feature | Where to Find | Benefit |
|---|---|---|
| Swipe Control | Control Center | Fast manual adjust of screen levels |
| True Tone | Settings > Display & Brightness | Natural color across light conditions |
| Night Shift / Dark Mode | Settings app | Warmer tones for night comfort |
| Always‑On Display | Supported Models | Low-refresh glance info with low impact |
Benefits of Manual Brightness Control
Manual control puts the final say over screen output in your hands, not a sensor. That makes the view reliable for client reviews, presentations, and color work.
When you adjust screen brightness manually, you avoid sudden shifts that distract during calls and edits. This helps you keep focus and deliver consistent results.
Designers and editors often prefer manual settings because a fixed display brightness preserves color accuracy. You can match a known level for proofs and client checks.
Take charge to set the correct level for your room and task. Manual adjustments give predictable output and let you manage energy use without surprise changes.
- Consistent look: Keeps project colors steady across sessions.
- Less distraction: No unexpected shifts during focused work.
- Precise control: Set the exact display for color-sensitive tasks.
| Approach | Best for | Result |
|---|---|---|
| Manual | Design, proofs, presentations | Stable color and viewing |
| Automatic | Moving between spaces | Adaptive comfort |
| Hybrid | Mixed workflows | Balance of consistency and savings |
When to Rely on Automatic Adjustments
Relying on automatic adjustments can simplify screen management during a packed schedule. Let the system handle small changes so you can focus on work and meetings.
Use the feature when you move between bright offices, cafes, and outdoor spots. The ambient light sensor raises display levels in sunlight and reduces output in dim rooms to save battery life.
If you travel for work, this setting keeps your device optimized for power and visibility. It is handy for mobile users who do not want to adjust brightness manually throughout the day.
- The sensor helps maintain readable screen contrast in varied lighting conditions.
- You get longer battery life without constant manual control.
- If you do not need precise color, automatic adjustments provide a seamless experience.
| Scenario | Benefit | When to Choose |
|---|---|---|
| Moving between locations | Consistent visibility | Daily travel |
| Outdoor work | Higher display levels | Bright sunlight |
| All-day mobile use | Power efficiency | Long shifts away from chargers |
Advanced Calibration for Professional Workflows
Accurate color work begins with a calibrated screen and a stable environment. Use hardware tools to make that certainty practical and repeatable.
Devices like the Spyder5 PRO and the X‑Rite i1Basic Pro 3 give precise measurement for your display and color. These tools help you set a reliable white point, gamma, and target luminance for client work.
Before you start, disable auto brightness and turn auto features off so the meter reads a fixed state. That step prevents the system from changing levels while you calibrate.
Professional calibration returns full control over your brightness control and settings. You get consistent proofs, accurate exports, and fewer surprises in print or video workflows.
- Use a dedicated calibrator for repeatable results.
- Lock system adjustments during the process.
- Choose a target power and luminance that match your delivery needs.
| Tool | Best for | Key outcome |
|---|---|---|
| Spyder5 PRO | Photographers | Accurate color and simple setup |
| X‑Rite i1Basic Pro 3 | High-end studios | Precise brightness and color control |
| Manual settings | Proofing | Stable display for client reviews |
Troubleshooting Persistent Brightness Fluctuations
If your screen keeps changing at odd times, a hidden service or driver may be the cause.
Start by checking the Sensor Service. Open services.msc and disable that service on the device if it keeps overriding your display settings.
Next, inspect your graphics control panel. Intel Graphics, NVIDIA, and AMD Radeon often include power-saving options that affect display levels. Disable those options if they change the view unexpectedly.
Turn auto brightness and disable auto brightness in system settings and in any GPU panel you use. That removes duplicate controls and stops hidden adjustments.
- Use services.msc to stop the sensor service when it interferes.
- Review Intel, NVIDIA, or AMD settings for power features that alter output.
- Turn the light sensor features off in both system and GPU menus to keep a steady display.
| Cause | Action | Result |
|---|---|---|
| Sensor Service | Disable via services.msc | Prevents unwanted system overrides |
| GPU power options | Turn off in graphics control panel | Stops driver-driven swings |
| Light sensor | Disable in settings | Maintains constant brightness control |
Follow these steps to regain control of your screen and keep power use predictable. Troubleshooting hidden adjustments is the final step toward a stable, professional display.
Best Practices for Eye Comfort and Visibility
Comfort starts with matching display settings to the light in your space. Set your screen so it feels natural and steady. This reduces strain and improves focus.
For a dark room, use 0–30% to keep glare low. Near a window, raise levels to 70–100% so content stays clear. Check your settings when you move between spaces.
Use dark mode during late work to soften contrast and ease your eyes at night. Also enable night light to cut blue light for long sessions.
- Regularly review your visibility and viewing comfort.
- Quickly adjust screen before long meetings or edits.
- Find a steady level that fits both comfort and productivity.
| Situation | Suggested Level | Why it Helps |
|---|---|---|
| Dark room | 0–30% | Reduces glare and eye fatigue |
| Indoor with windows | 70–100% | Maintains clear visibility in bright light |
| Night work | Use dark mode + night light | Softer tones, less blue light |
Conclusion
A simple set of choices can make your display steady and your battery life last longer.
Mastering your settings gives you control over power and comfort. Use the settings app or set levels manually to match work needs and night use.
You can turn auto features back when you want adaptive help. These steps help you save battery and keep consistent screen levels for both professional tasks and personal time.
For a step-by-step Windows guide to disable adaptive control and reclaim stable output, see how to turn off auto brightness on.