Have you ever pressed the power button and your laptop just won’t wake? That small moment can stall your day and spark a lot of stress.
You can fix many issues fast by understanding how hardware and Chrome OS work together. When the screen flickers or a button won’t respond, simple checks often solve the issue.
This short guide gives clear, step-by-step tips so busy users can get back to work without paying for repairs. You’ll learn quick resets, what to try before a restart, and when a reinstall might help.
If you face browser-specific faults, a focused walkthrough can help — see a practical guide to fix Chrome issues for common browser fixes that pair well with hardware checks.
Key Takeaways
- Start with simple steps: restart, check the power button, and inspect the screen.
- Minor faults often stem from settings or temporary glitches, not permanent damage.
- Knowing a few quick fixes saves time and avoids unnecessary service costs.
- Combine hardware checks with browser fixes for a full approach.
- Keep an eye on recurring issues; they may need deeper fixes or updates.
Getting Started with the Diagnostics App
The Diagnostics app is your fastest route to clear system insight. Open it to read motherboard details, battery cycles, and live CPU stats so you know what to test next.
How to open the app: select the Launcher button and type “Diagnostics” into the search box. You can also press the power button to wake the device, then launch the app from the apps list.
Running System Tests
Run targeted tests for memory, storage, and battery health. Tests take between 2 and 20 minutes, depending on the hardware feature under review.
The app shows CPU usage, speed, and temperature while tests run. This helps confirm if a component or cooling issue causes slowdowns.
Interpreting Diagnostic Data
If a test fails, the tool gives a success marker or an error log. Use that option to record results before seeking repairs.
- Check battery cycles and capacity to decide on replacement.
- Look for temperature spikes that point to cooling or hardware issues.
- Use logs as proof when you contact support or a repair shop.
Troubleshooting Chromebook Problems with System Updates
Installing updates promptly helps your device run smoothly and stay secure.
To check manually, go to the top right of your screen, select the clock, click the Settings gear, and choose About Chrome OS to view and apply updates.
Make sure you use a stable internet connection. Prefer Wi‑Fi or Ethernet over cellular data to avoid failed downloads.
If an update cannot finish, you may need a full recovery. Prepare an external USB drive with at least 8GB, then use the official Chrome browser utility to create recovery media.
- Make sure your device is connected to a reliable internet source before you start.
- To manually check for updates, navigate to the top right, select the clock, and click the Settings gear icon.
- If the system fails to download the latest version, perform a full recovery using the official utility and a USB drive.
- Keep your software current to protect all connected devices and keep the operating system working as intended.
- Once the update finishes, you will need to select restart to finalize installation and apply new patches.
Resolving Performance Issues and Sluggish Behavior
When the device feels sluggish, targeted steps can speed it up in minutes. Start with quick checks before deeper actions.
Using the Task Manager
Open the Task Manager by pressing Shift + Esc or Search + Esc. This view shows active tabs and apps, with memory and CPU use.)
If a process uses lots of memory, select it and choose End Process. Be careful to avoid any item labeled system. Those keep the OS stable.
- Close unnecessary tabs and apps to free RAM for work you need.
- You can open the task manager by pressing Shift + Esc to stop heavy programs hurting performance.
- If the system is unresponsive, hold power button until the screen dims and the power off option appears to restart.
- Perform a reset chromebook only if other steps fail to resolve software or memory issues.
- Manage active tasks so hardware resources serve your most important apps.
| Action | When to use | Expected result |
|---|---|---|
| Close unused tabs/apps | When many tabs open or response lags | Frees memory, improves responsiveness |
| Use Task Manager (Shift + Esc) | When a process consumes high CPU or RAM | Identify and end heavy tasks |
| Hold power button to restart | When device is frozen or very slow | Clears temporary bottlenecks |
| Reset chromebook | After repeated issues or failed fixes | Restores default settings; may fix deep software faults |
If you suspect a hardware camera or firmware interaction, check the guide for the Blink camera to rule out related faults: blink camera checklist.
Fixing Black Screen and Display Errors

A black screen often has quick fixes you can try before calling for service. Start by checking the battery level and screen brightness. A drained battery or low brightness is a common cause.
Make sure the device has a charge. If the display stays dark, perform a hard reset: hold the Refresh button and tap the Power button at the same time to force the system to reboot.
- When you see a black screen, make sure the battery is charged before assuming major hardware failure.
- A hard reset does not delete files and often fixes issues with the power button or the display.
- If the screen still shows no image after holding refresh and power, leave the device plugged in for 30 minutes to rule out a dead battery.
- If hardware faults persist, check your warranty and consider sending chromebook in for professional recovery and repair.
Final option: use the hard reset firmly so the motherboard registers the command. This refresh step resolves many daily display faults without data loss.
Addressing Keyboard and Touchpad Malfunctions
Start with cleaning and a guest login to narrow the root cause fast. Dust or sticky keys often block input. Wipe the touchpad and keys with a soft, dry cloth. If needed, use compressed air carefully to clear debris.
If the touchpad still fails, try drumming your fingers on the surface for 10 seconds or press Esc repeatedly. That can re-engage a stuck sensor.
Cleaning and Physical Checks
Check that no liquid or crumbs sit under keys. Remove external devices that might affect input. Then restart chromebook to rule out a transient system glitch.
Guest Mode Testing
Sign in as a guest to see if personal settings cause the issue. If keys and the trackpad work in Guest Mode, account settings or an app is likely at fault.
- If your keyboard stops responding, restart chromebook before more steps.
- Use Alt + Shift to toggle keyboard layout if typing seems wrong.
- Perform a hard reset by holding the Refresh button and the power button together to restore input hardware.
| Symptom | Quick action | When to escalate |
|---|---|---|
| Unresponsive keys | Clean keys, press Esc repeatedly, sign in as guest | Keys fail in Guest Mode or after reset → hardware service |
| Touchpad not moving cursor | Drum fingers for 10s, restart, hard reset | Repeated failure after select restart → contact support |
| Incorrect characters | Try Alt + Shift, check language settings, remove external keyboards | Persistent mapping errors → consider Ctrl + Alt + Shift + R to reset chromebook |
Managing Camera and Microphone Connectivity
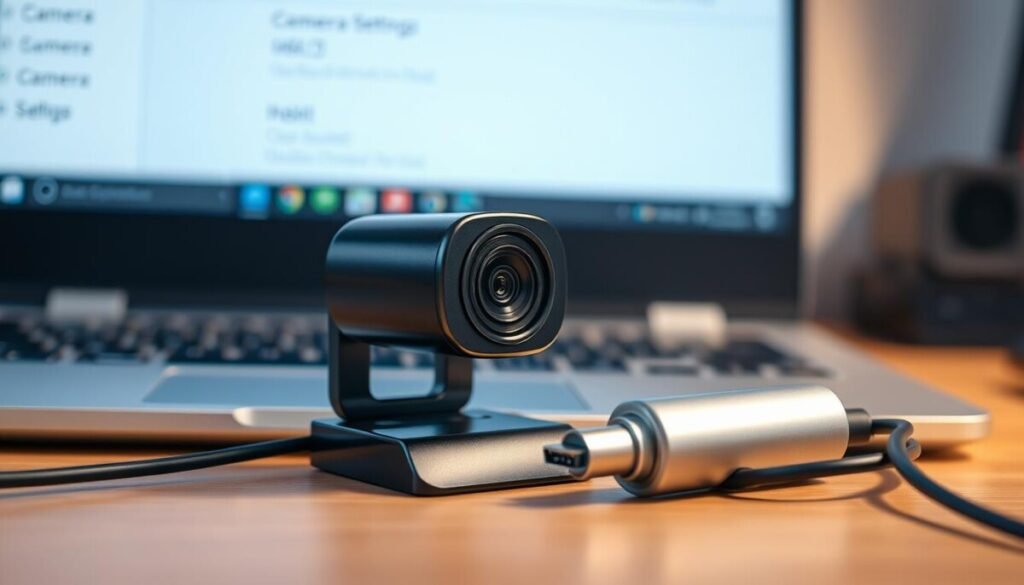
Try a quick app swap to see if the camera or mic fail in one program but work in another. This isolates whether the issue is tied to the app or the device itself.
Make sure camera permissions are enabled for the app you use for calls. Go to Settings, open Privacy and Security, then allow camera and microphone access for that app.
If the mic or camera still misbehave, restart the device. A reboot often clears small software conflicts and reconnects drivers.
If one app shows the devices but another does not, uninstall and reinstall the problematic software. This step often fixes corrupted app files that block hardware access.
- Check the system mute and input levels so the mic isn’t silenced.
- Switch to a different communication app to rule out app-specific faults.
- If basic steps fail, a full recovery can restore drivers and system settings for camera and microphone.
Solving Battery and Charging Challenges
Power faults often come from simple causes you can fix fast. Start with the charger and the outlet before thinking about service calls.
Checking Power Outlets and Adapters
Make sure the power adapter is snug at both the wall and the device. Inspect the cord for frayed wires or bent prongs.
Try another wall outlet to rule out a bad circuit. If the battery won’t charge, leave the device plugged in for at least 30 minutes and then press the power button.
- Secure connections: confirm the adapter is fully seated in the port.
- Hard reset: if charging fails, hold the Refresh button and the power button for several seconds to refresh power management.
- Test different outlets to rule out electrical noise or a local wiring issue.
- If your model has a removable battery, remove it and hold power button to discharge the system, then reinsert and try again.
If nothing restores charge, follow the official recovery guide for next steps before you schedule hardware service.
Navigating Browser Crashes and Tab Reloads
Auto-reloads usually point to memory pressure or a heavy extension; act fast to restore a steady browsing session.
Close unnecessary tabs and apps to free RAM. Open the Task Manager to find which apps use the most memory and end those tasks.
If pages still fail, clear browsing data in the chrome browser. Press Ctrl + Shift + Backspace or use the official guide to clear browsing data. Save important files to the cloud first.
Some pages won’t open due to DNS cache issues. Type chrome://net-internals/#dns in the address bar and clear the host cache. Then open chrome again and test the site.
- Restart the device when crashes repeat; a simple reboot clears the system memory.
- Disable or remove heavy extensions and apps to stop constant reload cycles.
- Use Ctrl + Alt + Shift + R as an option for full system reset when other steps fail.
| Symptom | Quick action | Result |
|---|---|---|
| Tabs reload repeatedly | Close unnecessary tabs; end heavy apps | Less memory use; stable tabs |
| Webpage won’t open | Clear DNS cache; clear browsing data | Resolves DNS or cookie conflicts |
| Frequent crashes | Restart, verify Google account, manage extensions | Restores stable browsing; sync resumes |
For app-level resets and extra tips, see an app reset guide that outlines similar recovery steps for internet devices.
Advanced Recovery and Factory Reset Options
If deeper fixes are needed, advanced recovery steps restore a clean, working system. Use these options when regular resets do not fix persistent software issues.
Performing a Hard Reset
A hard reset reboots hardware controls without erasing files. Hold the Refresh and power button together for several seconds. This clears minor power or screen hang-ups and often restores normal operation.
Executing a Powerwash
Powerwash returns your device to its out-of-the-box state. Back up important files first—this option erases local data. Press Ctrl + Alt + Shift + R and choose the select restart option to start Powerwash.
After the reset, you will need to sign in with your Google account to restore apps and settings.
Using the Recovery Utility
If the system is corrupted, use the Recovery Utility to reinstall Chrome OS from a USB drive. Prepare a USB with at least 8GB and follow the on-screen steps in the chrome browser to create recovery media.
Some models require pressing a small recovery button with a paper clip to begin the process. If you still need help, contact the manufacturer to send chromebook in for professional repair.
| Option | When to use | What to expect |
|---|---|---|
| Hard reset | Device frozen or screen unresponsive | Quick reboot; no data loss |
| Powerwash | Persistent software issues not fixed by restart | Erases local files; restores factory state |
| Recovery Utility | Corrupted system or failed OS update | Reinstalls OS from USB; needs 8GB drive |
Conclusion
A few simple checks and a steady routine can keep your laptop running well. Follow the steps above to watch system performance, clear caches, and close unused apps. These small things often stop most issues without delay.
If a fault persists, check your warranty and get professional help. That protects your data and saves time for busy users.
Use this guide as a quick reference. With a calm approach, you can maintain your device and work with confidence for years to come.